How to Make an Image Transparent in Photoshop
Welcome to this step-by-step tutorial on how to make an image transparent in Photoshop! Whether you’re a seasoned graphic designer or just starting out, learning how to create transparent images is a must.
This technique is super handy for making logos, designing graphics, and enhancing photos. With our easy guide, you’ll be creating stunning, professional-looking images in no time. So let’s dive in and unlock the power of transparency in your digital artistry!
Making a Layer Transparent using Opacity
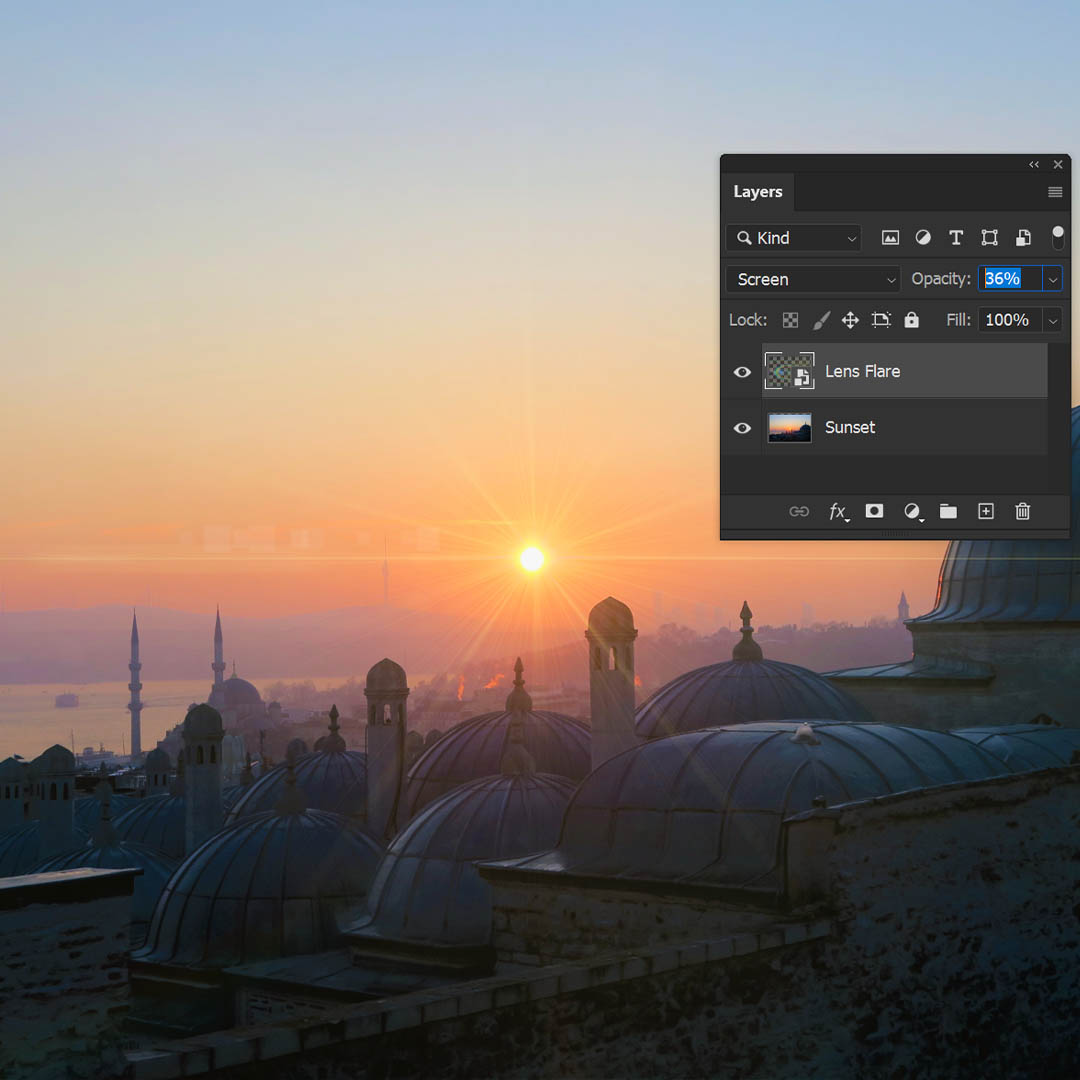
The Opacity option in Photoshop determines how “see-through” a layer is. At 100% opacity, a layer is completely opaque, meaning it’s not transparent at all. As you lower the opacity percentage, the layer becomes more transparent, allowing layers beneath it to become more visible.
Step 1: Select a Layer
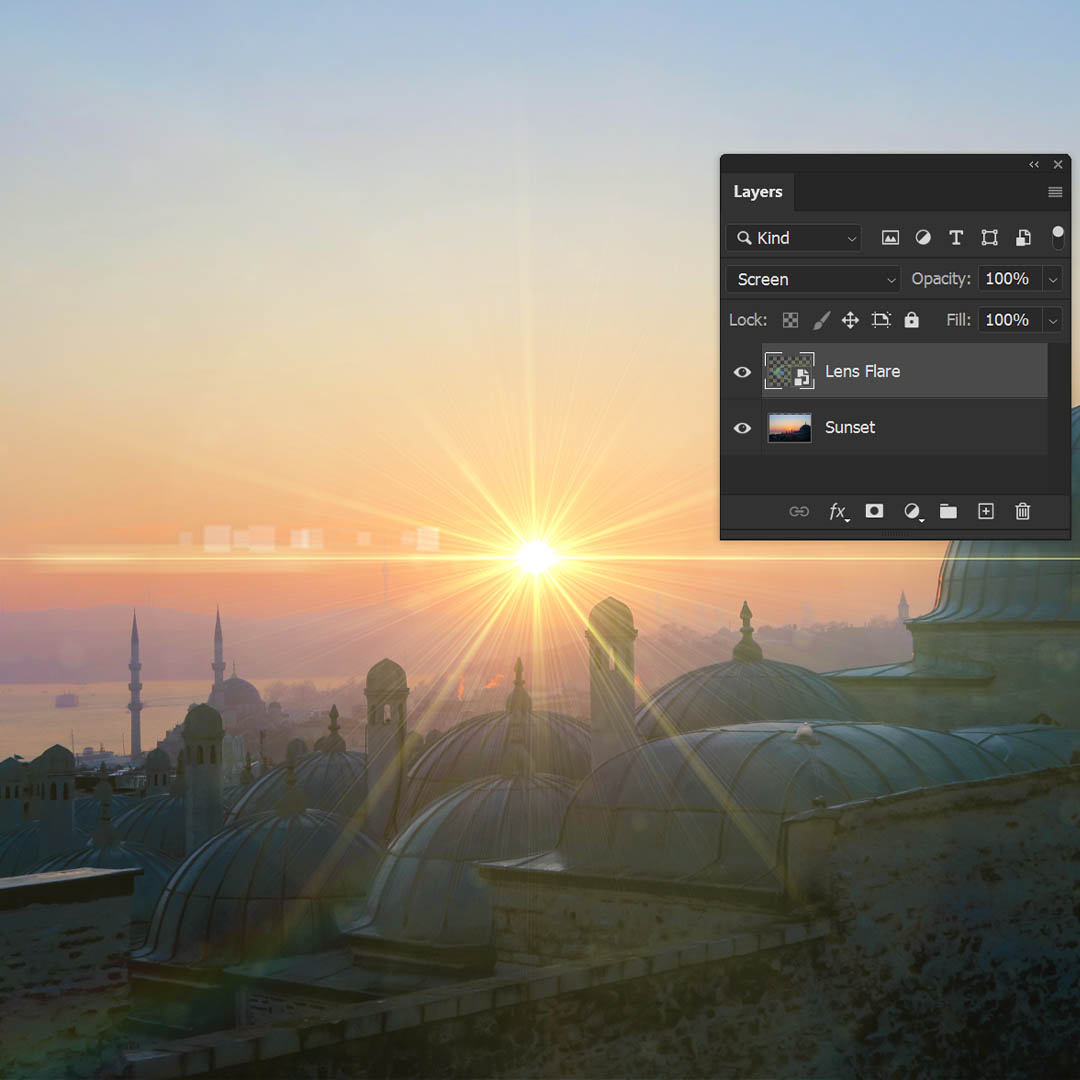
In the layers panel, usually located at the right of the screen, select the layer whose opacity you want to change. In my example below, it’s a lens flare graphic set to Screen.
Step 2: Adjust the Layers Opacity
Look for the Opacity option at the top of the layers panel. There’s a slider marked ‘Opacity’, usually set to 100% by default. Click and drag the slider to the left to decrease opacity and to the right to increase it. You’ll see your image changing as you do this.
Making a Transparent Background
Removing a background from an image in Photoshop can be useful for a variety of reasons. For instance, if you’re designing a website, you might want to overlay text or other images without a blocking background. Or you might want to isolate an object for use in a collage or composite image. Understanding how to make a background transparent will give you greater control over your digital creations.
Step 1: Import Your Image
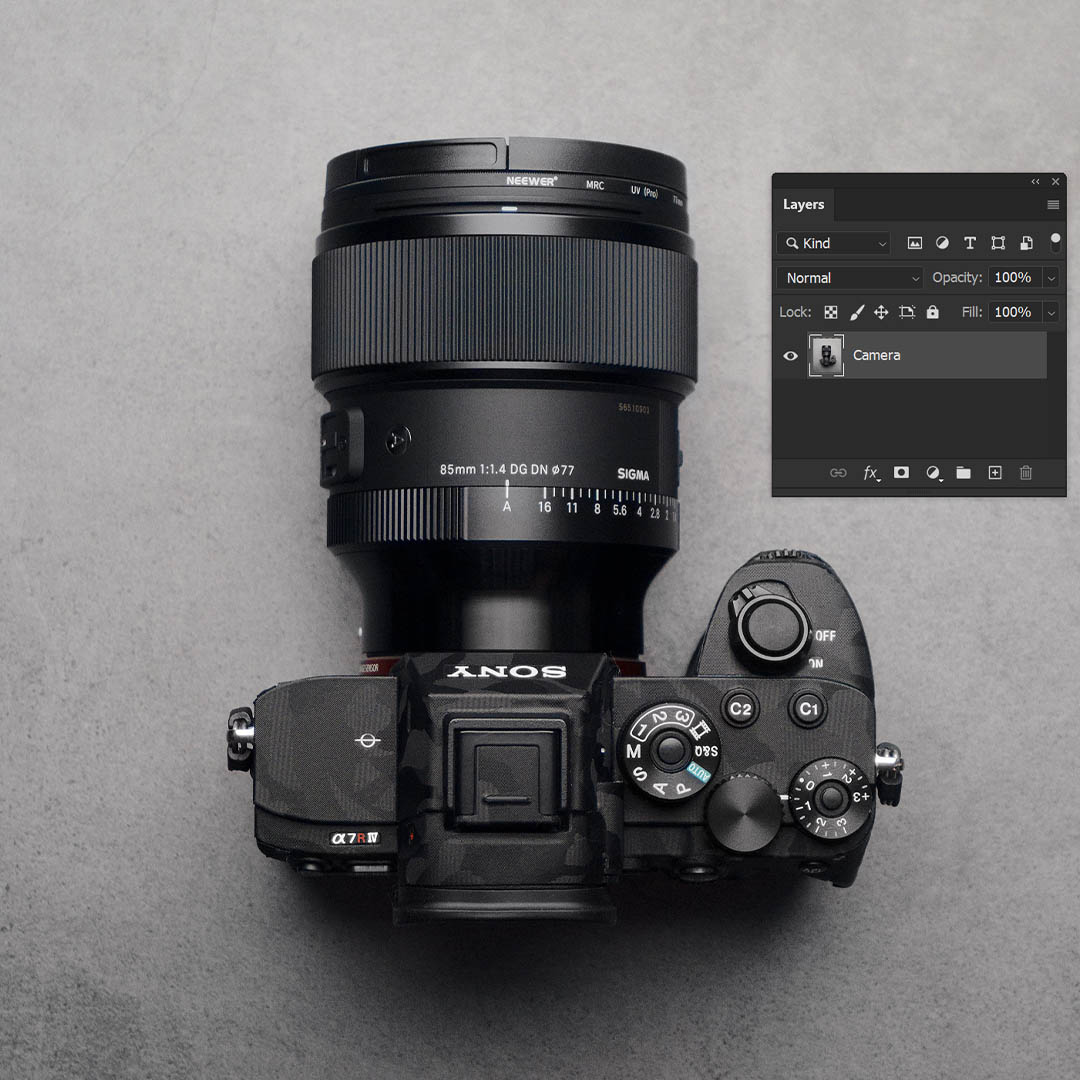
Start by launching Photoshop on your computer. Go to `File > Open` and select the image you want to edit.
Step 2: Create a Selection
You’ll need to create a selection around your subject. You can do this in a variety of ways. Here are two of the quickest options:
- Object Selection Tool – Select the Object Selection Tool from the toolbar on the left. Click and hover your cursor over the object of your image. It will highlight in pink. Click to select it.
- Select Subject – Click “Select Subject” in the options bar when you have a selection tool active. Photoshop will create a selection around the main subject automatically.
You want the subject of the image to be selected, which means you might have to reverse your selection. You can invert selections by going to Select > Inverse.

Step 3: Add a Layer Mask
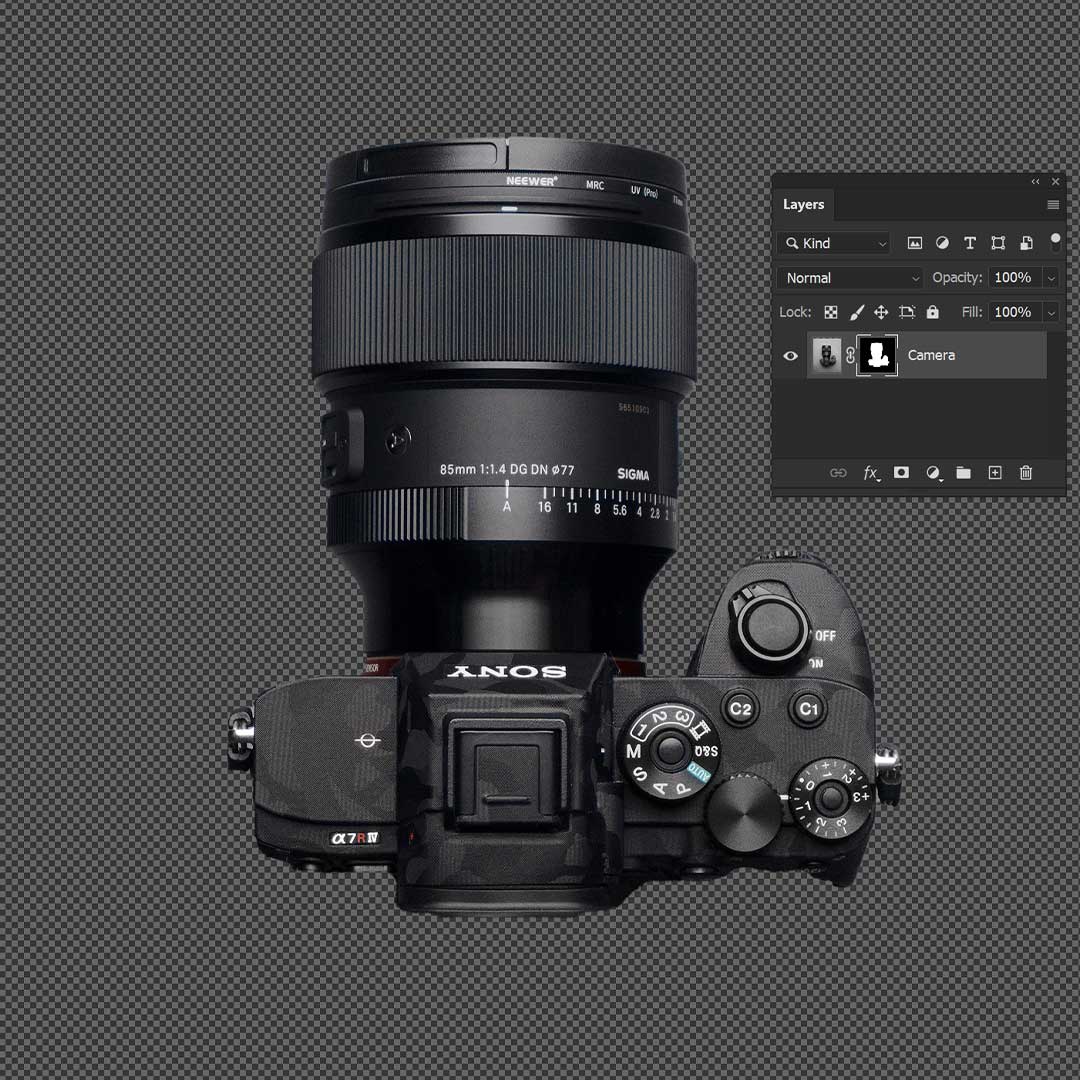
After you have selected the background, add a Layer Mask to the layer. You can find the Layer Mask button next to the layer effects at the bottom of the Layers panel.
Once you apply the mask, it’ll take the shape of the selection, hiding the background. To refine the mask even more, use the Brush tool set to black and white. Simply paint black on the mask to hide sections, and paint on areas to bring them back.
How to Export a Transparent Image
Adobe Photoshop has the ability to export transparent images, useful for web and graphic design. Here’s a simple guide on how to do it.
Step 1
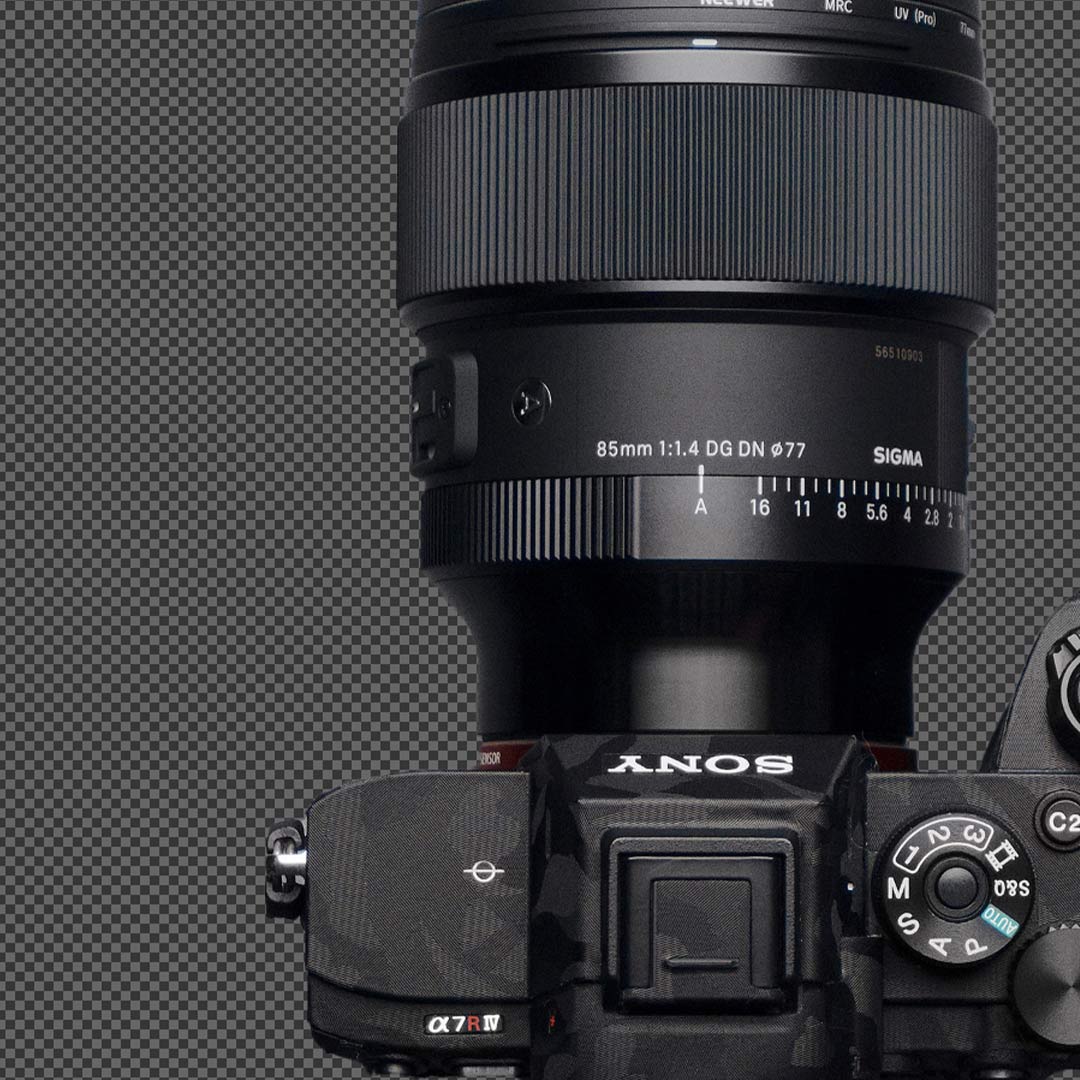
You should see a checkerboard pattern wherever your image is transparent.
Step 2
Go to ‘File’ > ‘Save As’. In the dialog box that appears, choose ‘PNG’ from the format list. PNG format supports transparency, which is crucial for this step. Name your image and select ‘Save’.
A ‘PNG options’ box should appear. Just hit ‘OK’.
Conclusion
To sum it up, getting the hang of creating transparent images in Photoshop is a super handy skill that can really level up your graphic design game. With this tutorial, you’ve learned how to make an image transparent in Photoshop and make an image transparent like a pro.
Just remember, practice makes perfect. Keep playing around with different images, and before you know it, creating transparency in Photoshop will be a breeze. Thanks for sticking with this tutorial, and have a blast designing!


Leave a Reply