How to Add Layer Masks in Photoshop
Layer masks are often considered an advanced tool in Photoshop, when in reality they are a matter of black and white. Layer masks are your number one tool for non-destructive editing when doing any photo retouching and are a must for any photo compositing. And the best part? They are incredibly simple to use.
In this tutorial, we will be covering the basics of layer masks in Photoshop, how they work, their settings, and how to refine them using the Properties panel.
What Is a Layer Mask in Photoshop
Layer masks are a reversible way to hide part of a layer in Photoshop. It’s a non-destructive alternative to permanently erasing or deleting part of a layer. Layer masking is a key tool in cutting out objects for image compositing, but also has uses in photo retouching and editing.
There are technically two types of layer masks:
- Layer masks are edited using raster tools such as painting or selection tools.
- Vector masks are edited using vector tools such as the Pen or Shape tool.
While both are similar, both are non-destructive and work on separate grayscale channels. Today, we will be focusing on raster-based layer masks.
Layer masks can be used on both layers and groups in Photoshop, but will only remain intact if the file is saved as a .PSD.
How to Add and Edit a Layer Mask in Photoshop
Step 1: Select a Layer
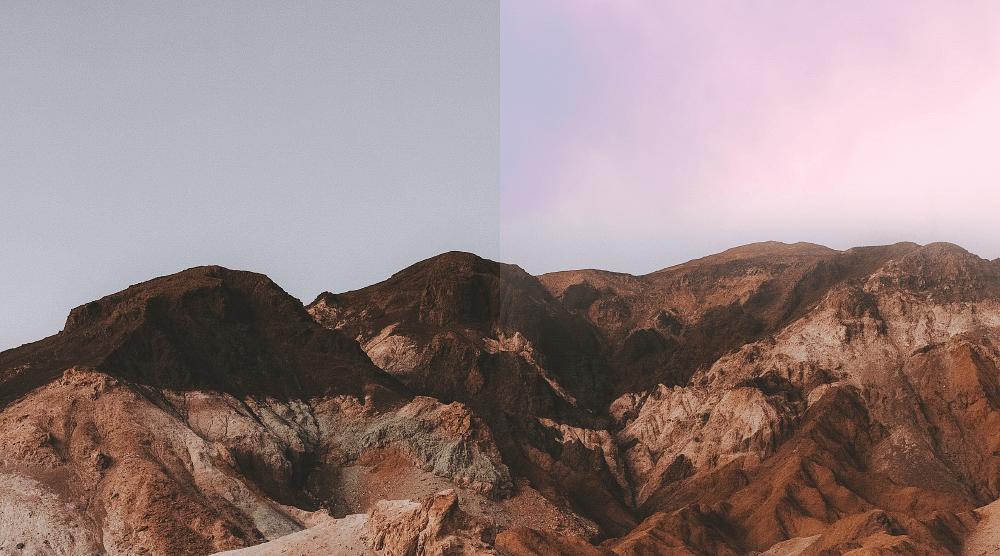
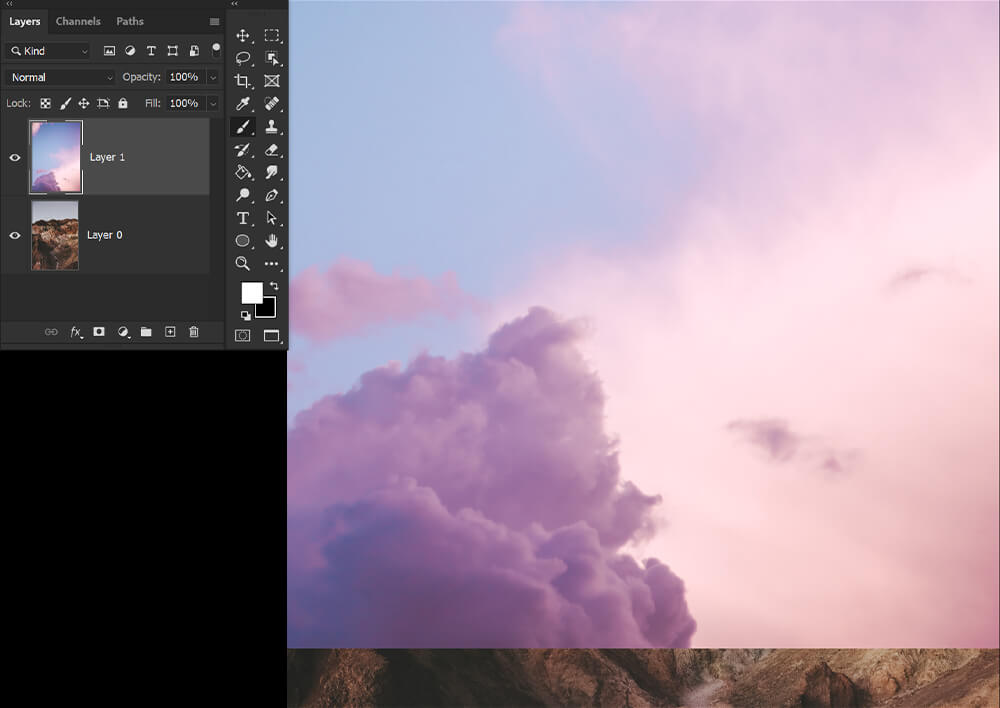
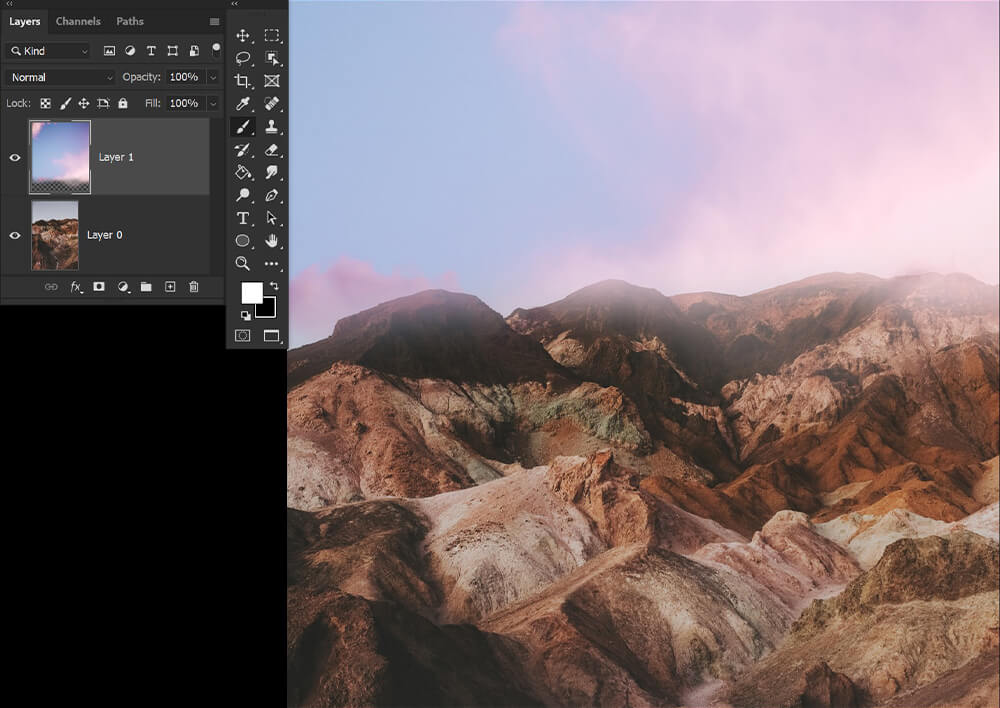
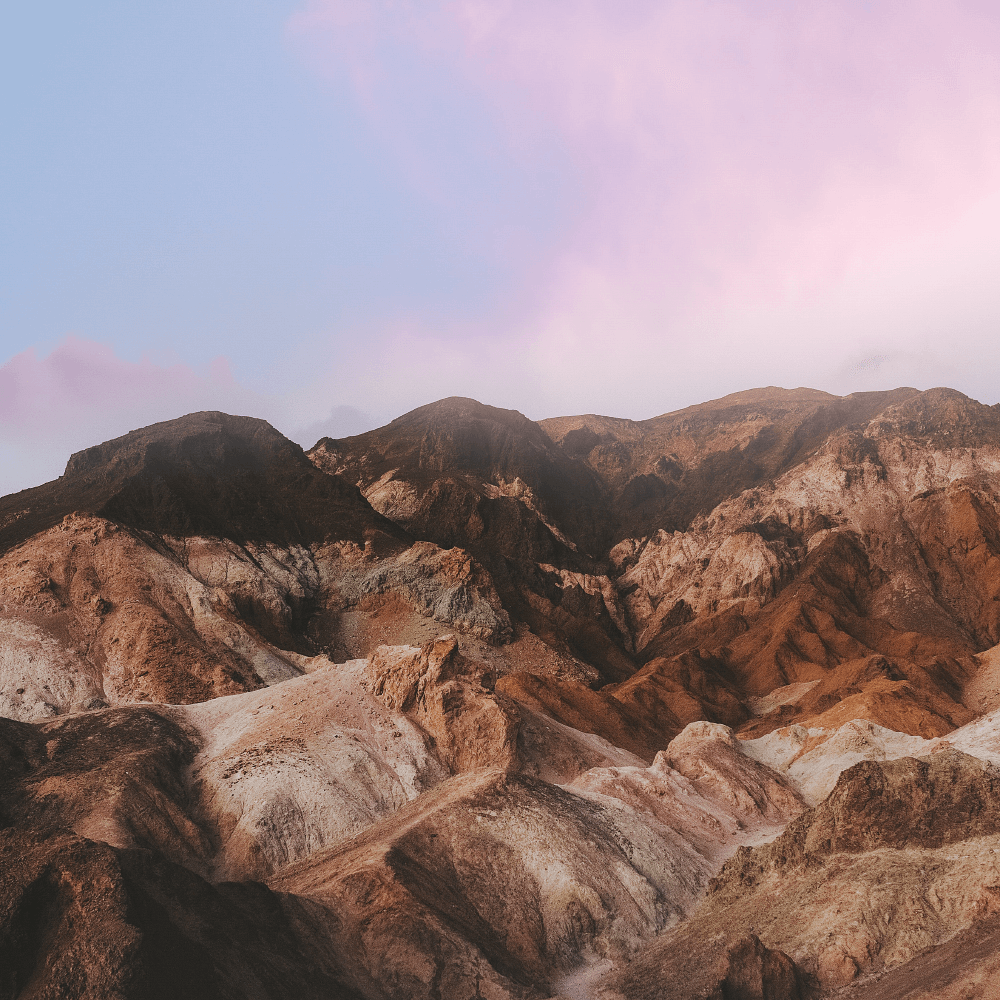
First, select the layer or group you’d like to apply a layer mask to. In this case, we will mask an image of a sky onto a mountain range.
While I’ll be using a normal image layer, layer masks can be added to text layers, groups, and shape layers.
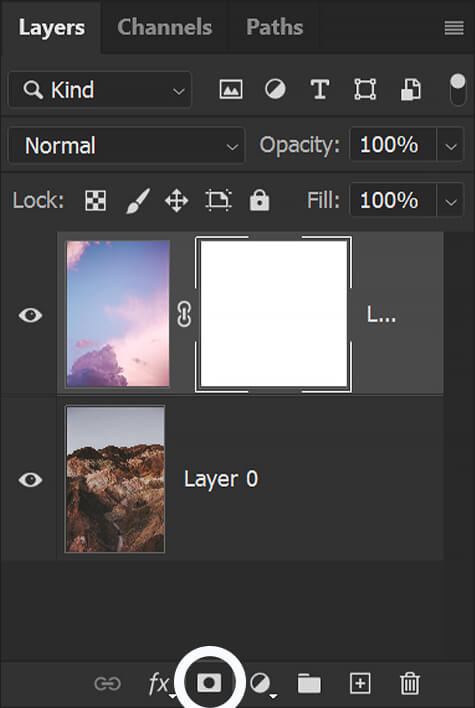
Step 2: Click Add Layer Mask Button
Next, choose the Add Mask found at the bottom of the Layers panel.
The layer masks will start off white.
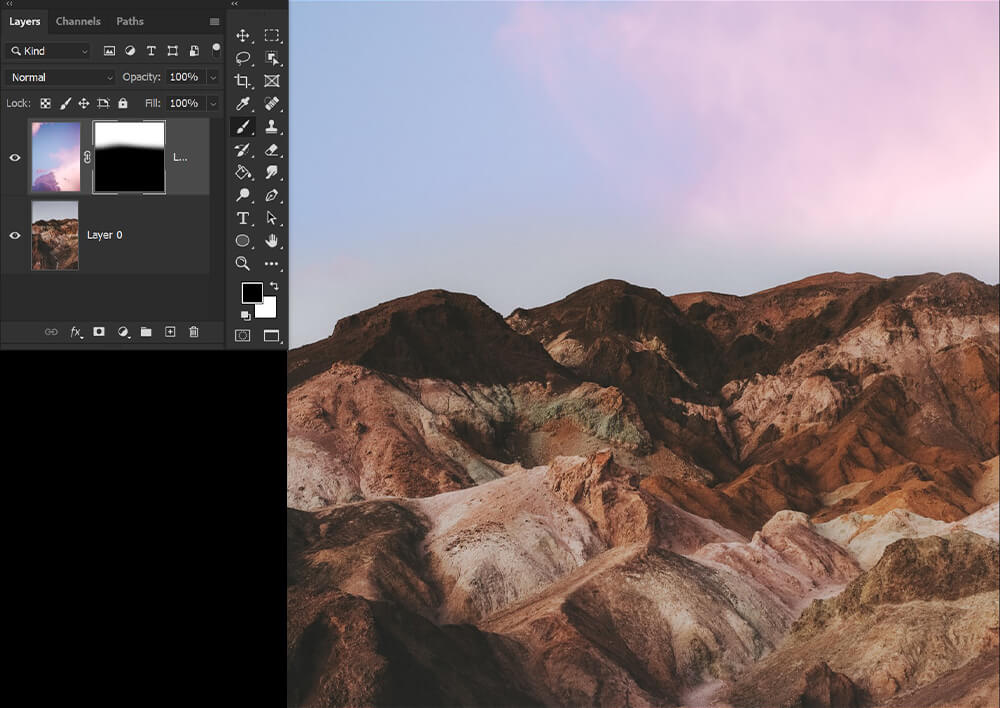
Step 3: Paint Black to Conceal
Select the Brush tool and set the Foreground color to Black. With the layer mask selected, paint black to conceal or hide portions of the layer.
You can also use other fill options such as the Pen tool, the various selection tools, and then the Gradient Tool.
If you select an area of an image and then apply layer masks, the layer mask will fill in the selected area with black upon creation.
Step 4: Paint White to Reveal
To reveal or bring back what was masked out, switch the Foreground color to White and paint on the layer mask just as before.
Layer masks work in grayscale, which means you can only use shades of black, gray, and white on a layer mask. For example, painting 50% gray on a white layer mask will mask at 50% transparency.
Press X to switch the foreground and background colors in the Toolbar, so that you can quickly switch between black and white.

Step 5: Copy a Layer Mask
If you’d like to copy the same layer mask onto multiple different layers, Alt-drag on Windows or Option-drag on a Mac the mask to the other layer.
If you’d like to move a layer mask, without creating a copy, simply click and drag the mask to another layer.
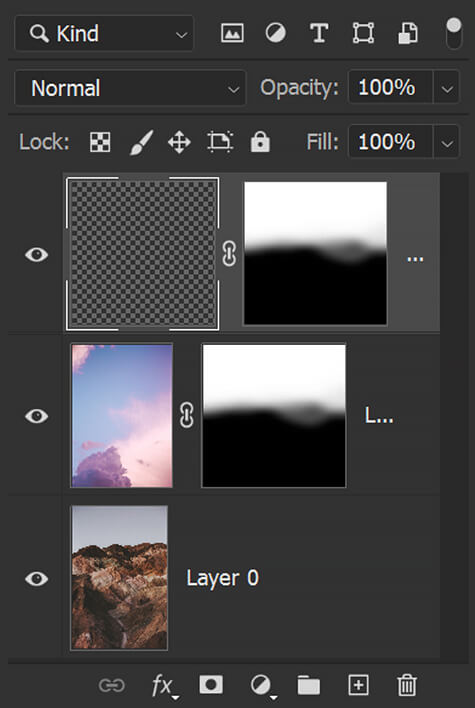
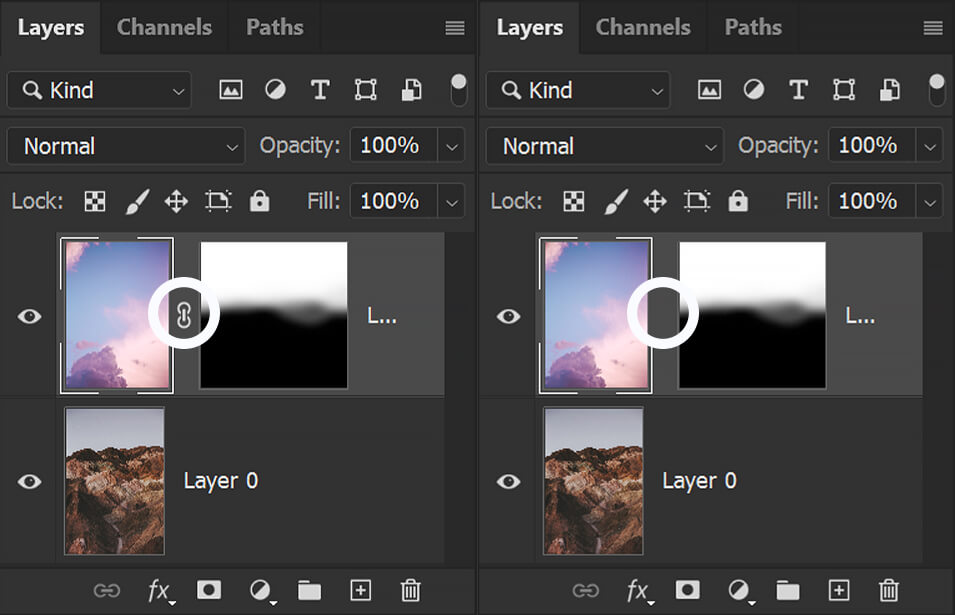
Step 6: Unlink Layers and Masks
By default, a layer is linked to its layer mask, indicated by the link icon between the thumbnails in the Layers panel.
An active link means, when you move either the layer or the layer mask with the Move tool, both will move.
Unlinking a layer and its mask lets you move them independently of one another and change the mask’s boundaries separately from the layer.
Keep this in mind:
- To unlink a layer from its mask, click the link icon between the layer and layer mask’s thumbnails.
- To link a layer and its mask, click the link icon again.
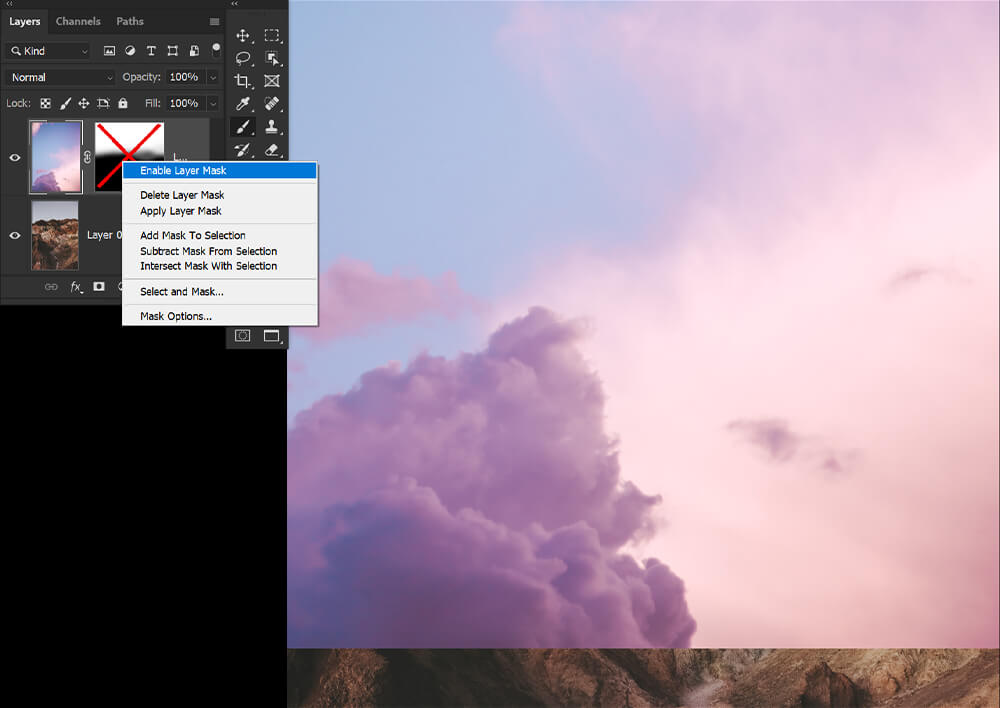
Step 7: Toggle Layer Mask On and Off
To turn a layer mask on and off, you can select the layer mask and do one of two things:
- Right-click > Disable Layer Mask to turn off and Right-click > Enable Layer Mask to turn it back on.
- Alternatively, you can Shift-click the layer mask thumbnail. Shift-click the layer mask a second time to re-enable it.
Turning a layer mask off only hides the layer mask; it does not delete it. To turn a layer mask back on, you can either:
Step 8: Apply or Delete a Layer Mask
If you do want to delete or permanently apply a layer mask, you can:
- Right-Click > Apply Layer Mask to permanently delete the masked-out portions of the layer.
- Or Right-Click > Delete layer Mask, which will only delete the layer mask and leave the layer unchanged.
Applying and deleting layer masks can help reduce the size of your .PSD file.
How to Adjust Layer Mask Settings in Photoshop
Step 1: Adjust Opacity
There are multiple ways you can adjust or fine-tune a layer mask. First, select the layer mask and open the Windows > Properties panel.
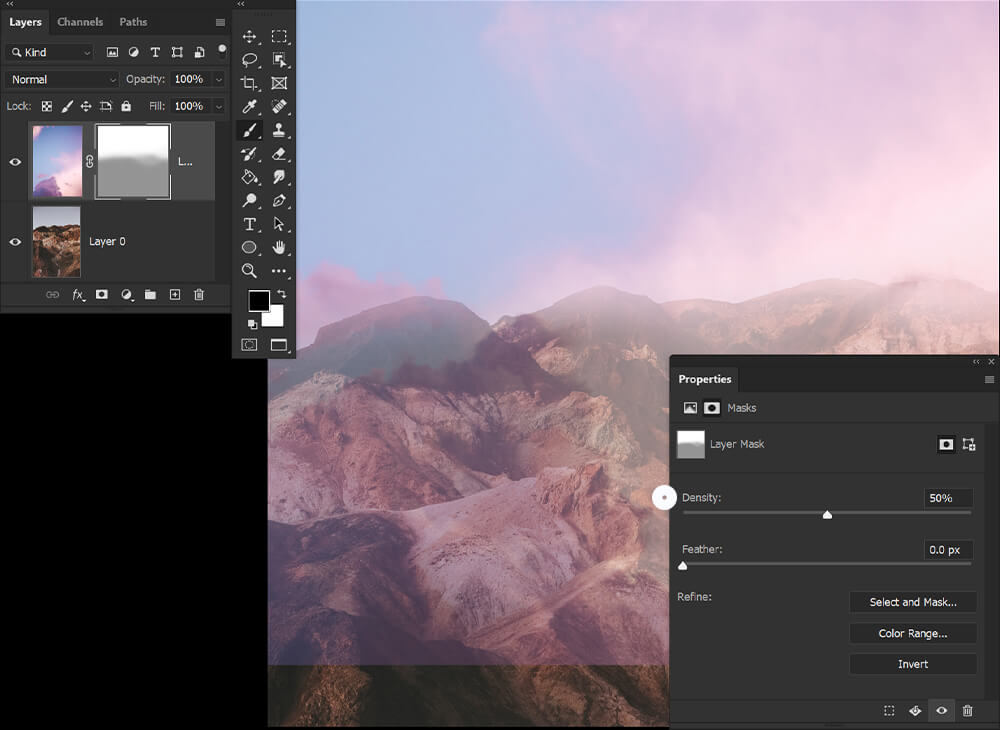
To Adjust a layer mask’s Opacity, slide the Density slider either left or right. In this instance, Density and Opacity mean the same thing.
The Density slider will adjust the layer mask as a whole, even with a selection active. If you want to pinpoint Opacity changes, you’ll have to do so manually with a brush.
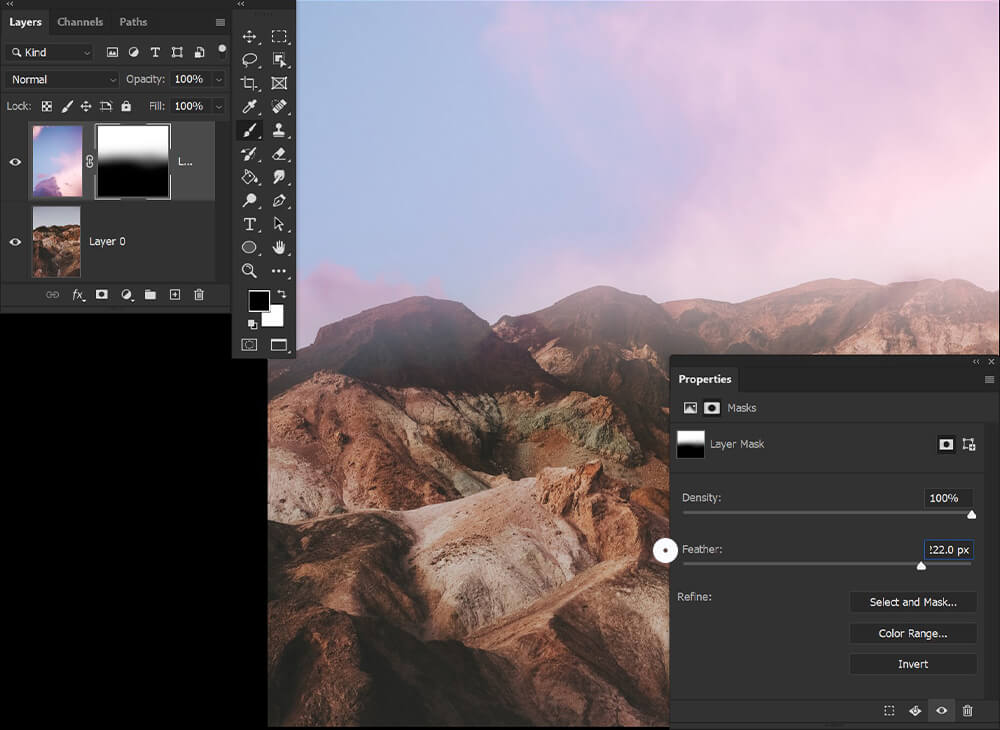
Step 2: Adjust Feather
Feathering blurs the edges of the mask to create a softer transition. Again, select the layer mask you’d like to edit and open the Windows > Properties panel.
Drag the Feather slider to apply feathering to the mask’s edge.
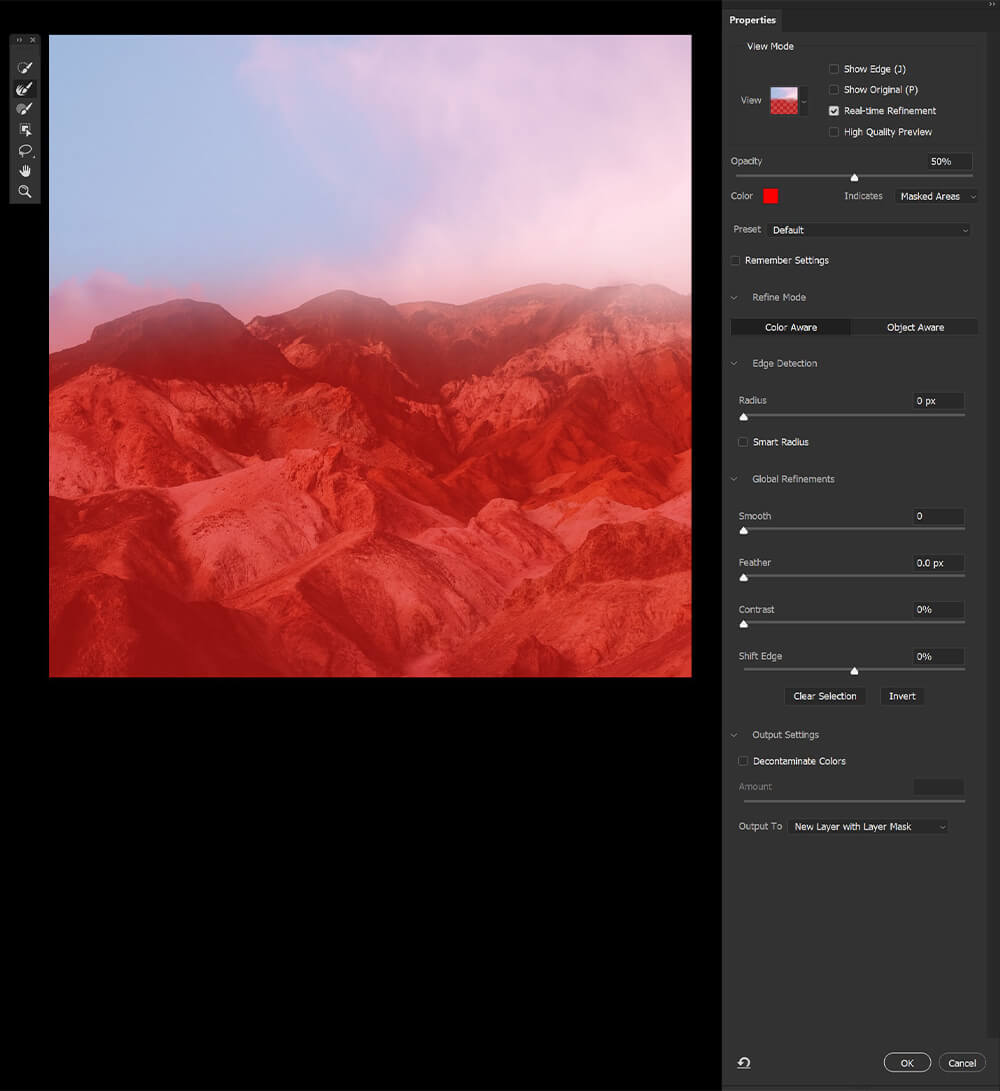
Step 3: Select and Mask
Select and mask is where you will find all of Photoshop’s refine edge and auto mask tools. This includes Feather, Refine Edge, and Photoshop’s auto hair select tool.
The view can be adjusted, so you can better see your selection. Below, all areas shown in red are masked.
The global refinements will adjust the mask as a whole, while the different brush tools, seen on the left, can create pinpoint adjustments and refinements.
Conclusion
That covers all you need to know about the basics of layer masks in Photoshop! After reading about all the pros of layer masks, you may be wondering “Why use layer masks instead of the Eraser brush?”
To be honest, there are very few reasons to. I will use an eraser brush on layers with solid colors or to make very small changes. Otherwise, layer masks are the way to go.
Layer masks can do much more than just basic blending. With a little practice, it will be your number one go-to tool for image extracting, photo composting, and even photo retouching.
Leave a Reply