
How to Install Brushes in Photoshop
One of the most powerful features of Photoshop is the ability to download and install custom brushes. Easy to use, Photoshop brushes let you apply instant texture, draw freehand, or create simple details.
Let’s look at what Photoshop brushes are, how to install brushes in Photoshop, how to edit those brushes, and how to use them.
What Are Brushes in Photoshop?
Photoshop brushes are used to paint in Photoshop and are the digital equivalent to a paintbrush. Using a series of strokes with your mouse, you can create lines and shapes. You can also change their color and basic settings to suit whatever you draw.
The Brush tool in Photoshop is raster or pixel-based. Resizing or transforming a stroke made by the Brush tool will permanently change the pixels.
Saved Brush files in Photoshop will export as .ABR files. When downloading custom brushes only, .ABR files will be compatible with Photoshop.
Now that we have this basic understanding, let’s look at how to install new brushes in Photoshop, so you have more than the default brushes that come preinstalled.
How to Install Brushes in Photoshop
Step 1: Download a Custom Brush
Let’s start with how to install brushes in Photoshop from different websites.
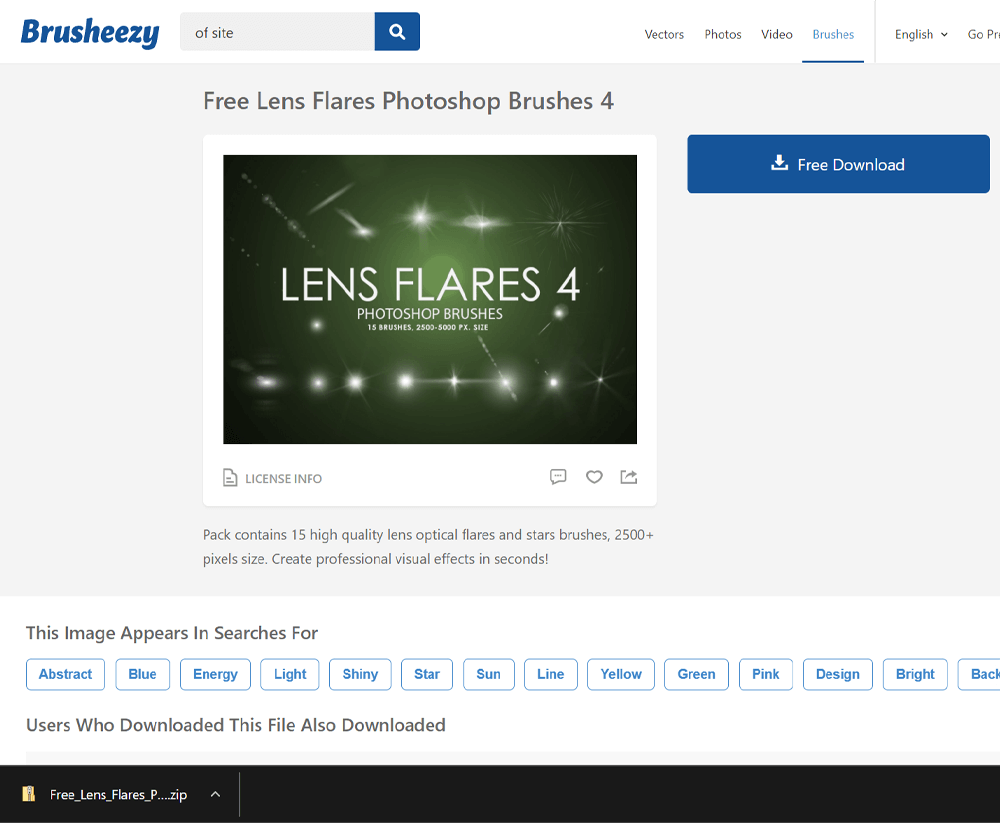
Find a site that offers custom Photoshop brushes. Thousands of sites offer both free and premium custom brush packs. Today, I will be downloading and using this set of Free Lens Flares Photoshop Brushes from Brusheezy.
Locate the Download prompt on whatever site you choose to use. The brush will download as a .ZIP file.
Step 2: Export the Brush
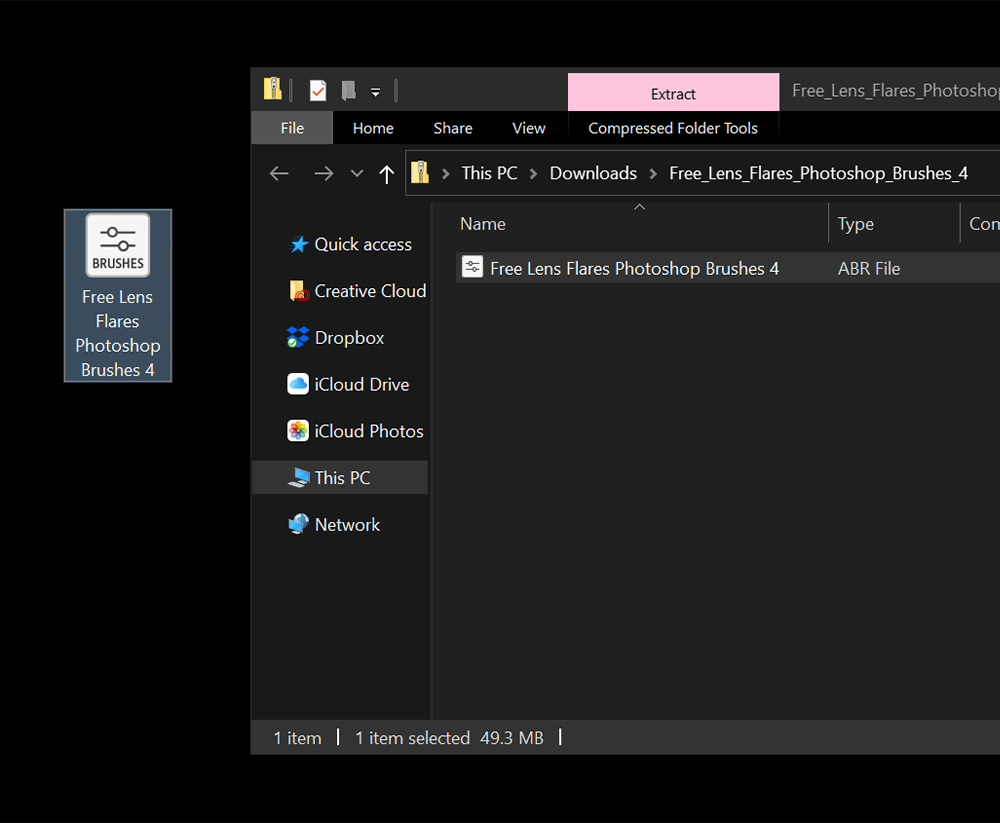
Once finished, click the downloaded .ZIP file to open it. Drag the .ABR brush file either onto your desktop or a dedicated brush folder.
Once a brush is installed, you no longer need the .ABR file. However, if you reset your Photoshop preferences or delete the brushes, you will need the .ABR file to re-install the brushes.
It’s a good idea to store all downloaded brushes into their folder so you can easily access them in the future.
Step 3: Import the Brush into Photoshop
Open Photoshop, and select the Brush tool in the Tools toolbar.
Select the Brush Tip > Settings (Cog Icon) > Import Brushes
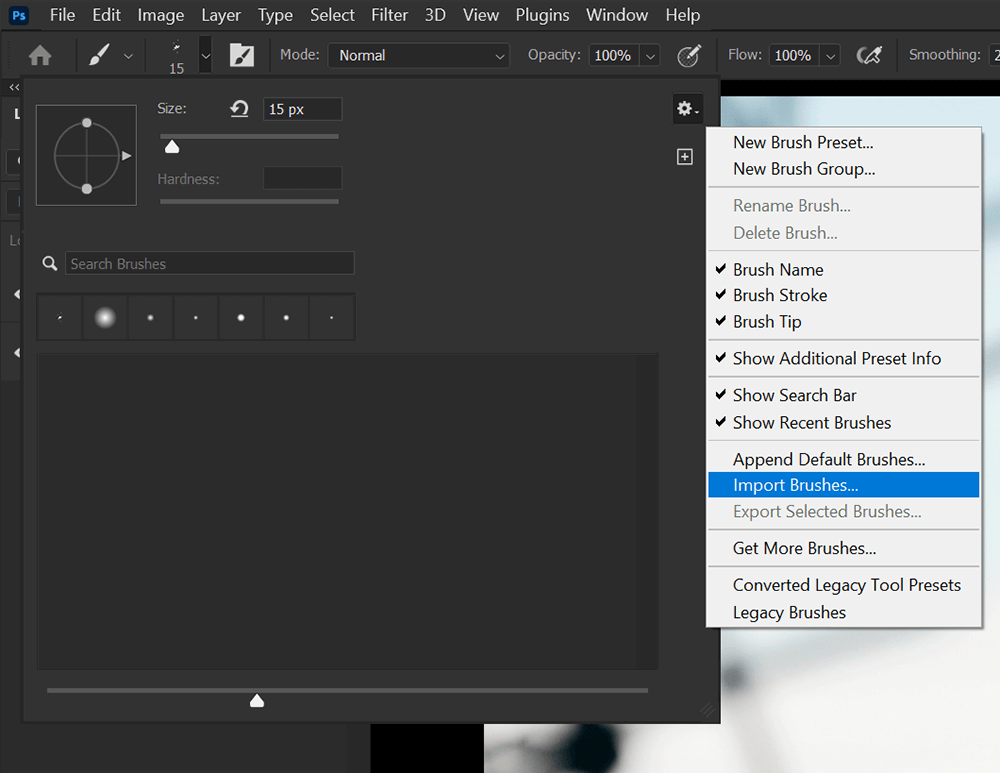
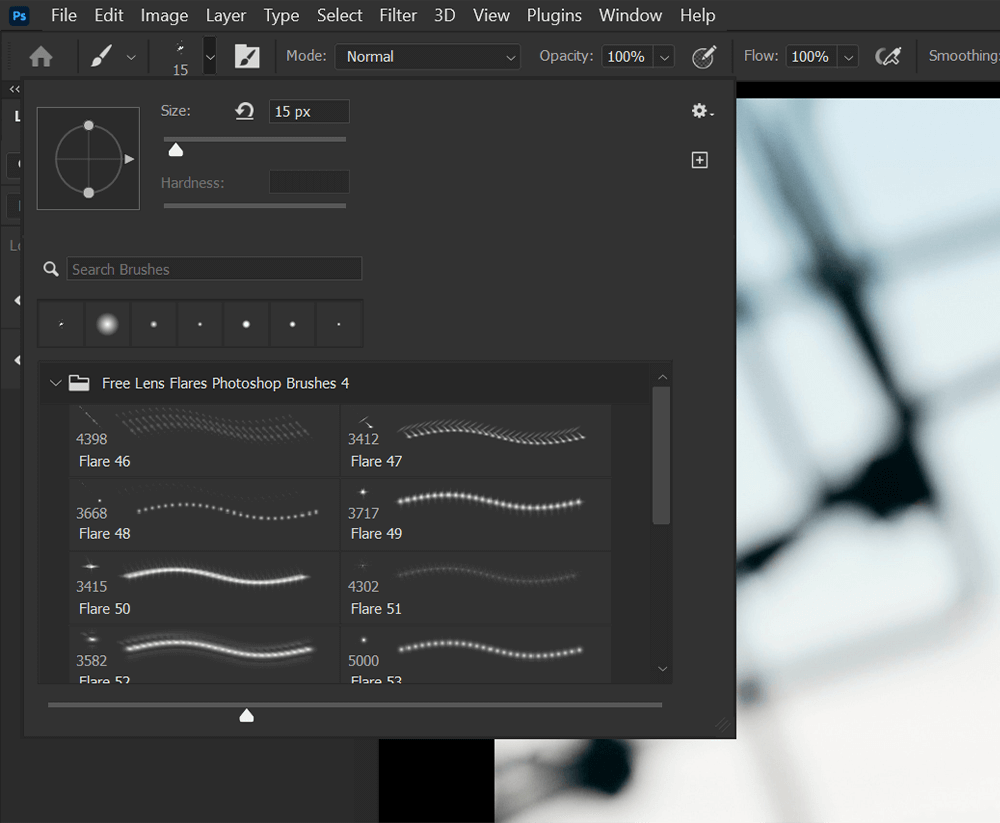
Now locate and select the downloaded .ABR file. The new brush tips will populate the brush tip panel. The new brushes will appear below the originals if you already have preinstalled brushes.
While most custom brushes contain multiple brush tips, some may have only one.
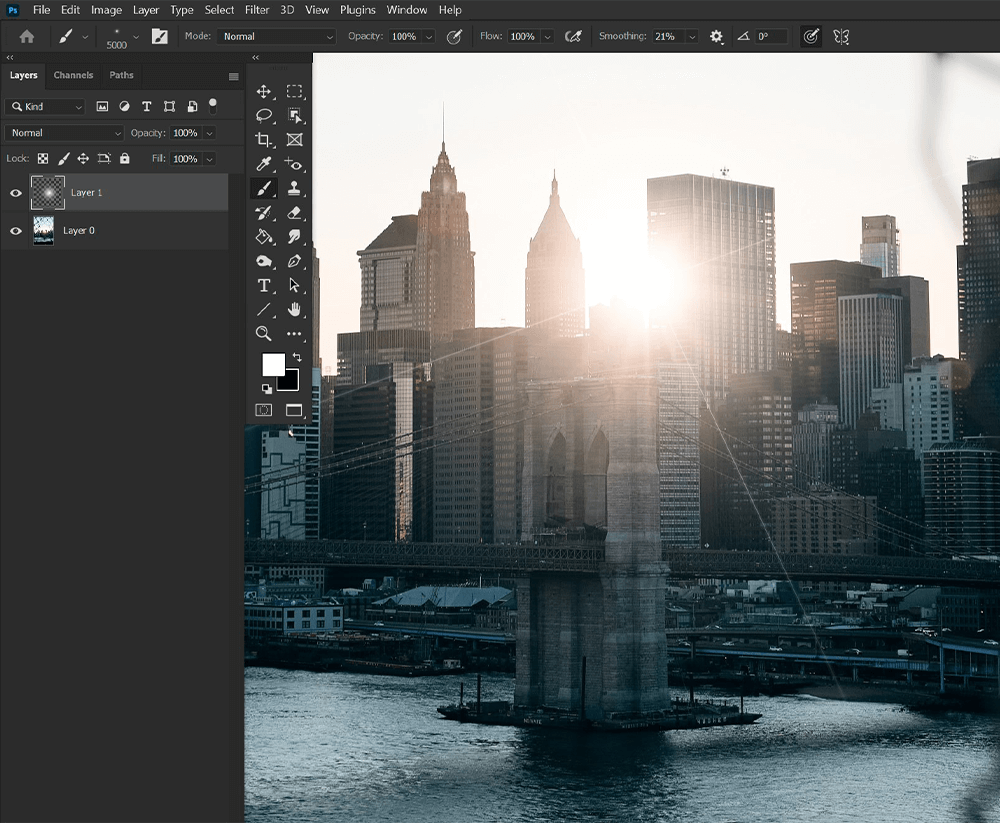
Step 4: Use Your New Brush
Select one of the new brush tips, create a new layer, and either stamp or drag using your mouse to use your new brush.
You can change the color of your brush using the Background and Foreground colors at the bottom of the Tools toolbar.
How to Create Custom Brushes in Photoshop
Step 1: Create a Shape or Pattern
Now that we know how to install new brushes in Photoshop, let’s look at how we can create our own. Let’s create a new brush from an image of a flower. You can also draw or create your shape or pattern from scratch.
To create custom brushes, open a new large Document in Photoshop, ensuring it has a white background.
Drag and drop an image of a flower onto the canvas. Use the Lasso tool to create a quick selection around the flower.
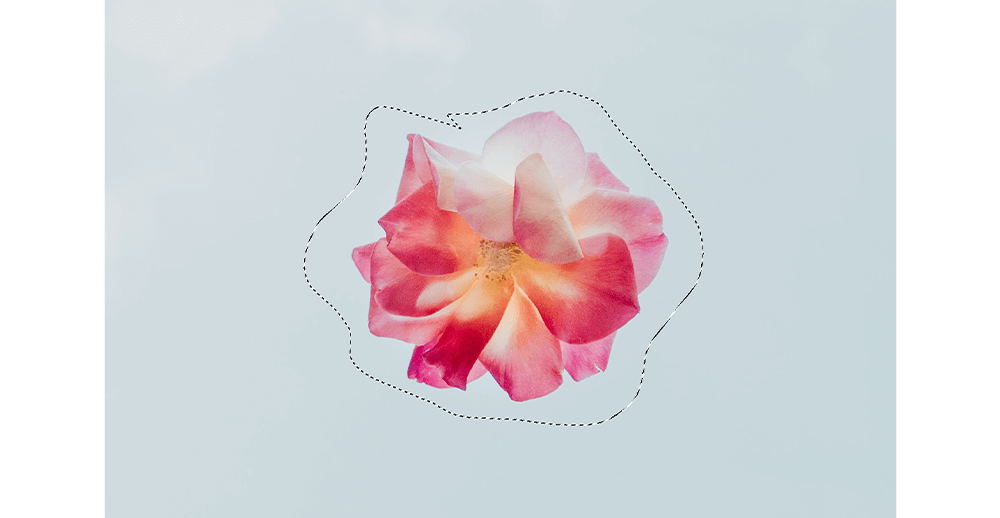
Add a layer mask to remove the excess background.

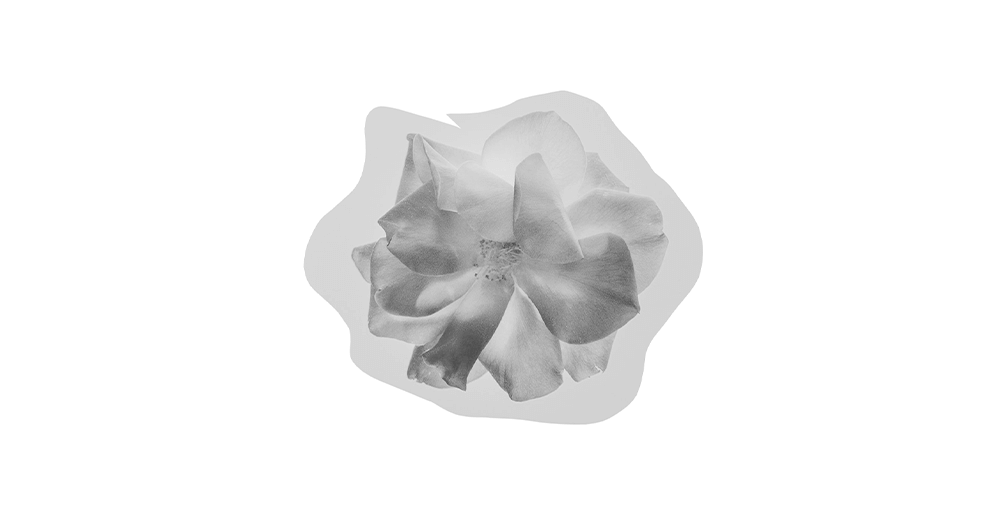
Step 2: Turn the Image Black and White
Go to Image > Adjustment > Black and White to turn the image grayscale. You must convert all images, shapes, or patterns to grayscale before being exported as a Custom Brush.
You may also need to add contrast to the image. I like to use a Levels adjustment layer, but you can also use Image > Adjustments > Brightness/Contrast or Curves.
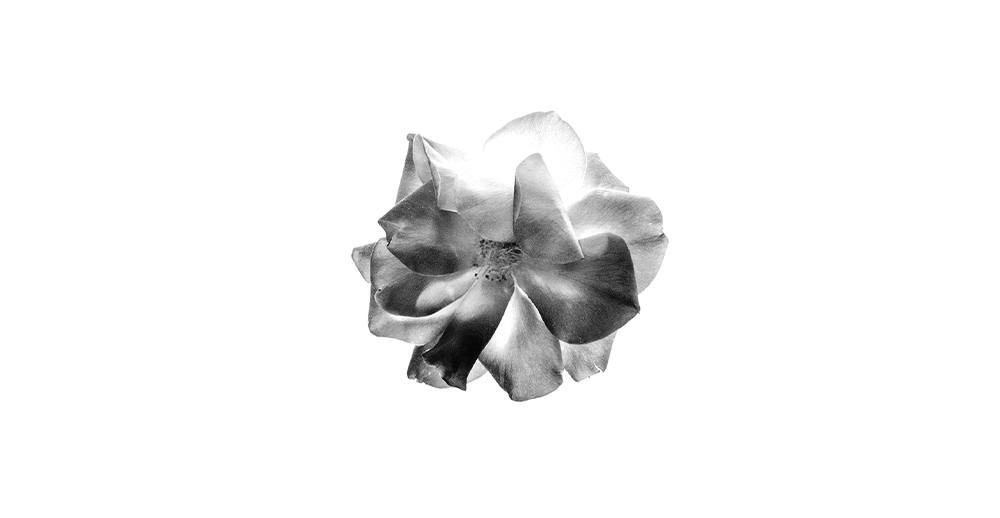
The darker the area on the brush, the more opaque those areas will be on the brush. White will result in complete transparency.
Step 3: Export the Image as a Brush
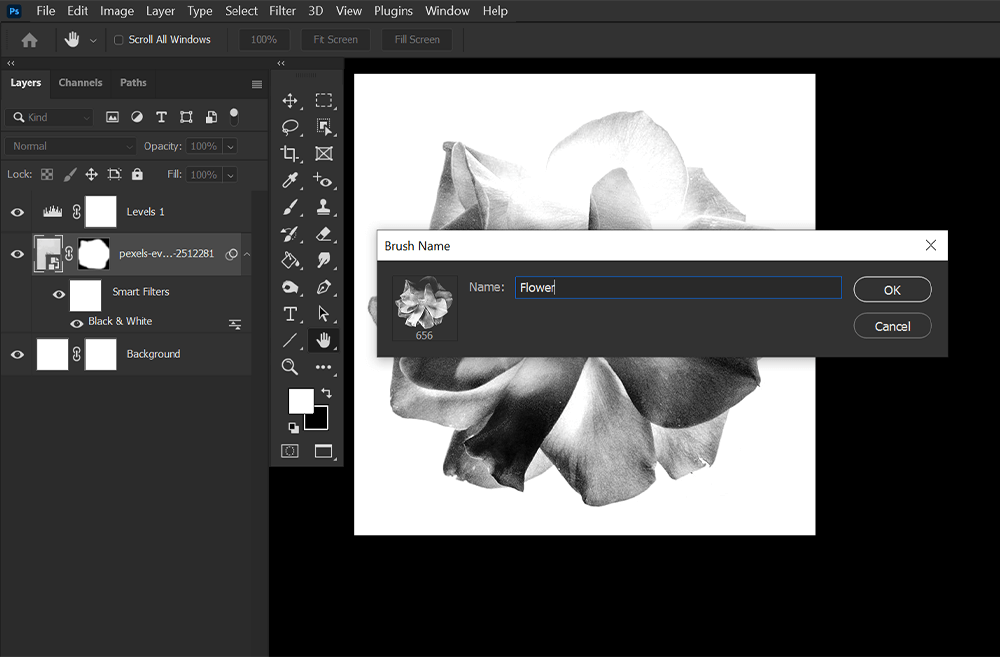
Crop any excess canvas using the Crop tool and go to Edit > Define Brush Preset.
Finally, name your new brush.
Step 4: Save and Export the Brush
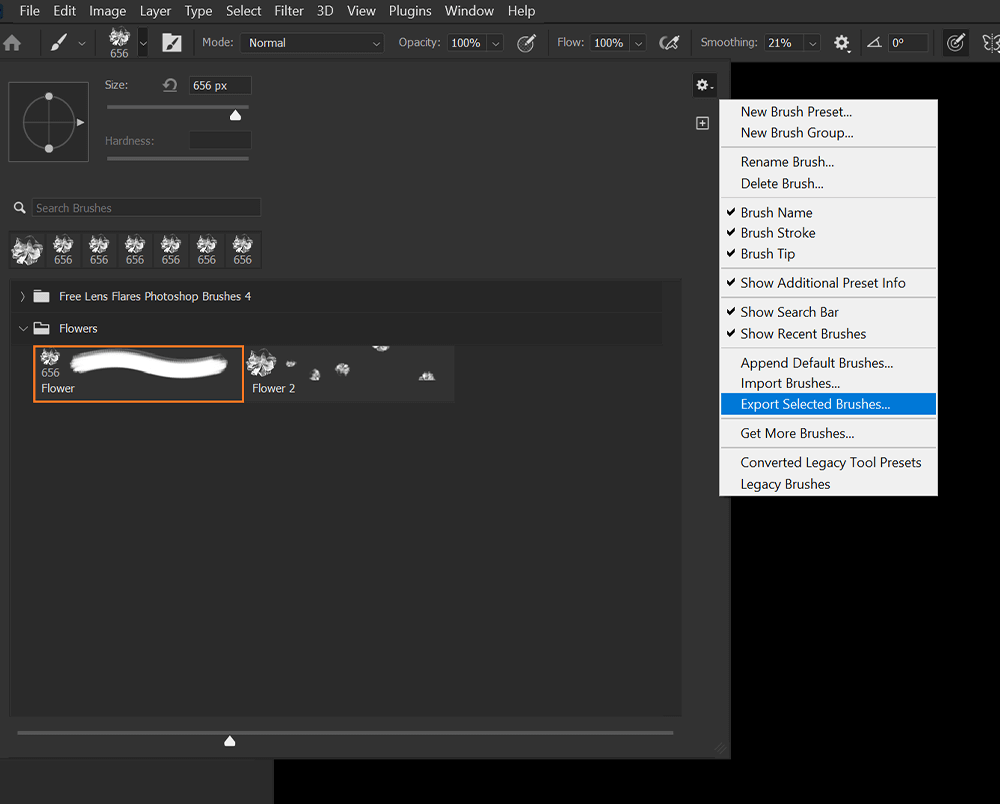
If you’d like to share this brush with other people, select the Brush tool, select the new brush tip, and go to Settings (Cog Icon) > Export Selected Brushes. Your brush will export as an .ABR file that you can share or re-install.
If you want to export multiple brushes into the same .ABR file, make sure they are also selected when exporting. Select multiple brushes by holding Ctrl or Command and selecting all of the brushes you want to export.
How to Edit Brush Settings in Photoshop
Step 1: Open Brush Settings
Open the Brush Settings panel by going to Window > Brush Settings.

Step 2: Edit Brush Settings
Let’s look at some of the most common brush settings you may want to change.
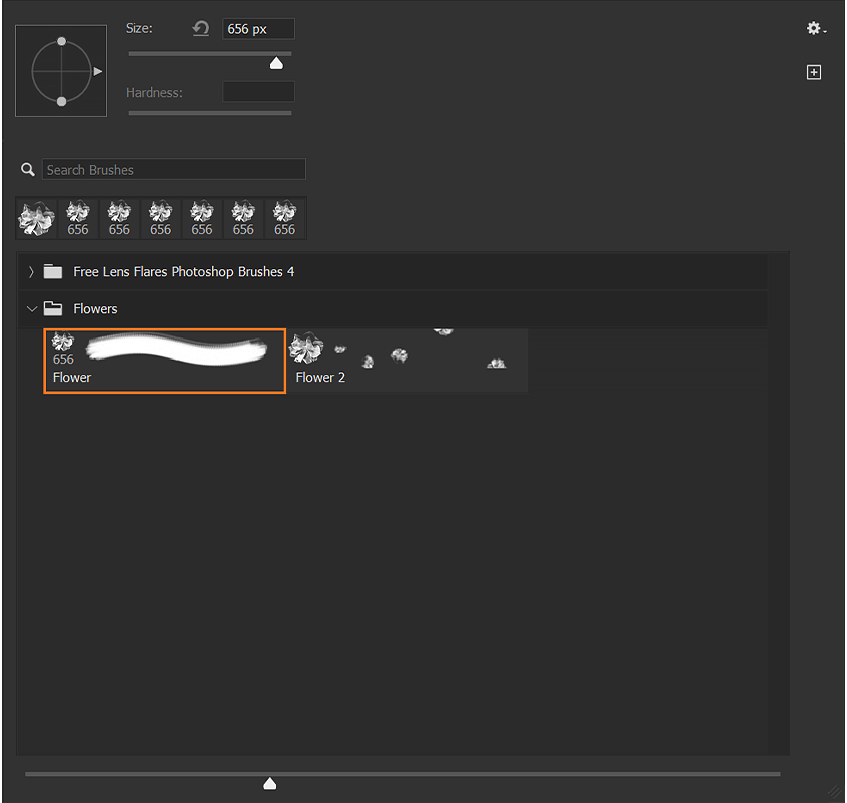
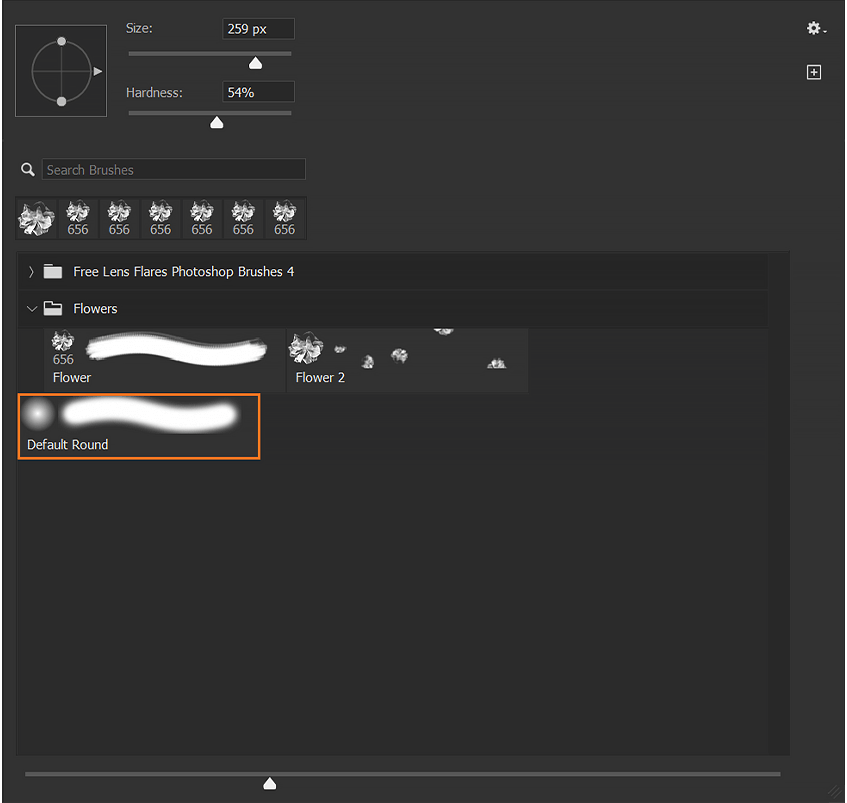
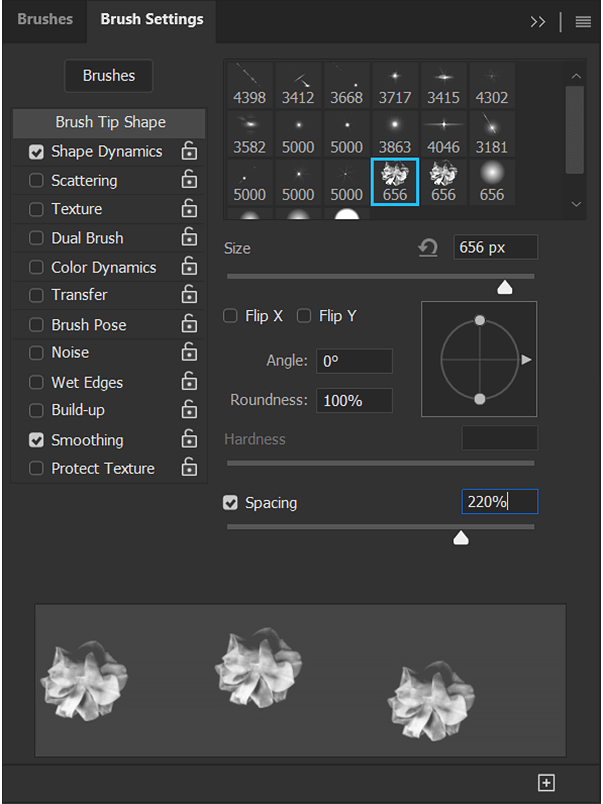
Size — The Size will control how large or small your brush is. You can change the Size in Brush Settings and Brush panel by using the given sliders. You can also change the Size of the Brush by using the [ and ] keys.
Hardness — Hardness dictates how hard or soft a brush’s edge will be. 100% hardness will give you a sharp edge, while 0% will result in a soft, feathered edge. You can’t change the Hardness on custom brushes that are not based on a default round shape.
Opacity — Opacity changes how opaque the brush is. The lower the Opacity, the more transparent the brush will be. You can change the Opacity of a brush in Brush Settings, the Brush panel, and in the upper Options bar when the Brush tool is active.

Spacing — Spacing changes how far away each brush stamp will be from the other. If you want to create a solid line, you should set the Spacing no higher than 10% and as low as 1%.
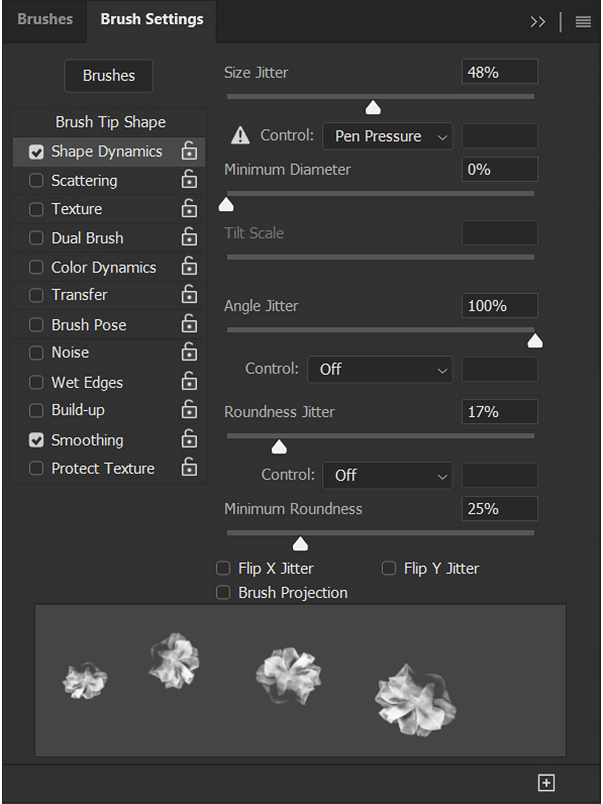
Shape Dynamics — Shape Dynamics holds all of the settings regarding the shape of your brush tip, including Jitter options. Adding a Jitter to a brush will cause the brush to paint inconsistently, changing size, angle, and shape depending on the settings. You will also find Pen Pressure options if you have a drawing tablet. Pen pressure is not available if only a mouse is being used.
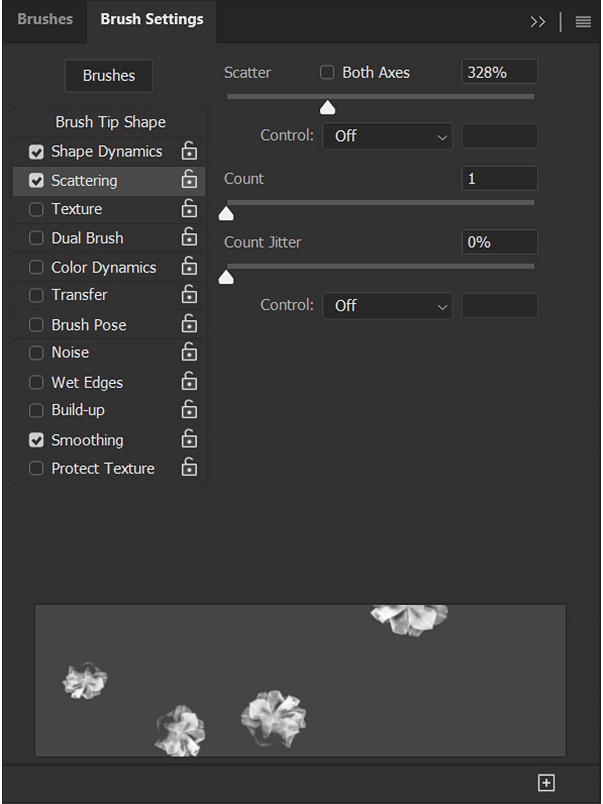
Scattering — Scattering will spread the brush tip. A Scatter of 0% will cause the brush tip to stamp one directly one after the other. The higher the scatter, the larger the spread will be between stamps. Count will give you the option to add more than one stamp at a time. Count Jitter will randomize how many stamps are placed at once.
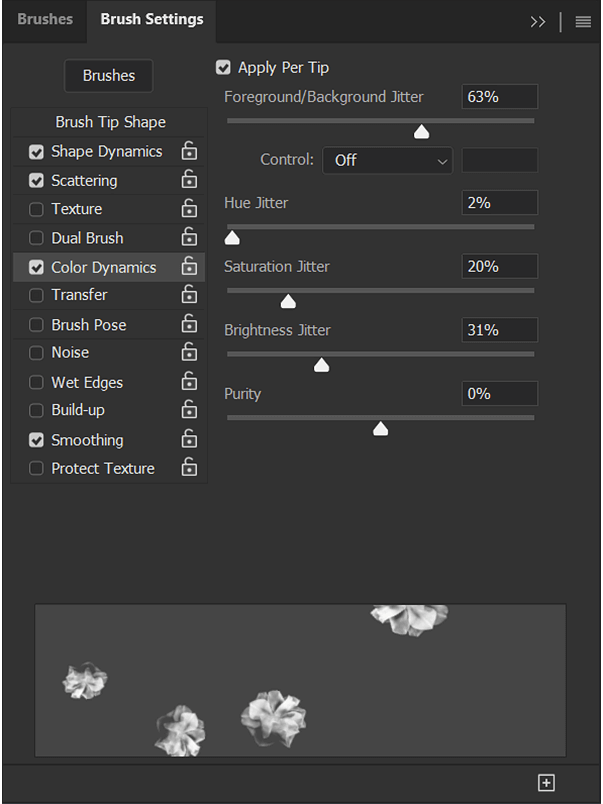
Color Dynamics — Color Dynamics will give you Color Jitter options. These settings give your stamps the ability to be multiple colors without manually changing the Foreground Color. The Foreground/Background Jitter setting will introduce the Background color into the stamps depending on the settings chosen.
Smoothing — Smoothing is found in the Upper Options bar when the Brush tool is selected. It smooths out your strokes, making it easier to create curved shapes. By default, it is set to 20%. The higher the percentage, the smoother or steadier the stroke. A stroke of 0% will pick up all movements from the mouse.

Step 3: Save the New Brush
Now that we have added some custom settings to our brush, we’ll want to save it using the Save Brush icon found in the bottom-right corner of the Brush Settings panel. Look for it as a square with a plus sign in the middle.
The brush will appear at the bottom of your brush tips. If you do not save a brush with custom settings and switch to a new brush, you will lose those custom settings.
How to Organize your Brushes in Photoshop
Moving and Renaming Brushes
You can move around brushes simply by clicking and dragging on the brush tips in the Brush panel. To rename a brush, Right-click > Rename Brush.

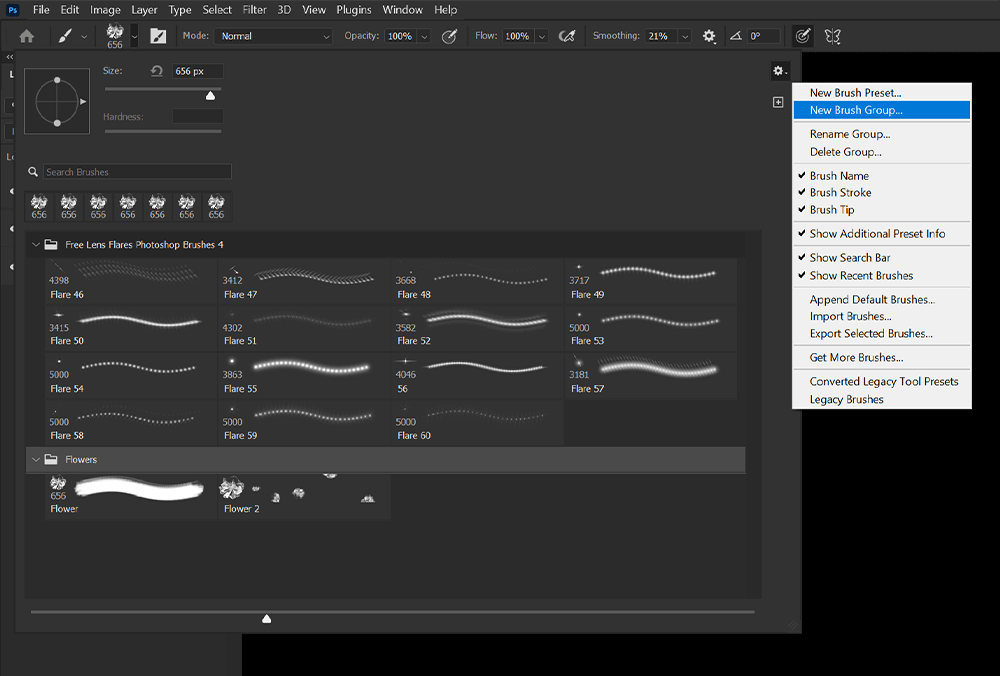
Creating Brush Groups
To further organize your brushes, you can create groups. Create a brush group by going to the Brush Panel > Settings (Cog Icon) > New Brush Group.
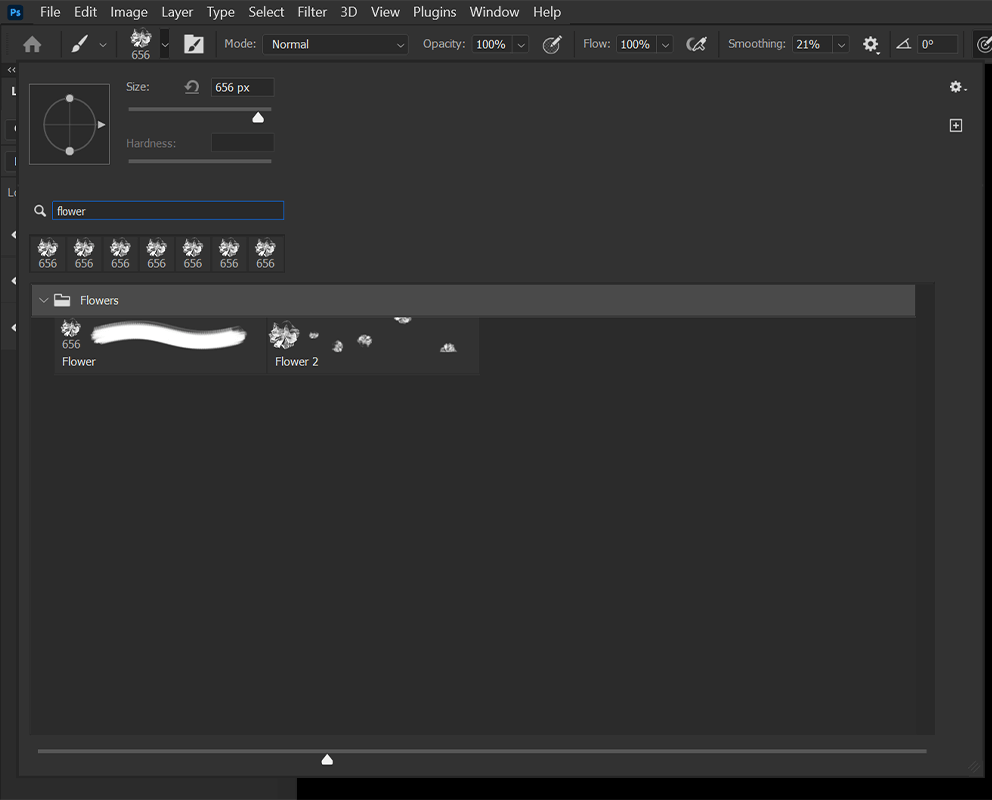
Searching for Brushes
It’s easy to have hundreds of brushes installed in Photoshop at any given time. To quickly find a brush by name, you can use the Search bar in the Brush panel.
The search bar works on keywords, so the name does not need to be exact. It will pull up all brushes with the keyword in the brush name.
Conclusion
And that is how to install brushes in Photoshop! Brushes are one of Photoshop’s most powerful features thanks to the robust community of custom brush makers and sellers. This includes anything from premium brush packs containing hundreds of brushes to free brush packs that anyone can use.
If there is a brush shape, pattern, or type you need, I can guarantee you’ll be able to find it. Luckily, if not, you can always make a set of your own custom brushes in just a few clicks!
Leave a Reply