
How to Add Fonts to Photoshop in Windows & Mac (Step by Step Guide)
A constant stream of custom fonts is crucial to any artist’s workflow. Thanks to social media, even traditional artists will need to know at least the basics of typography. You don’t want to be stuck using the default fonts over and over again.
Today, we will be covering how to add fonts to Photoshop for both Mac and PC. Installing fonts is both quick and inexpensive.
We’ll be covering how to install custom fonts from websites, as well as Adobe Font. This is the premium font site that comes included with Photoshop. Get ready to supercharge your workflow, and download some fonts!
How to Add Fonts to Photoshop in Windows
Step 1: Choose a Font Site and Download the Font
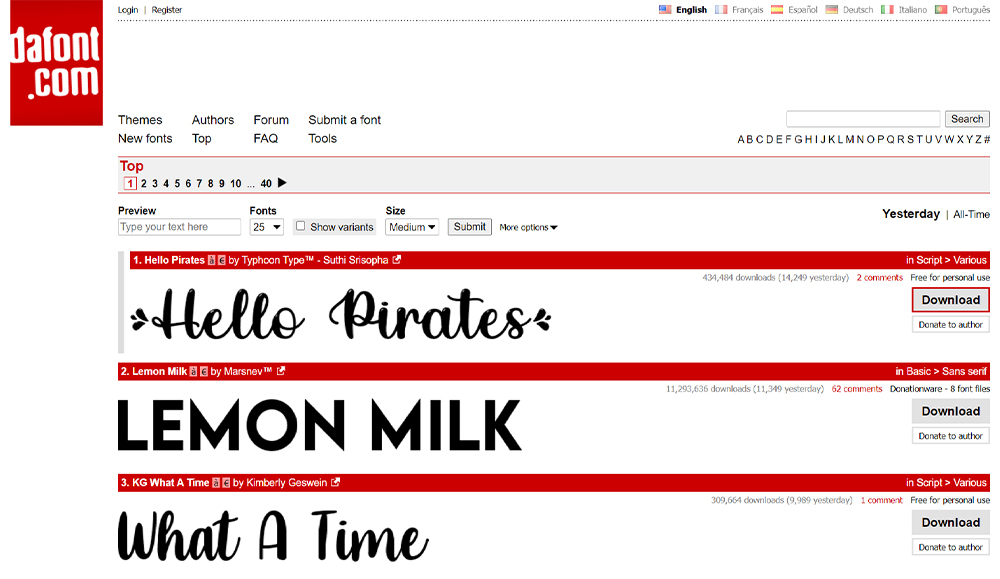
Download a font from a site such as dafont.com.
There are thousands of custom fonts, some free and some paid. If using a font for commercial use, be sure to double-check the licensing, as many free fonts are only available for personal use.
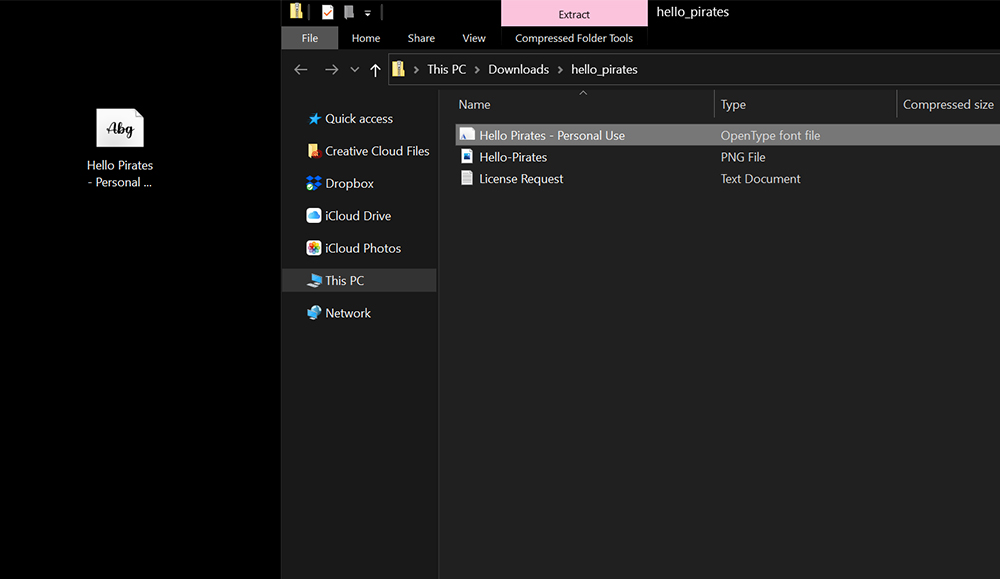
Step 2: Extract the Downloaded Font File
With the font download, extract the font onto your computer’s desktop. The font will likely come zipped in a .ZIP file.
To extract a .ZIP file, double-click the .ZIP and then drag and drop the contents onto the desktop.
Alternatively, you can select the .ZIP file and then Right Click > Extract All.
Step 3: Install the Font on Windows
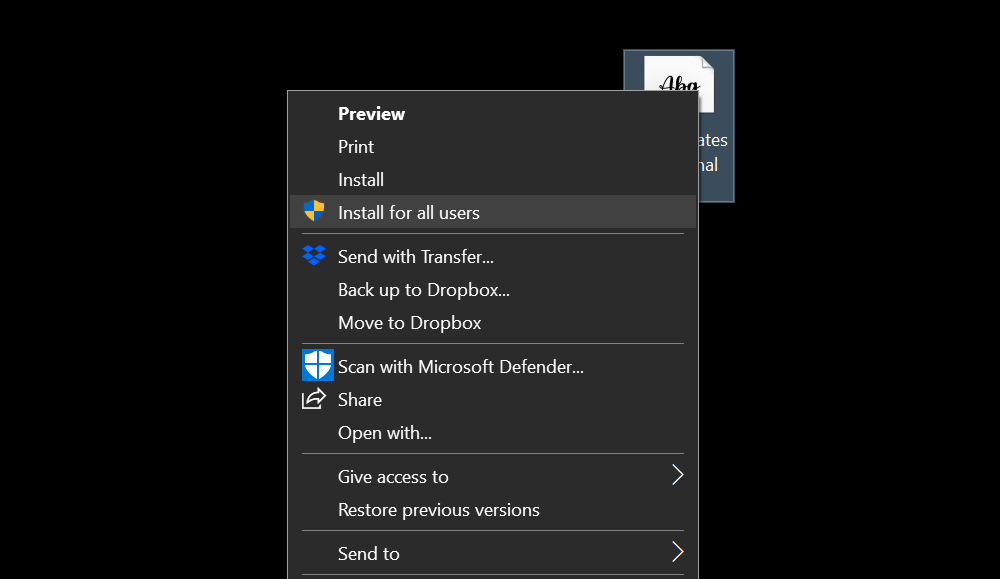
Option 1 – Now, select all font files and Right-Click > Install for all Users.
Once installed, you can delete the font files located on the desktop and the original .ZIP file.
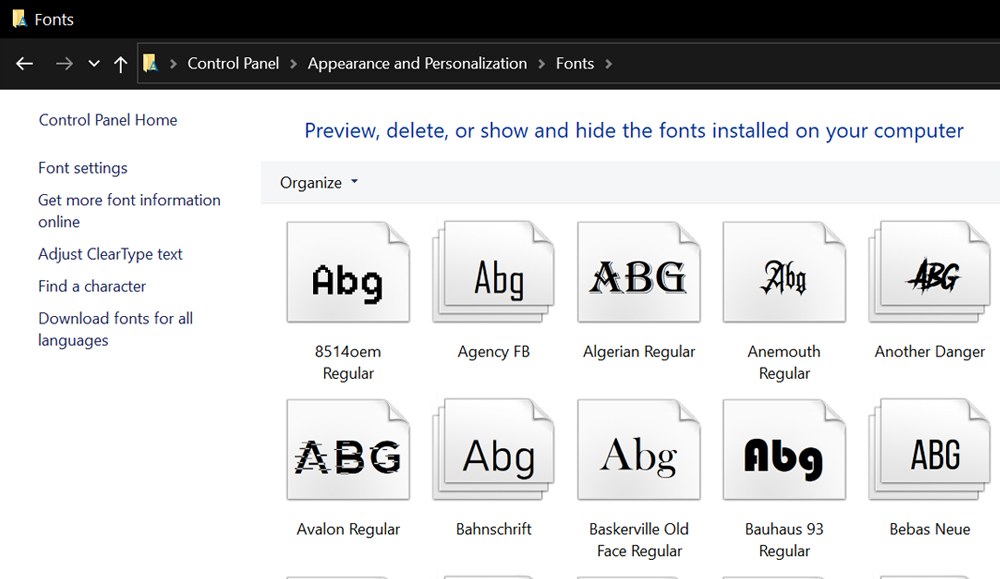
Option 2 – If the Install for all Users option is not showing in the right-click menu, then you can manually place the fonts inside of the Windows font folder.
Open Control Panel and then Appearance and Personalisation.
Open the Fonts folder and drag and drop your font files from the desktop into Fonts.
Step 4: Refresh the Type Tool and Use Your Font
With the fonts installed, open Photoshop and double-check that they were installed correctly by searching for them in the Fonts dropdown menu.
However, if Photoshop is already open, you do not need to restart it.
If the Type tool is active, switch to a different tool and then back to the Type tool. If the Type tool is not active, simply select it.
The Fonts dropdown menu will refresh, and your font will be active.
How to Add Custom Fonts to Photoshop in Mac
Step 1: Download and Extract the Font onto Your Desktop
Next, you’ll learn how to add fonts to Photoshop on a Mac.
First, download and extract the font file onto the Desktop. Make sure all font files are unzipped and loose.
Step 2: Install font into “Fonts” Folder.
Option 1 – Next, either Copy or move all font files into one of the following locations:
If you want the font to be available for all computer users, put the fonts in this destination: /Library/Fonts/
To install fonts for only a single user, install them in: /Users//Library/Fonts/
Fonts must be loose in the destination folder, not zipped or in a subfolder. If your fonts are not showing up, double-check to make sure they are in the correct folder.
Option 2 – Alternatively, you can double-click the font name to open the Font Book application.
Click install font. Once installed, you can delete any font files on the desktop.
Step 3: Refresh the Type tool in Photoshop
You can see if your font is installed correctly by opening Photoshop, refreshing the Text tool, and searching the font name in the Font dropdown menu.
You can refresh the fonts drop-down menu by switching from the Type tool to a different tool, and back again.
How to Add Adobe Fonts to Photoshop in Mac & Windows
Here’s how to add custom fonts to Photoshop using Adobe Font. Adobe Font, formally known as Adobe Typekit, is a collection of licensed fonts that are included with every Adobe Creative Cloud plan.
All fonts on Adobe Font can be used for both personal and commercial use. There are thousands of fonts available in the collection.
Though keep in mind that the fonts do change, with old ones leaving and new ones being added periodically.
Step 1: Open Adobe Fonts
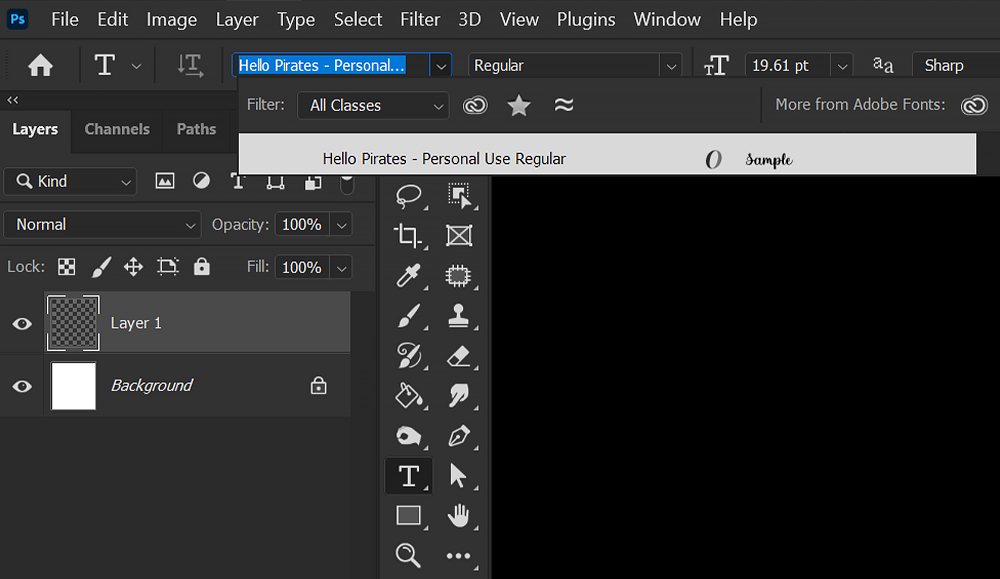
While logged in to Creative Cloud, open Photoshop and click the More From Adobe Fonts button in the Font dropdown menu.
Step 2: Activate Font and Font Styles
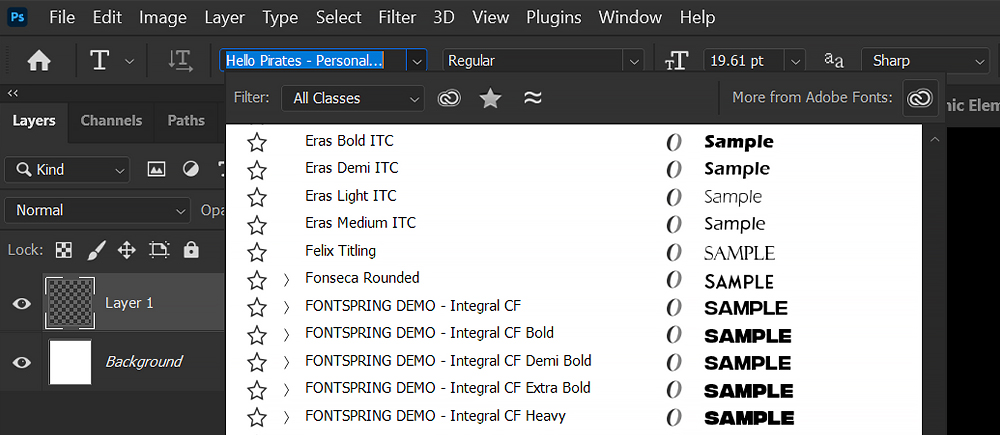
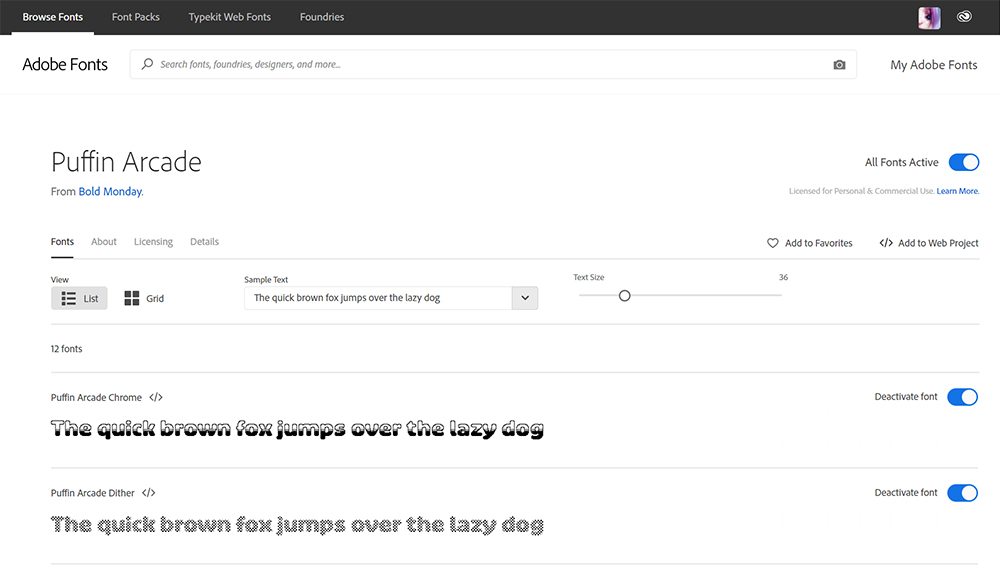
Choose the font you want to download, and then Toggle on Activate Fonts to activate all of the font’s different typefaces and weights.
You can also choose to only activate some of the font’s styles, while leaving others inactive, which will help keep your Fonts dropdown menu shorter and better organized.
Step 3: Search for and Use the Font in Photoshop
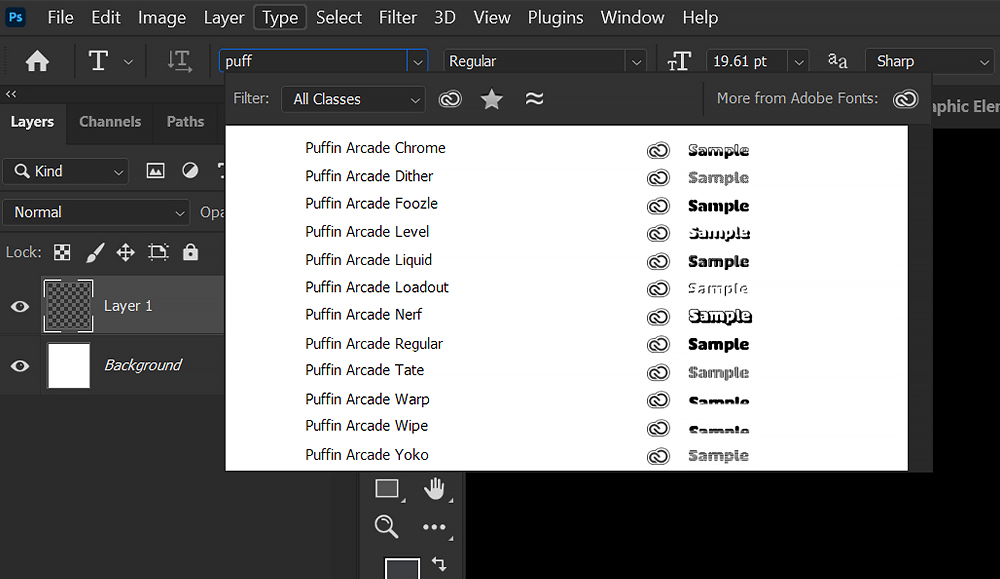
Once activated, go back into Photoshop and search for your font by name.
Adobe fonts download automatically and sync across all Adobe programs, as long as you are logged into Creative Cloud and have an Internet connection.
OTF vs TTF
Both OTF and TTF are files containing fonts. Almost all modern applications, including Photoshop, can use OTF and TTF font files together and interchangeably. So what key differences could they possibly have, and is one better? Depending on who you are, a lot, and yes!

TTF (TrueType Font)
TTF stands for TrueType Font, an older font file extension. Created by both Apple and Microsoft to help standardize font files between the two operating systems. TTF set the standard for what font files are today.
OTF (OpenType Font)
OTF was also a joint effort, but between Adobe and Apple, coming years after TTF. And while OTF contains all of the features that TFF does, it also has more. This includes increased storage that allows for up to 65,000 characters. These extra characters give OTF fonts advanced typesetting features.
Which is better?
OFT has more options and features that are crucial to the work of both typesetters and designers.
With that said, if you aren’t a graphic designer or typesetter, you are likely never going to use or notice these extra features. If OFT is an option, then use it. However, if a font only contains a TFF file, then that will work just as well.
Conclusion
That’s how to add fonts to Photoshop. Whether you’re using a Mac or PC, installing a custom font is quick and easy. Just download and install. Good luck using your newly installed fonts in all of your future projects!
Leave a Reply