How to Safely Enable SVG Support in WordPress (Manually & Via Plugin)
Using visuals in your online content is crucial to make it appealing.
Fortunately, WordPress allows you to use a multitude of image formats out of the box, including JPG, PNG, and GIF. Yet, native WordPress SVG support (scalable vector graphics) is lacking.
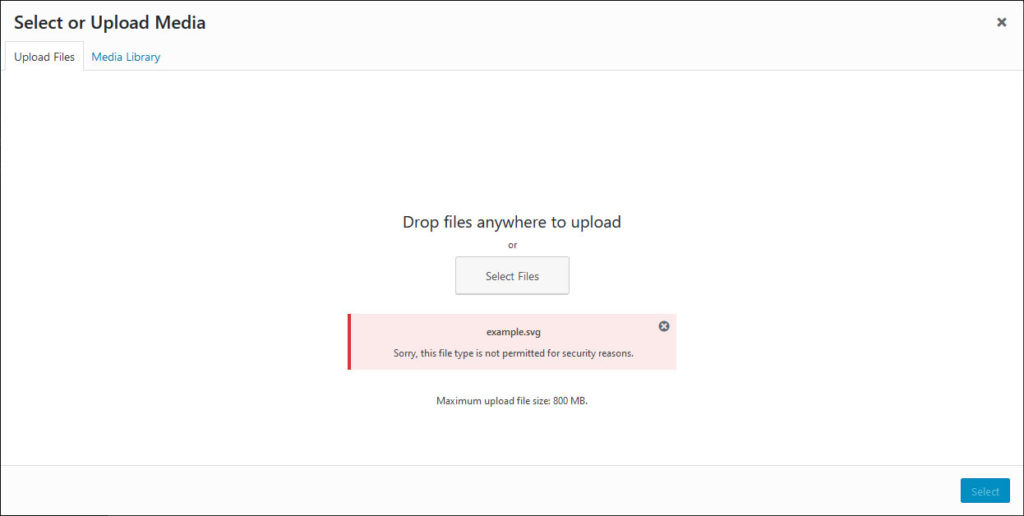
This is unfortunate because SVG files offer many benefits over the usual, rasterized image forms. However, there is a good reason: security concerns. Scalable vector graphics are not necessarily the safest file type.
Luckily, there are ways to work around all of this and in this post we will show you how. Below, you will learn what SVG files are, their pros and cons, when to use them, and how to enable SVG support in WordPress in different ways.
Let’s get started.
What are Scalable Vector Graphics (SVG)?
First of all, SVG is not actually an image format but a markup language. It creates images out of curves and allows for animations, as you will see below.
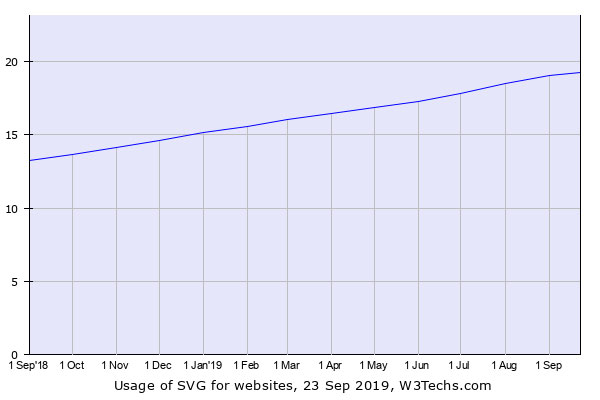
The file type has been an open standard since 1999. By now, 19.3 percent of all websites utilize it and the number is steadily growing.
Browser support for this type of graphic is excellent. SVG works in all major web browsers, including Internet Explorer, Edge, Firefox, Google Chrome, Safari, Android, and Opera.

Only IE8 does not support it, however, seeing as it has very little market share, we will not worry about that so much. If you do, you can also provide a PNG or JPG as a fallback image for those users of your audience. In addition, IE9-11 desktop and mobile have problems properly scaling SVG files. Adding height and width fixes this issue.
SVG Benefits
SVG exists in a vector format, which means an SVG image scales to any dimension you want without loss of quality. This is in contrast to JPG or PNG, which are rasterized images and therefore limited to their original size.
The best way to understand this is to look at an example:
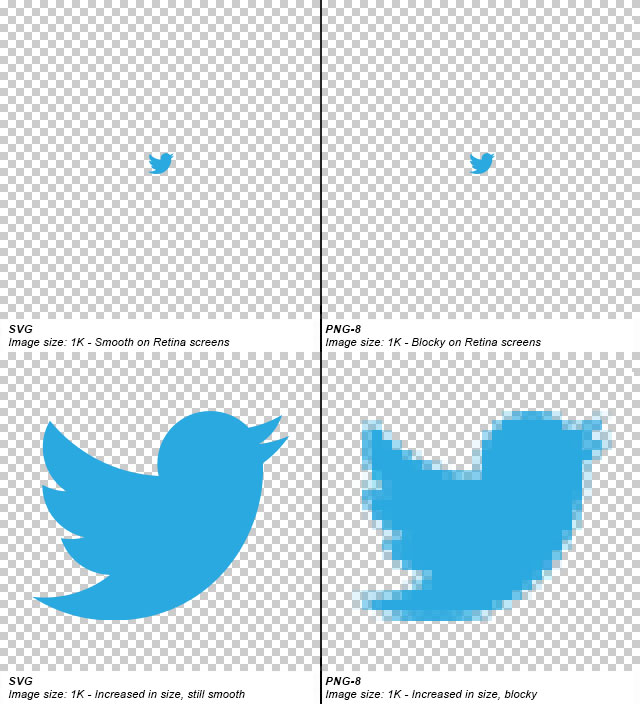
See what I mean?
The scalability makes vector graphics perfect for responsive design. They also look better on retina displays, which many mobile devices possess these days. In addition, SVG is also suitable for SEO purposes because Google recognizes and indexes the format.
What’s more, this file type is usually smaller than PNG and JPG. SVG need to save less information because they are made up of vectors, not pixels. That way, they take up less space on your website, helping it load faster. Here is an example:
JPEG (Optimized Size: 81.4KB)

SVG (Optimized Size: 6.1KB)

You’ll see that the SVG image is 13 times smaller than the other file format. Overall, a reduction in size of more than 90 percent is pretty normal. If you did this with all the images on your website, you could make it run much more efficiently. Unfortunately, that’s not how it works as you will see now.
Disadvantages of SVG
Yet, it’s not all rainbows and sparkles in SVG lang, there are also downsides to using them.
For one, they are hard to create. You need special tools and knowledge to make them as you will learn below.
Scalable vector graphics are also not suitable for every image on your site. This is because they don’t handle intricate details very well. In fact, at a certain point, SVG files actually grow larger than their rasterized counterparts.
JPEG (Optimized Size: 259KB)

SVG (Optimized Size: 515KB)

Besides the fact that the SVG image is now larger than the JPEG, you will also notice that the image quality is slightly worse (especially around the run’s rays). For that reason, SVG are best used for less detailed visuals like icons or logos. For more complex imagery, such as in featured images for blog posts, using a PNG or JPG is a better idea.
Especially, since social media networks don’t support SVG sharing, which would make your content look bland on there. While you can work around that, for example, by including a pixel version of your images for sharing (e.g. via Yoast SEO), this sounds like more hassle than it’s worth. When you do use JPGs or PNGs, be sure to optimize them.
The biggest downside of scalable vector graphics, however, is that they come with serious security concerns. Since they are XML files, SVG are vulnerable to malware injections that can wreak all kinds of havoc. For example, compromised SVG files can theoretically be used to spy on you, use your camera, your microphone or download malicious software to your computer.
That’s also the main reason why this file type is not supported by WordPress out of the box. There is a long-standing discussion in the Make WordPress channel for that very reason. You can find more details on the problem of SVG security here.
What to Do About It
There are plenty of code snippets out there that allow you to enable SVG support in WordPress. However, before you copy and paste one willy-nilly, you need to make sure that it doesn’t compromise your site’s security.
In the case of SVG, that is done via so-called sanitization. That is the act of cleaning files to prevent security issues (like code injections), errors, and conflicts. If you’re not computer savvy, we recommend not doing this yourself. Although there are plenty of tutorials online on how to sanitize code, coding is often finicky. One period out of place could cause your whole program or website to stop working, so it’s best to leave it to the experts. Especially since, as you will see, it’s pretty easy to achieve this with a WordPress plugin.
In addition, be smart about your choices. Only use scalable vector graphics from trusted sources. This extends to other people on your site. If your employees can upload SVGs, your site could be at risk. Restricting permissions to trusted people like administrators will prevent that.
If you still want to code your own SVG support, we have some tips on how to get started below. But first, let’s talk about how to even acquire an SVG file.
How to Create an SVG File
As mentioned earlier, one of the more difficult things about scalable vector graphics is creating them. It’s much harder than, say, taking a photo with your camera phone, running it through a bunch of filters, and then posting it on your site.
To create SVG files, you need special software like Adobe Illustrator or its free, open-source alternative Inkscape. There are also web solutions like Vectr and SVG-Edit by Google.
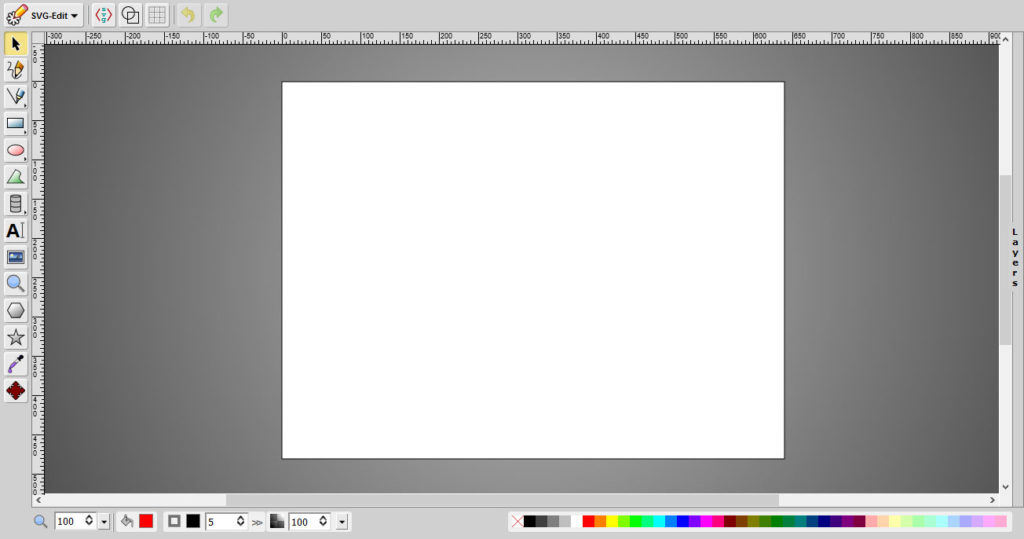
While it’s possible to teach yourself how to use these programs, it takes time. Therefore, in many cases, it might be more economical to work with a graphic designer instead.
Alternatively, if you already have a pixel version of your desired image, you can also turn it into a vector with a tool like Vector Magic. In addition, there are loads of libraries full of free vector icons you can use on your site:
Once you have your vector file at hand, you can check it by opening your local image in different browsers. This allows you to see what it will look like on the web. Once you are satisfied, it’s time to move on to getting it onto your WordPress site.
SVG and WordPress – How to Safely Enable SVG Support via Plugin
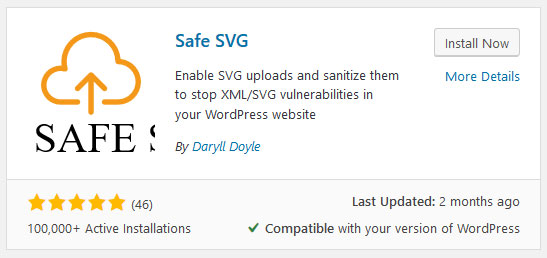
There are several plugins in the WordPress directory that allow you to safely use SVG files on your site. These include, SVG Support and Easy SVG Support. However, for this tutorial, we will use Safe SVG.

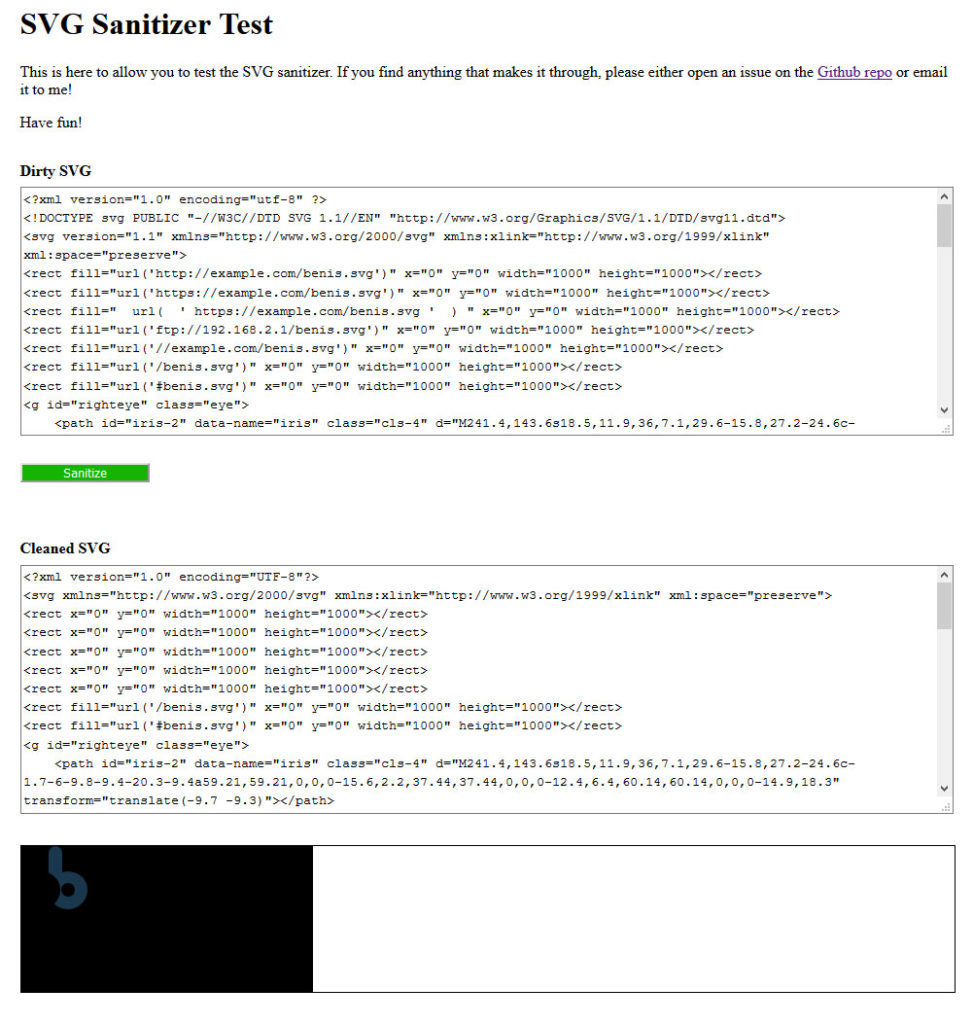
It uses an SVG sanitizer library for uploading images to your WordPress website. While this does not provide a 100-percent guarantee that nothing will happen, it’s much better than going completely without protection. Therefore, you also need to be vigilant of your SVG use as mentioned above.
The plugin also allows SVG files to appear like regular images in your media library. In addition, there is a premium version, which lets you restrict access who can upload them to your site.
1. Prepare Your File
We already covered how to create SVG files earlier. To use them in WordPress, the CMS now requires them to contain the <xml> tag. So, in order to avoid seeing an error message, open your file in a text editor and add the following in the first line:
&lt;?xml version="1.0" encoding="utf-8"?&gt;Of course, if your SVG already contains that tag, there is nothing for you to do but move on.
2. Install the Plugin
You can install Safe SVG like any other plugin by going to Plugins > Add New inside your site’s back end. Simply enter the name in the search box, find it in the list, hit Install, and don’t forget to activate the plugin once downloaded.
3. Upload Your SVG File
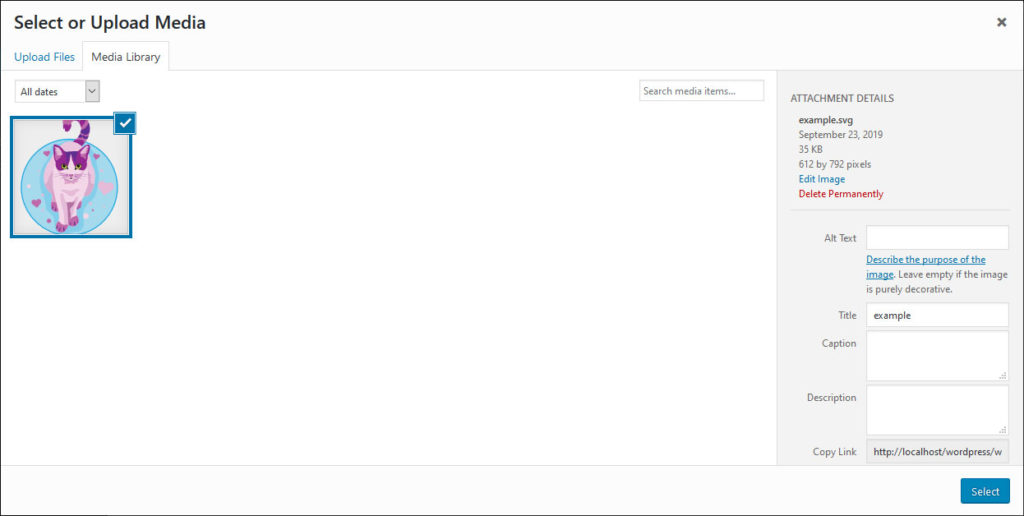
When the plugin is active, you can start uploading SVG files right away. Simply enter the media library via Media or inside a blog post or page. Then, either drag and drop the file from your desktop into the screen or choose to upload a new file and select it. Either will start the upload.
Afterwards, the image will show up in your media library like any other. You also have the possibility to add an ALT text, title, caption, and description to it.
4. Use It on Your Site
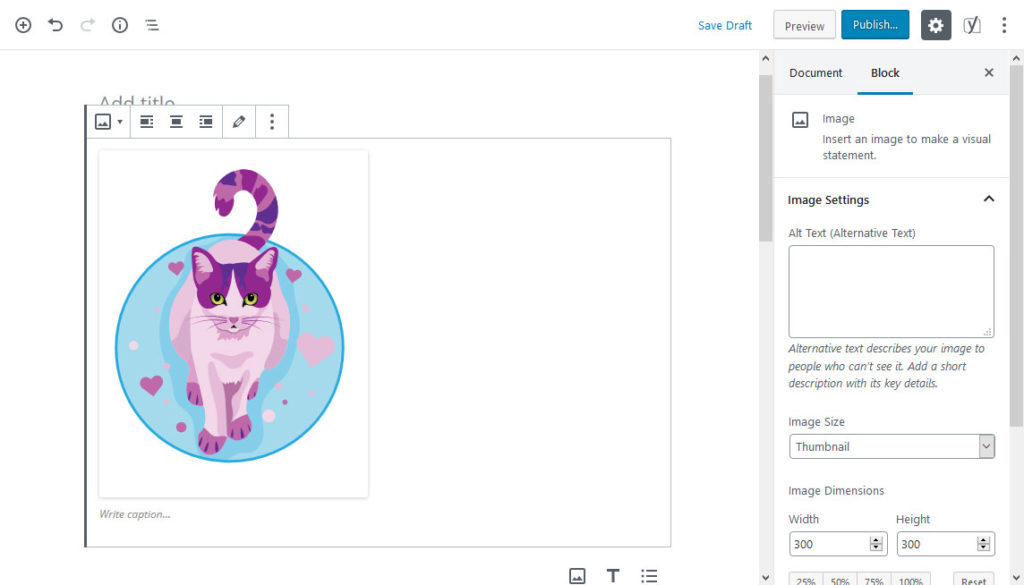
When present in the media library, you are able to use your SVG file like any other image. You can input it into any page or post in the usual way. The plugin works in Gutenberg without a hitch and the resulting image block lets you change the image size, ALT text, place it links to, etc.
And that’s it, there is nothing more to do. The plugin doesn’t come with any other settings. It does one job and it does it well. Easy, right?
Enable WordPress SVG Support Manually
In case you don’t want to use a plugin for using scalable vector graphics in WordPress, you can also code your own solution. In fact, theoretically, switching on the possibility to use this type of file on your site is as easy as opening your theme’s functions.php and pasting the following code:
function enable_svg_upload( $upload_mimes ) { $upload_mimes['svg'] = 'image/svg+xml'; $upload_mimes['svgz'] = 'image/svg+xml'; return $upload_mimes; } add_filter( 'upload_mimes', 'enable_svg_upload', 10, 1 );However, this does not include any file sanitization and thus opens you up to the aforementioned security issues. Therefore, it’s important that, for your manual solution, you also sanitize any files that are uploaded to your site. A good start for that is SVG-Sanitizer, which was made by the same person who created the plugin we used above.
For a more in depth explanation of sanitizing SVG code, click here.
Next Steps
In addition to using them on your site like normal images, scalable vector graphics can also be animated. You can find examples of that here. If you are interested in learning more about this, you can do so in this post.
Also, if this is your first time using SVGs and you are using Gzip compression to speed up your site, ensure it includes the image/svg+xml file type. Sometimes administrators only enable the more common file types.
SVG Vector Graphics and WordPress in a Nutshell
SVGs are a useful resource for web designers and site owners. They are small, scale indefinitely, are well supported, and have a host of other benefits. At the same time, you need to handle them with care in order to not endanger your site.
Above, you have learned the pros and cons of this file type, how to create SVGs to use on your site, and ways to enable support for scalable vector graphics in WordPress. By now, you are ready to use SVG files on your WordPress site. Just be sure to do it in a safe and responsible way. No icon or logo is worth risking the integrity of your web presence.
How do you use SVG graphics on your WordPress site? Any additional tips or resources? Let us know in the comments section below!


Leave a Reply