
How to Make a Cloud Brush in Photoshop
Creating your own custom brushes in Photoshop may sound difficult. The good news is it’s actually as simple as turning an image grayscale and exporting it as a brush.
Anything can be turned into a brush, but one of the most useful brushes a photographer, designer, or artist can own is a cloud brush.
Learning how to make a cloud brush in Photoshop will save you time, and give you the creative freedom to create your own dynamic and dramatic landscapes.
In this cloud brush Photoshop tutorial, we will be creating four different brushes, let’s get started!
- How to Make a Cloud Brush in Photoshop Using an Image
- How to Make a Cloud Brush in Photoshop using a Default Brush
- How to Use a Cloud Brush in Photoshop
How to Make a Cloud Brush in Photoshop Using an Image
Step 1: Import a Photo of a Cloud
Let’s start by creating a custom cloud brush Photoshop preset from an already existing photo.
Open a new large Document in Photoshop, ensuring it has a black background.
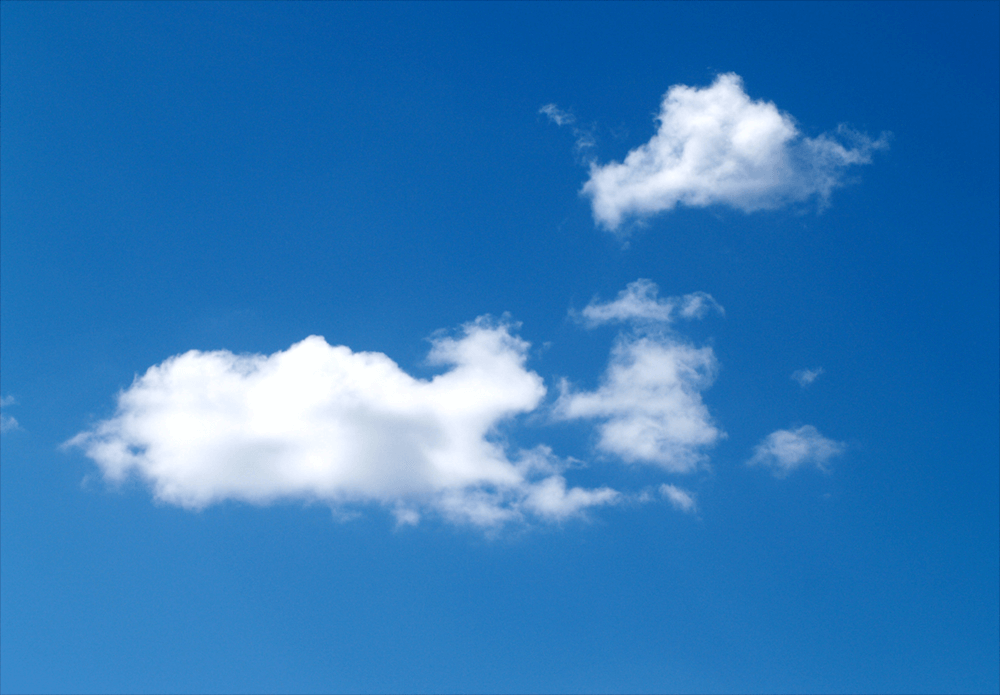
Drag and drop an image of a cloud on a darker blue sky onto the canvas. Any cloud type and sky color will work, as long as the clouds have a significant amount of contrast from the background.
Step 2: Turn the Cloud Grayscale
Next, create a white-to-black Gradient Map adjustment layer above the Clouds layer.
We want the clouds to appear black and the sky to appear white. When creating a brush, the portion of the image that is black will determine the shape of the brush. Everything that is white will appear transparent.
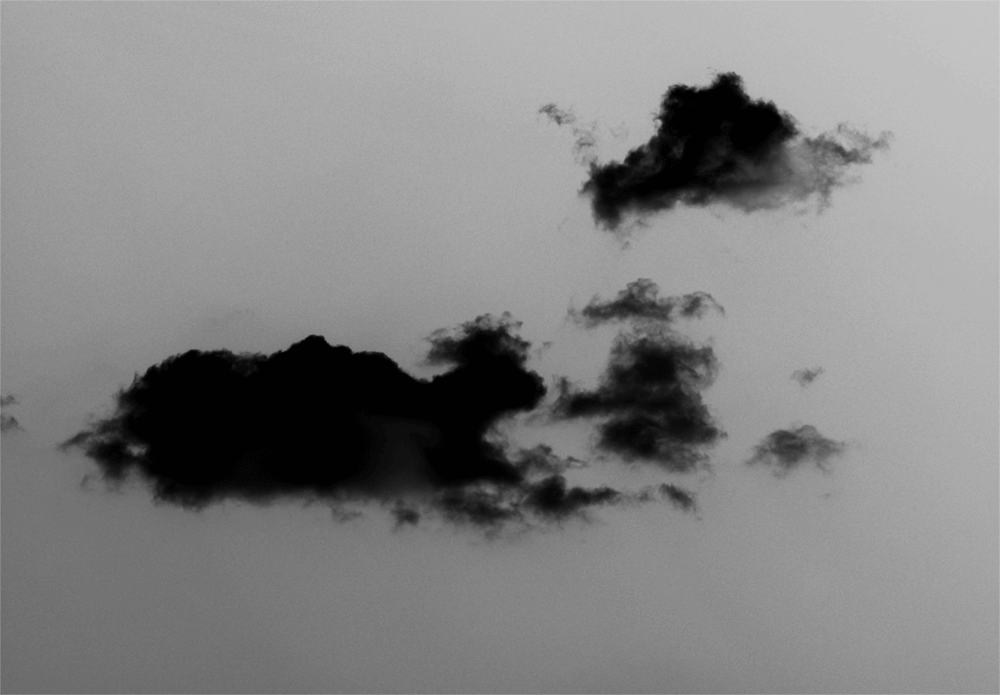
Step 3: Adjust Brightness and Contrast
Now, create a Levels adjustment layer above the Gradient Map adjustment layer. We want to increase the contrast of the image, turning the clouds a deeper black and the sky a whiter white.
Balance the contrast so that the clouds are black, but still have noticeable detail, and the sky appears almost solid white.
My exact settings were 0 Black,1.43 Gray, and 158 White. However, these settings will change from image to image.
Step 4: Mask Away the Leftover Background
You’ll likely still have some leftover darkness in the sky. Go back to the Cloud layer and add a Layer Mask.
Use a soft, round, black brush to mask away any leftover dark spots in the sky. Be careful not to leave any harsh edges or sudden changes in colors. I suggest masking out the edges of the canvas, even if there is no noticeable darkness, just to be safe.
Also, mask out any areas of the cloud that you don’t want to appear on the brush.
Step 5: Save and Export the Brush
Crop any excess canvas using the Crop tool, if necessary.
Now go to Edit > Define Brush Preset and name your new brush.
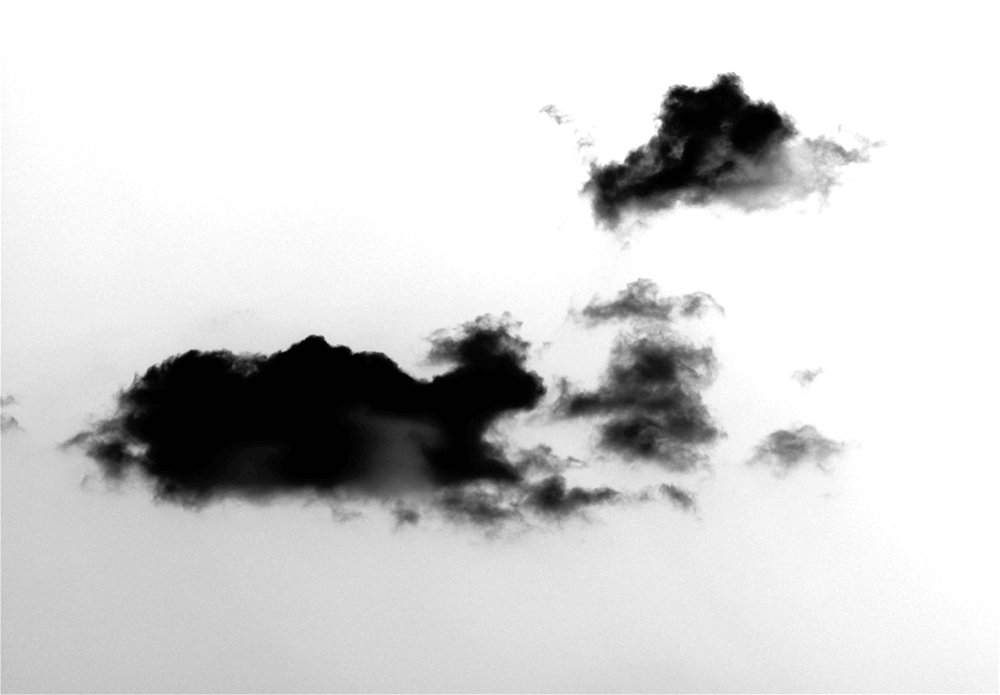
If you only want a single, solid cloud brush, you’re done. However, if you want a brush you can use more dynamically, then we will need to adjust the brush settings. In this cloud brush Photoshop guide, we will be creating two static cloud brushes and two dynamic brushes.
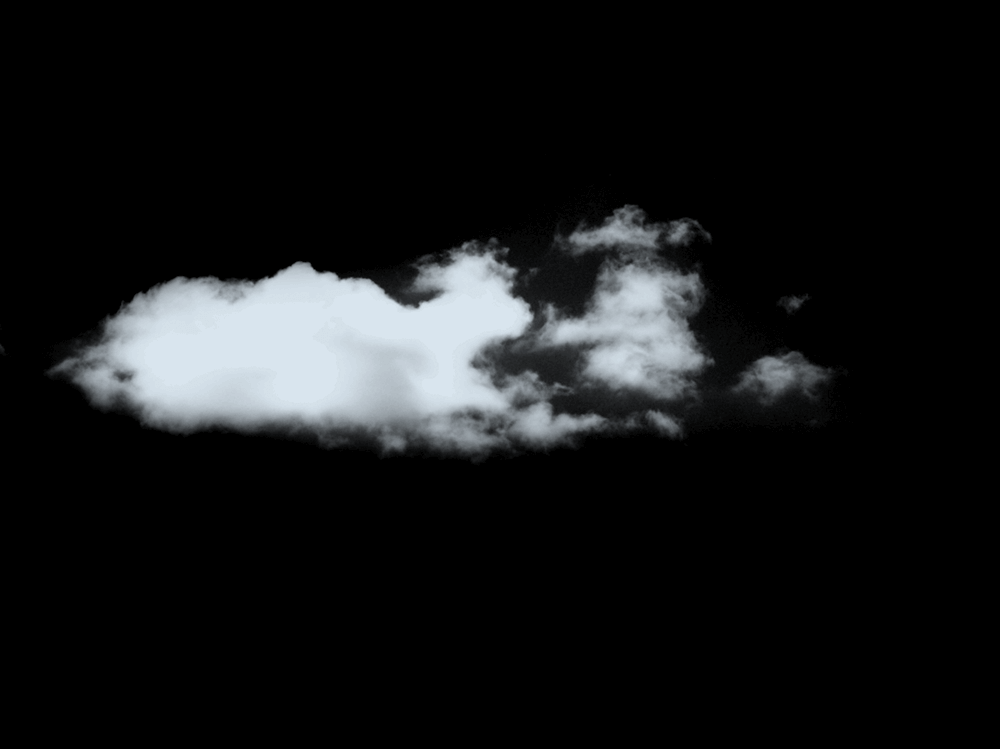
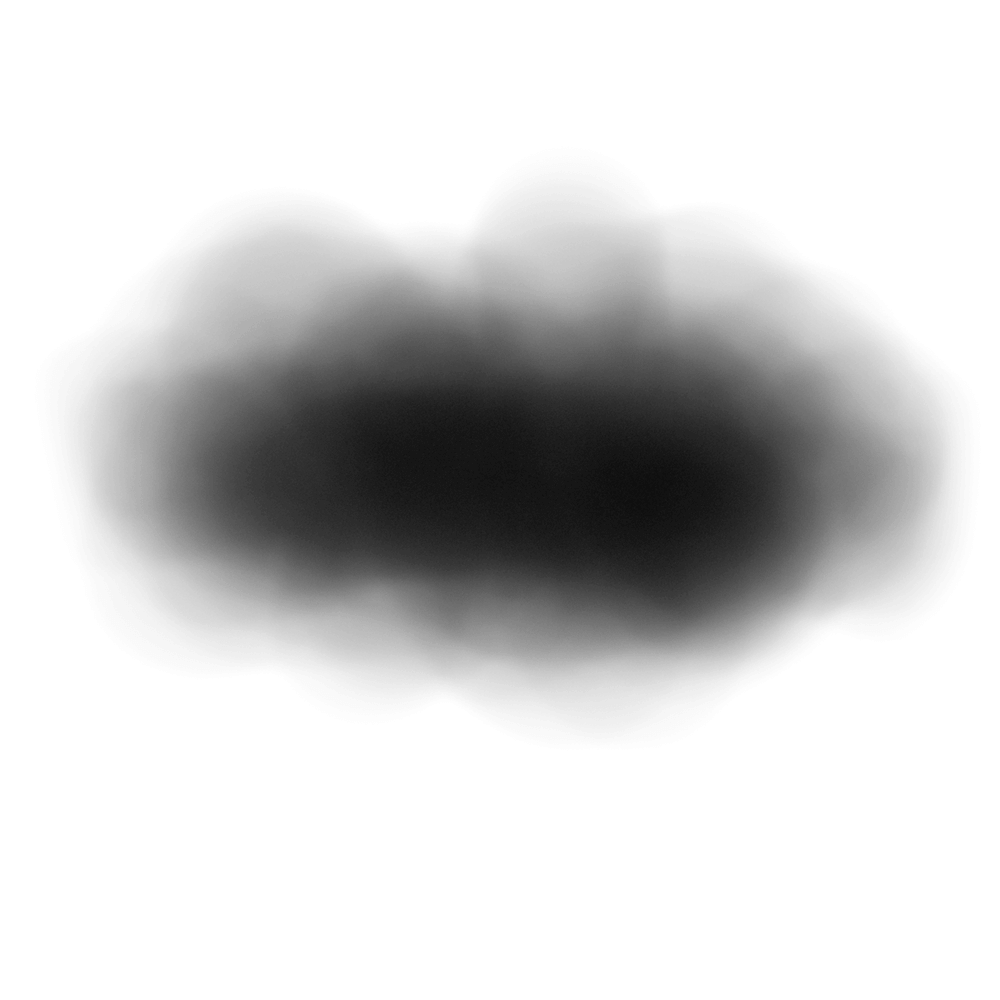
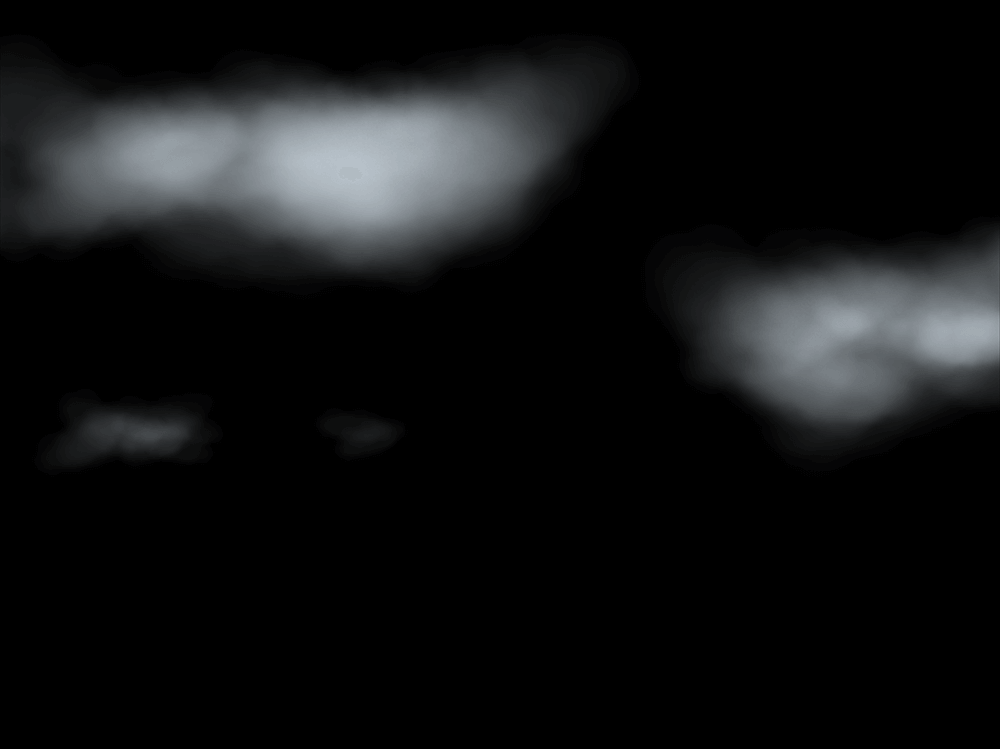
Below is our brush with no settings applied.
Step 6: Edit the Brush Settings
Open up a new, black canvas to test your brush on, and open the Window > Brush Settings panel.
Brush settings can be changed to create a variety of different looks and effects. However, these settings are a good, jumping-off point for most cloud effect brushes. Input the following brush settings.
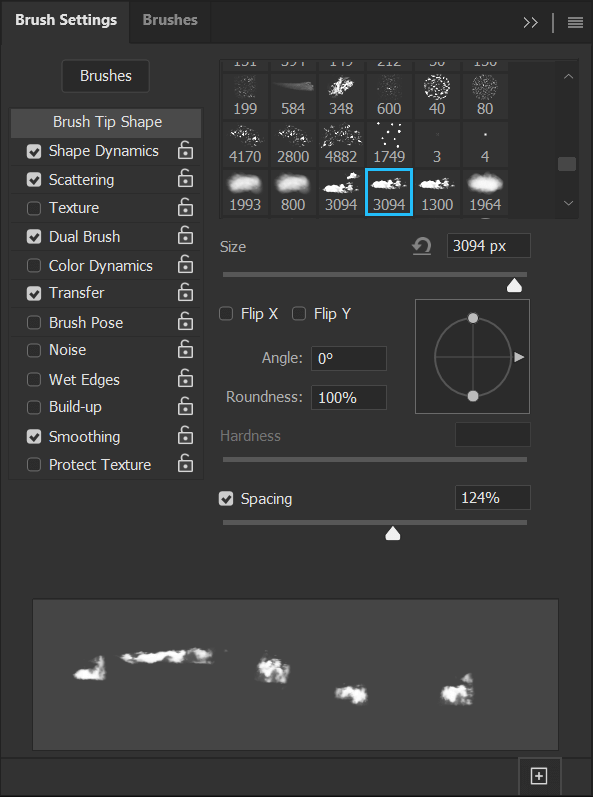
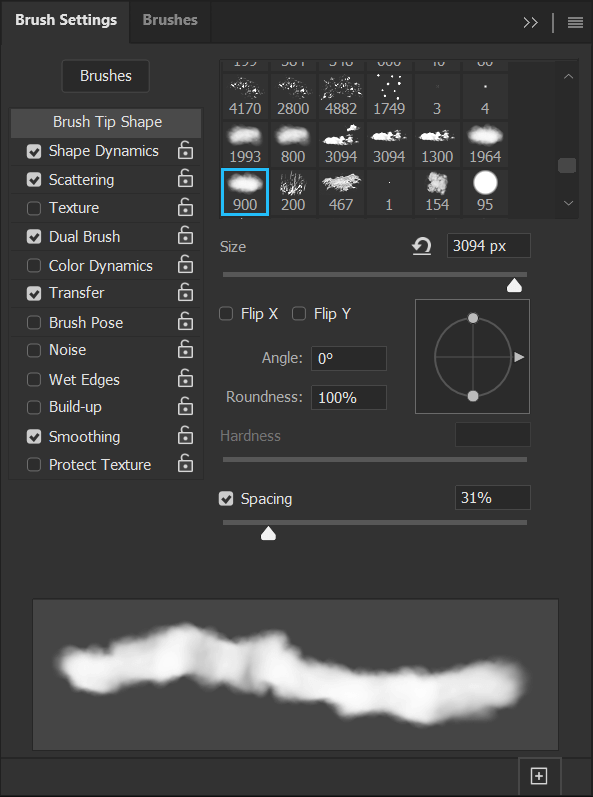
Brush Tip Shape
Spacing: 125%
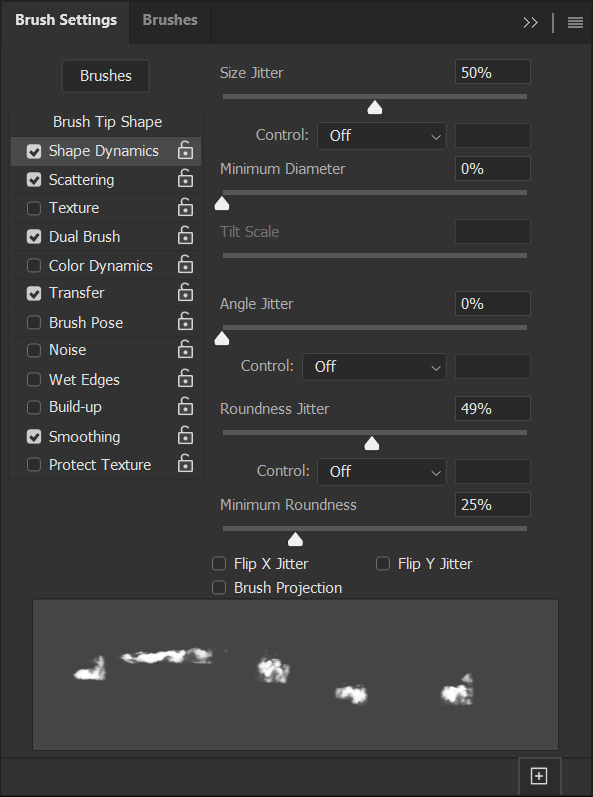
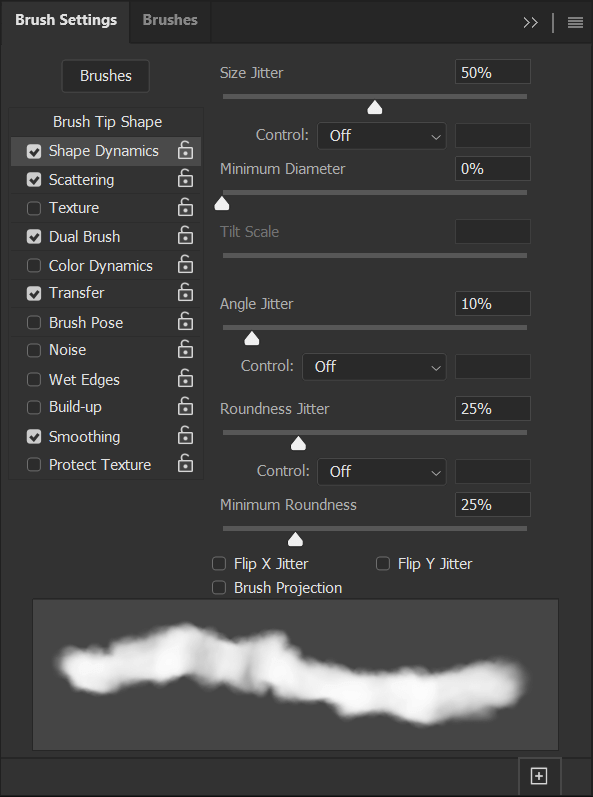
Shape Dynamics
Size Jitter: 50%
Roundness Jitter: 50%
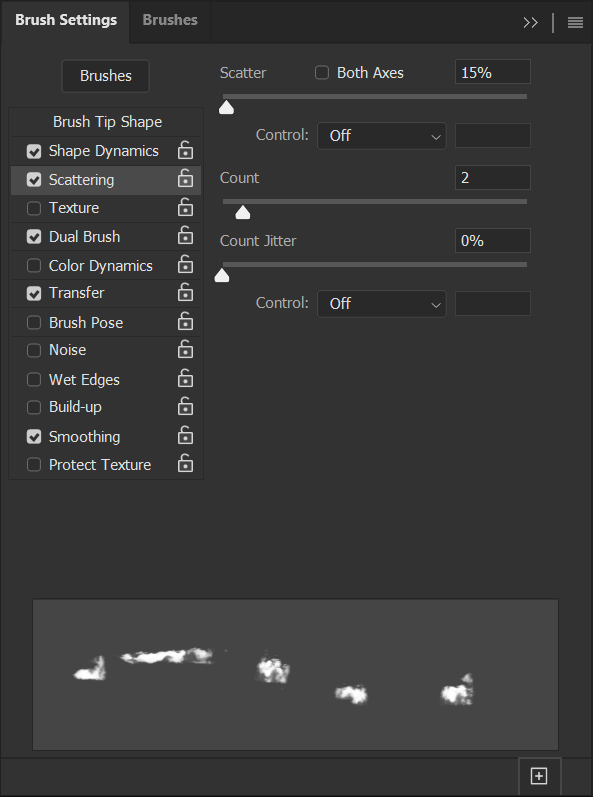
Scattering
Scatter: 15%
Count: 2
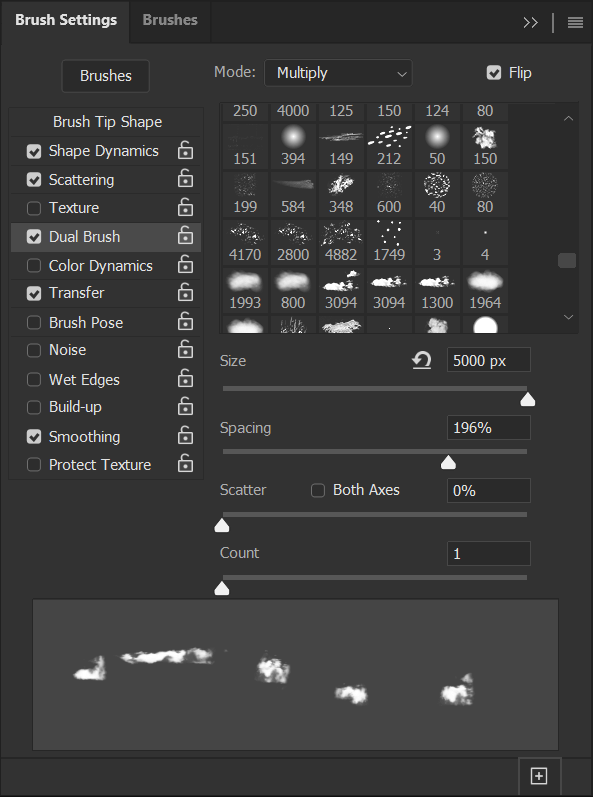
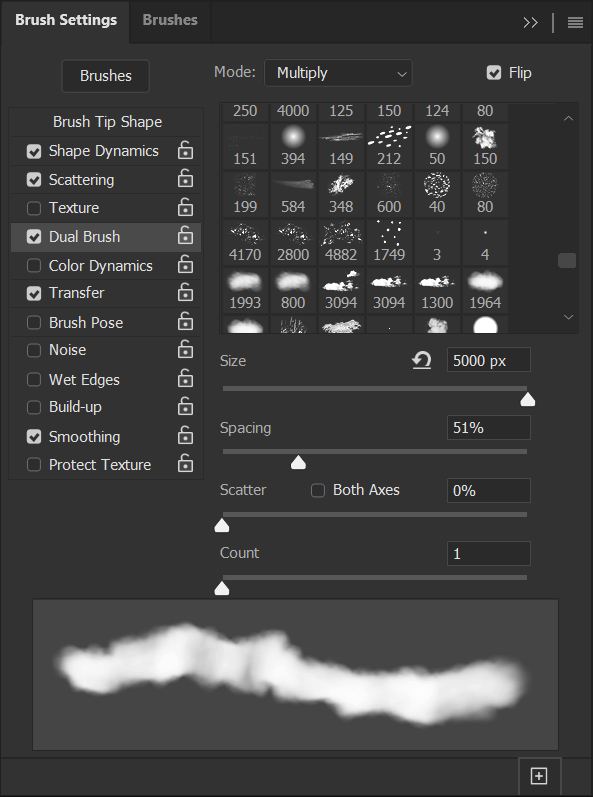
Dual Brush
Mode: Multiply
Choose your custom cloud brush from the Brush options
Size: 5000%
Spacing: 196%
Scatter: 0%
Count: 1
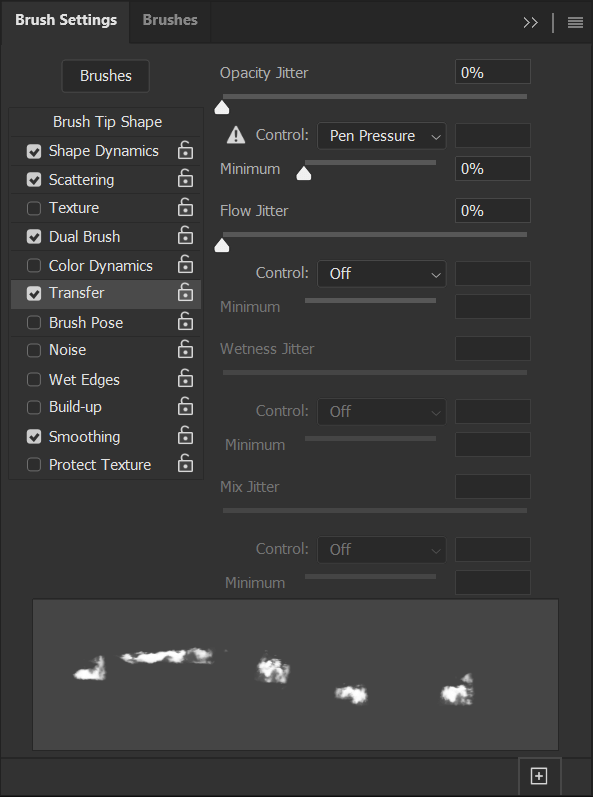
Transfer
Opacity Jitter: 100%
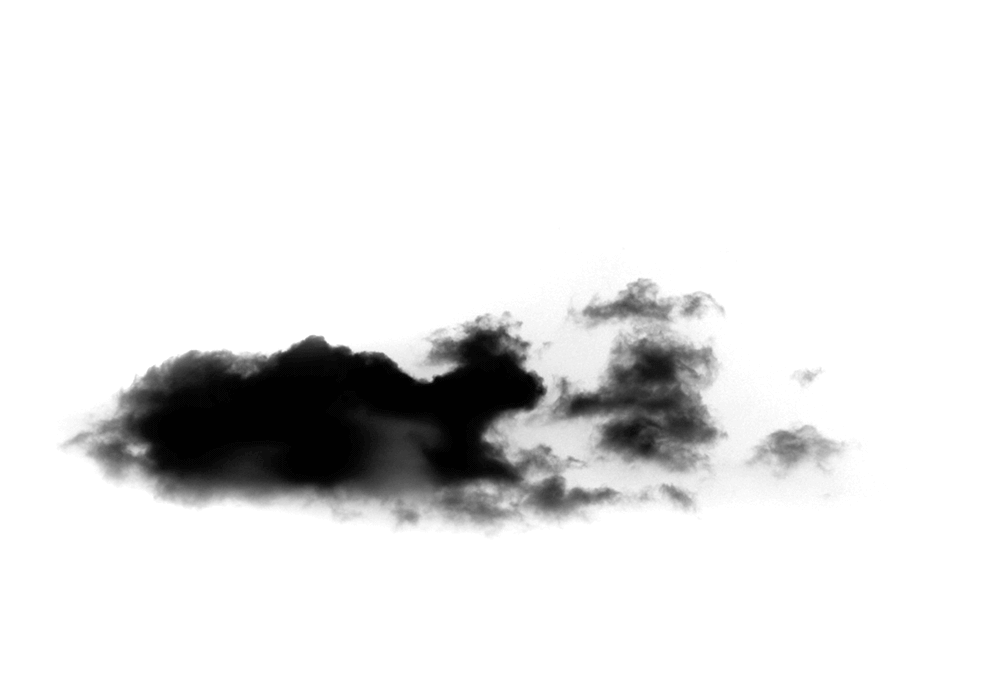
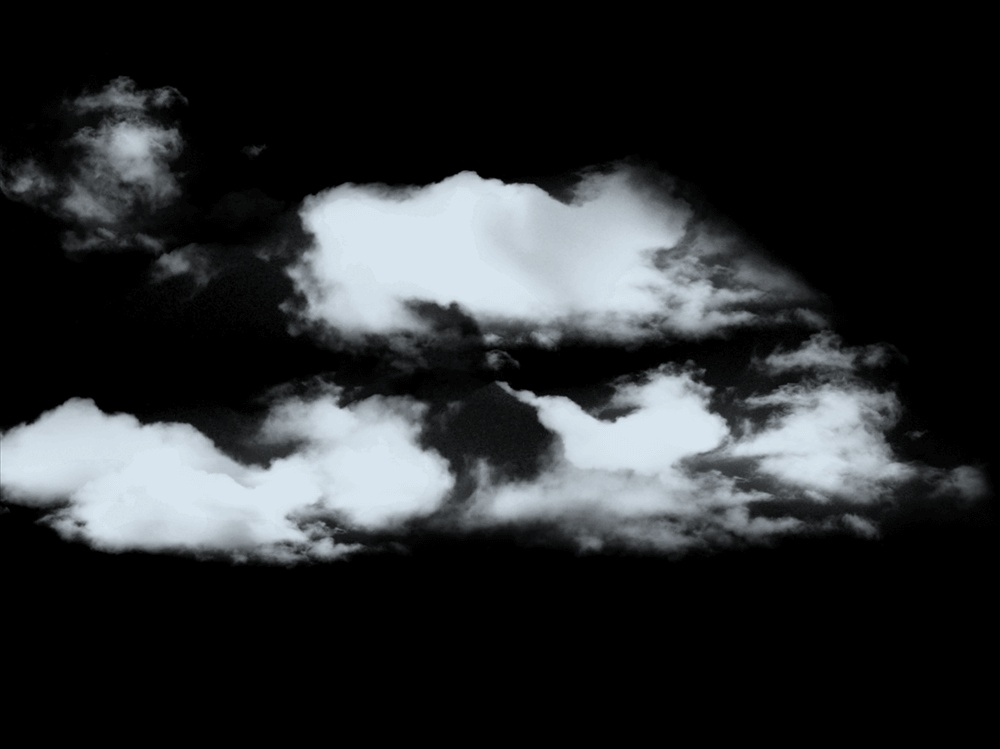
Step 7: Save the New Settings
Finally, save these settings as a New Brush by clicking the icon of a Square and Plus Sign located in the bottom, right-hand corner of the Brush Settings panel. Below is our brush with the settings applied.
How to Make a Cloud Brush in Photoshop using a Default Brush
Step 1: Paint a Basic Soft Shape
Painting your own cloud brush is just as easy, and you can create as simple, or as detailed, of a shape as you need. You don’t even need a tablet.
First, create a New Canvas that is at least 2000px by 2000px. You can go up to 5000px before reaching Photoshop’s brush size limit.
Select a default soft, round Brush, and change its Hardness to 65%. Bring the Flow down to 1%.
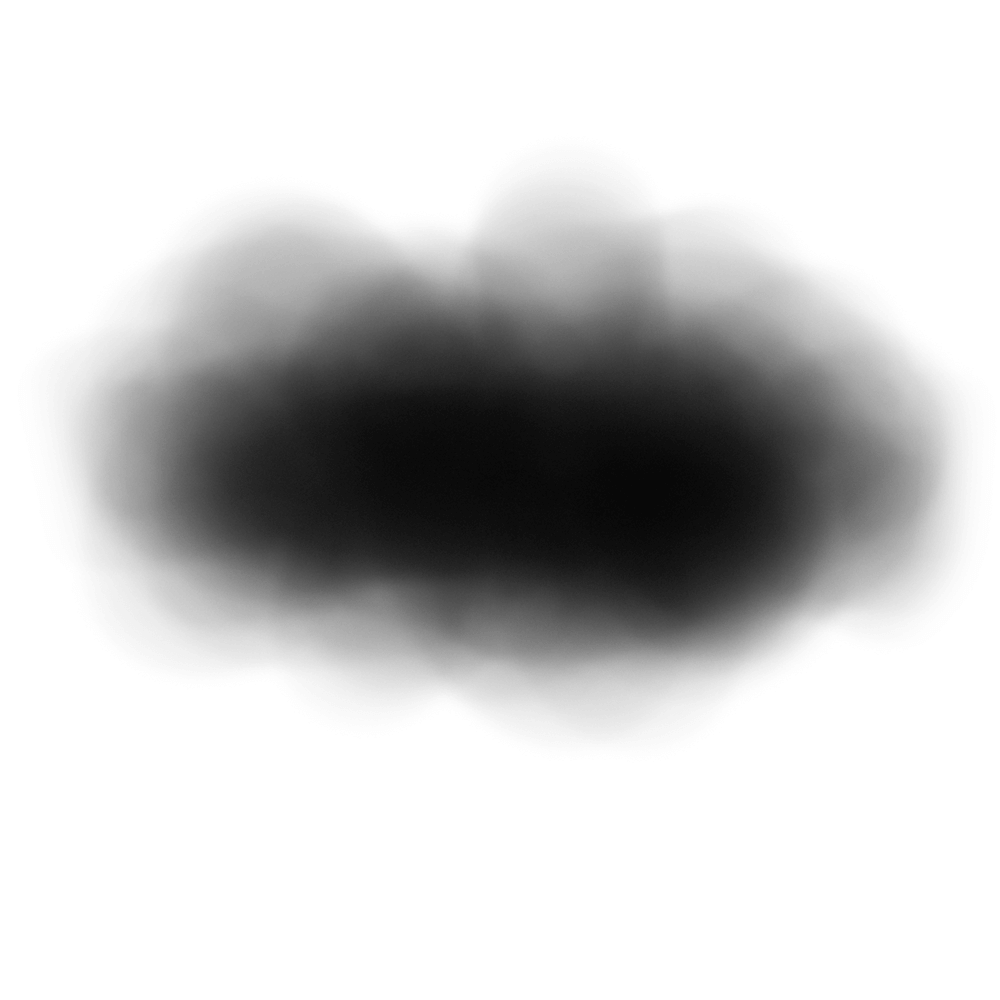
Next, using circular motions, paint in soft blobs of black onto the white canvas. Slowly build up color, creating interesting but soft shapes within the cloud. How much detail you give the cloud is ultimately up to you. The cloud below was made using a mouse.
Use a soft, round Eraser brush to adjust the shape of the cloud, and make sure there are no harsh edges. This includes making sure none of the color bleeds off of the canvas.
Step 2: Adjust the Brightness and Contrast
You can adjust the shape of the cloud even further using Levels.
Increase or decrease the contrast depending on how thick you want your cloud to appear. Increasing the contrast will also make the edges of the cloud harder and more defined. Try not to create too solid or dark of a shape. It’s always best to create a brush you can build transparency up with, as opposed to a brush that is overly opaque.
The Levels settings I used to lighten my cloud were as follows: 0 White, 1.30 Gray, and 252 Black.

Step 3: Save and Export the Brush
Just like before, crop any excess canvas using the Crop tool. Go to Edit > Define Brush Preset and name your new brush. I suggest naming your brush by whether or not it’s static. Ie. “Cloud Static” or “Cloud Dynamic.”
Step 4: Edit the Brush Settings
Create a new, black canvas that you can test your brush on and open the Window > Brush Settings pane, and input the following brush settings.
Brush Tip Shape
Spacing: 30%
Shape Dynamics
Size Jitter: 50%
Angle Jitter: 10%
Roundness Jitter: 25%
Scattering
Scatter: 30%
Count: 2
Count Jitter: 100%

Dual Brush
Mode: Multiply
Choose your custom cloud brush from the Brush options
Size: 1536
Spacing: 50%
Scatter: 0%
Count: 1

Transfer
Opacity Jitter: 100%
Step 5: Save the New Settings
You can save these settings as a New Brush by clicking the icon of a Square and Plus Sign located in the bottom right-hand corner of the Brush Settings panel.
If you switch brushes before saving, the settings will be lost, and you’ll have to reset them the next time you select the brush. I recommend saving multiple brushes with different settings, so you have a variety of different cloud effects ready to go.
Below is our brush with the settings applied.
How to Use a Cloud Brush in Photoshop
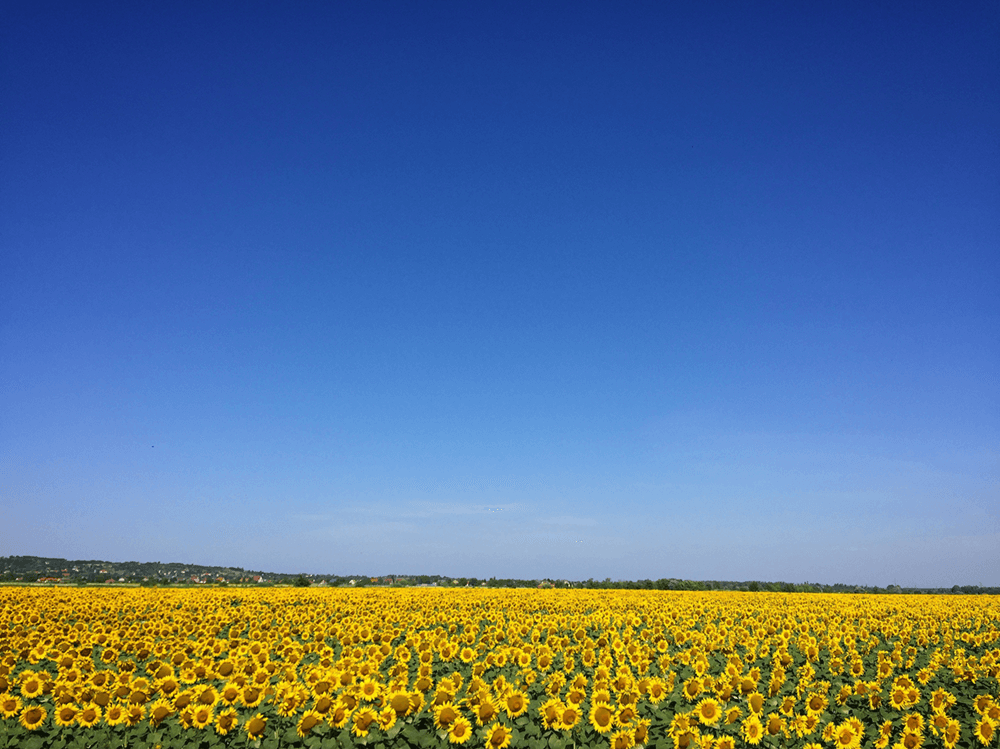
Step 1: Import a Photo of a Sky
In Photoshop, import the image you’d like to place the clouds onto. I’ll be using an image of a plain blue sky. However, these brushes can be used to add more clouds to an already cloudy sky or used to create fog and other cloud-like atmospheres.
Step 2: How to Use Static Brushes
Select one of your new, custom cloud brushes. You’ll have four: two static and two dynamic brushes.
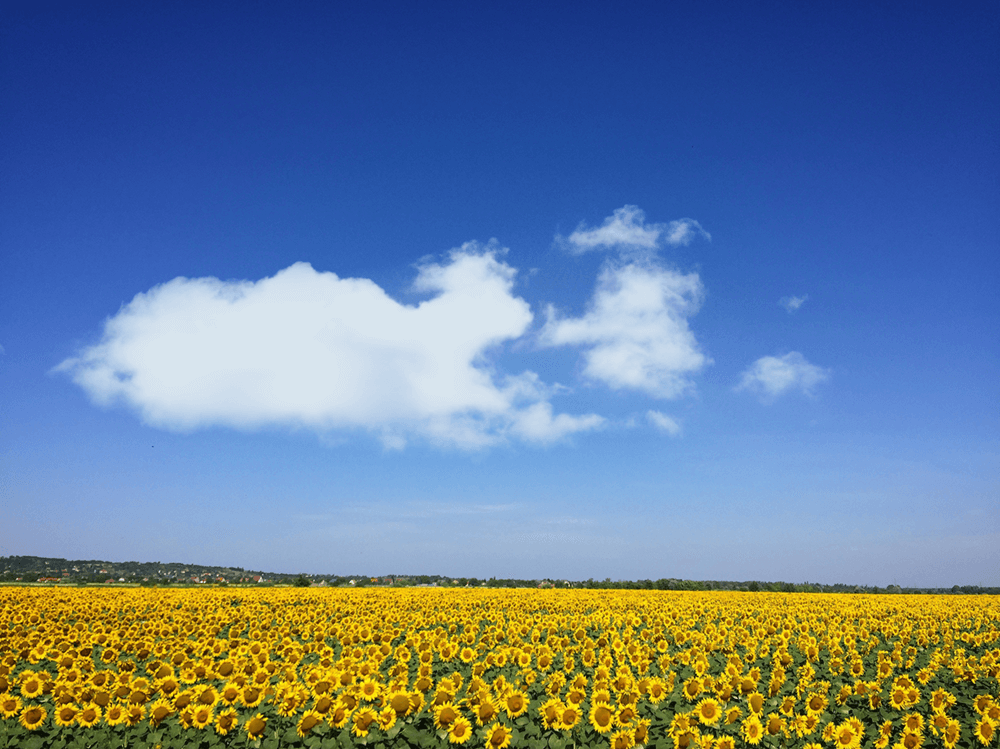
To use the static brushes, simply select the brush, set the color you’d like your cloud to be, create a new layer, and stamp the brush onto the newly created layer.
Step 3: How to Use Dynamic Brushes
Dynamic brushes are meant to be used in a more flowing or dragging motion with either a mouse or drawing tablet.
Adjust both the Opacity and Flow of the Brush to set how thick the clouds look.
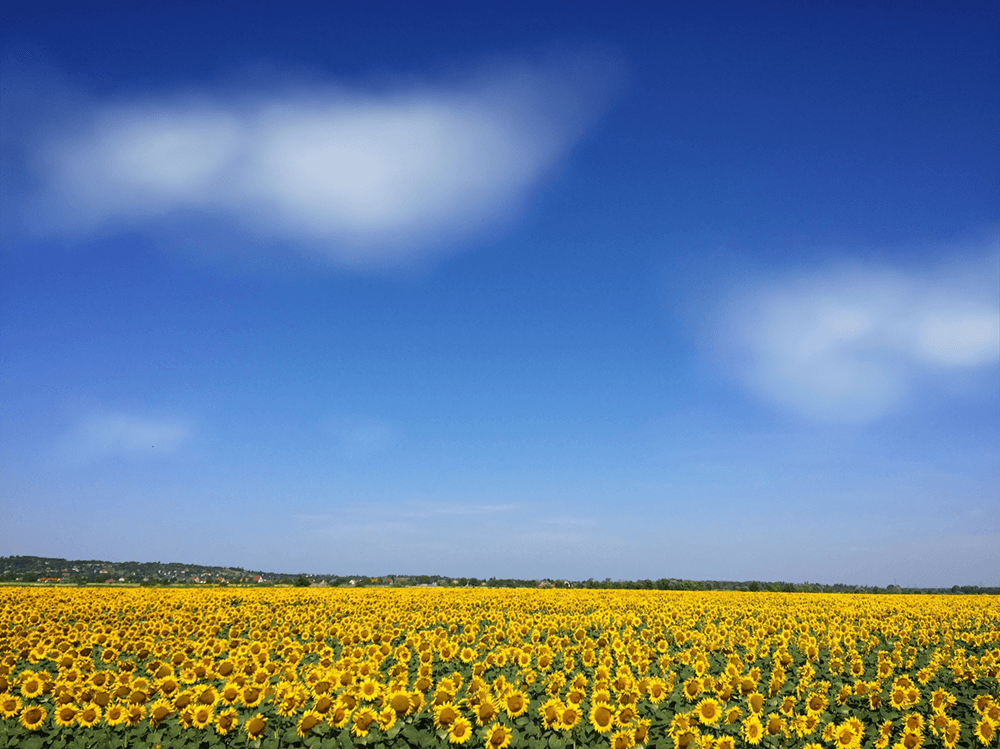
Below is our image brush, set to 100% flow and 100% Opacity.

The hand-painted brush is best used set to a lower Flow or Opacity. Below, the Brush was set to 80% Opacity and 5% Flow. Those settings will allow you to build the cloud up slowly and create interesting shapes with different levels of opacity.
Outro
That is how to make a cloud brush in Photoshop! The ability to create your own brushes, whether it is from an existing image or from a hand-drawn design, is one of Photoshop’s most powerful features. You can even make multiple, different cloud brushes from the same image just by switching up and experimenting with the Brush Settings.
There is no limit to the number of brushes you can make, so why not make a whole set, and never have to deal with a dull, cloudless sky again
Leave a Reply