
How to Use Google Optimize to Run A/B Tests on WordPress
Looking for a way to run A/B tests on WordPress? With Google’s free Optimize tool, you can easily spin up A/B tests anywhere on your WordPress site, including content from any theme or plugin.
The basic process takes some time but, thanks to a new official (and free) plugin from Google, you can now set everything up without ever working with code, which is the method that I’ll show you in this tutorial.
Then, once you get that one-time setup out of the way, you can spin up new A/B tests in just a few minutes.
What Does Google Optimize Do?
In a nutshell, Google Optimize lets you set up and run A/B tests using a simple, visual interface.
With WordPress, you can create your original design using the block editor, a page builder, or any other WordPress plugin. Then, you can go in with the visual Google Optimize editor to edit that original design in as many ways as needed.
Once you set up your different test variations, Google Optimize will automatically divide visitors between the different versions according to your preferences.
You can also measure the performance of each variant against specific objectives, including your own custom Google Analytics goals.
How to Use Google Optimize on WordPress
There are two parts to using Google Optimize on WordPress:
- Connecting Google Optimize to WordPress. You only need to do this once.
- Setting up your A/B tests in the Google Optimize interface. You’ll do this for every A/B test that you want to run.
I’ll divide the tutorial into two sections according to those parts.
How to Connect Google Optimize to WordPress
There are two routes to set up your WordPress site with Google Optimize:
- Use the official Site Kit plugin. In late 2019, Google launched a free Site Kit WordPress plugin that can help you connect your site to Google Optimize (and other Google services like Analytics and Search Console).
- Manually add the code snippets.
I’m going to recommend and focus on the Site Kit plugin method because it’s the easiest method in 2020 and beyond.
The Site Kit plugin does not add any new scripts or page size to the front-end of your site beyond the basic scripts needed to run Google Optimize and Google Analytics, so there’s no performance difference between using it and the manual method.
Additionally, the plugin lets you pick and choose which services to connect to, so you don’t need to connect to the other Google services unless you want to. Finally, the Site Kit plugin is 100% free and comes directly from Google, so you can trust its quality.
So yeah – I think this approach is a lot better than trying to manually add the code snippets 🙂
Here’s how to set it up…
1. Install and Activate Google Site Kit Plugin
To get started, install and activate the free Site Kit plugin from WordPress.org.
Once you activate the plugin, you’ll see a prompt to Start Setup:
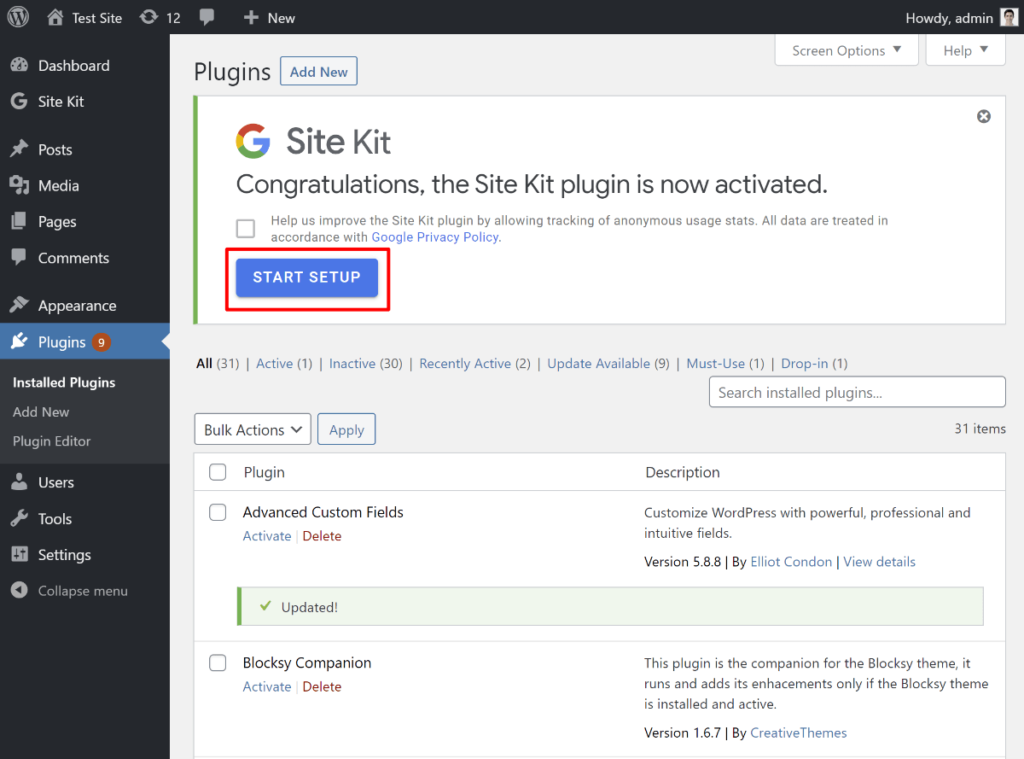
If you don’t see this prompt, you can always access it later by going to the Site Kit tab in your WordPress dashboard.
This will take you to the Google Site Kit website, where you’ll be prompted to connect your site to your Google account and set up Google Search Console (if you haven’t already):
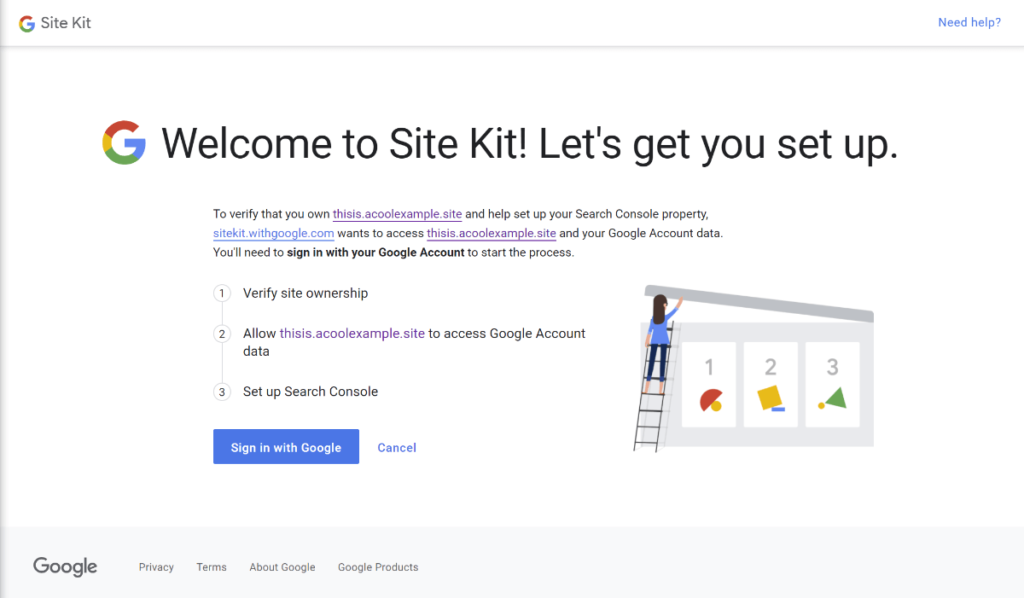
This will take you through some prompts to choose/sign into your Google account and allow access.
Once you do that, you’ll repeat the process to set up Search Console if needed:
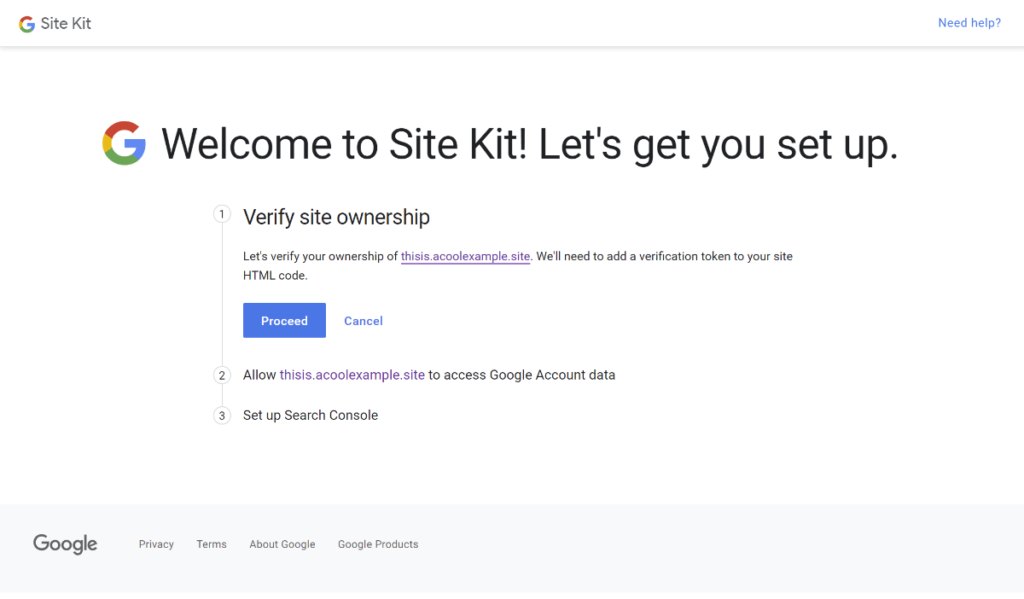
You’ll then go through another short authorization process where you’ll need to click a few buttons. Then, you’re finished and you should see a prompt to return to your WordPress dashboard.
2. Connect to Google Analytics
Next, you’ll need to connect to Google Analytics. Google Optimize requires Google Analytics to function, so this one is required.
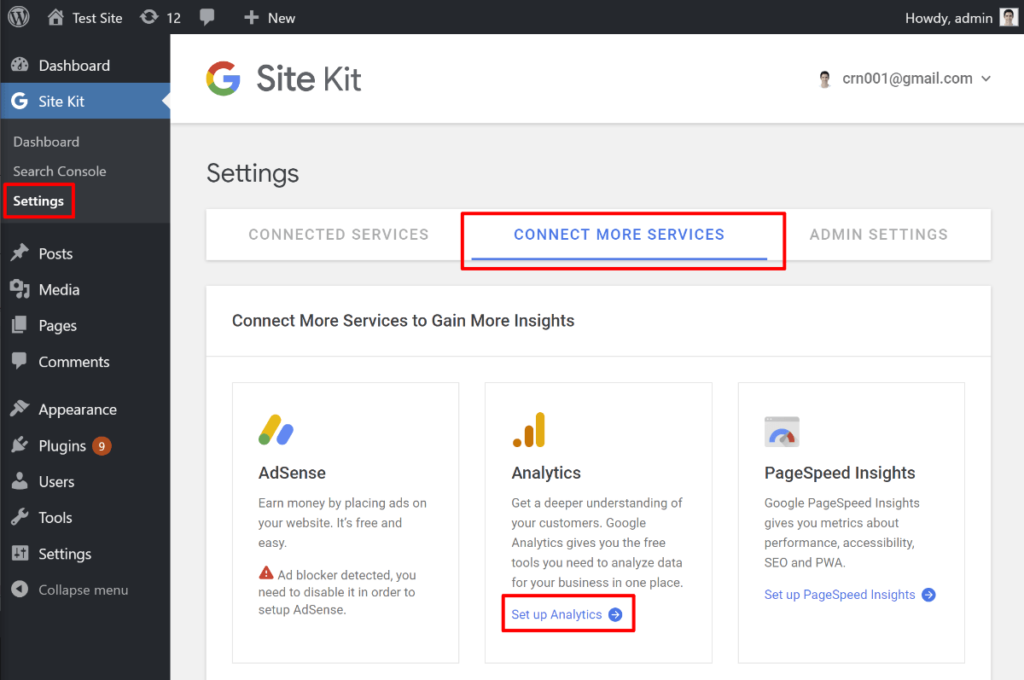
To do this, go to Site Kit → Settings → Connect More Services in your WordPress dashboard. Then, click Set up Analytics:
Now, you’ll need to go through another authorization process. It’s a lot of button clicking, but it beats manually editing your site’s code!
Once you click Allow, you should go back to your WordPress dashboard. If you weren’t already using Google Analytics on your site, you’ll need to select/create an account and property first. If you already added the Google Analytics tracking code via another method, the plugin should automatically detect that:

And then you’re all set up with Google Analytics.
3. Set Up a Google Optimize Container
Before you can finish things up in your WordPress dashboard, you need to take a quick detour to the Google Optimize website to create your “Container”, which is basically like a sub-account to house all of the A/B tests for this website.
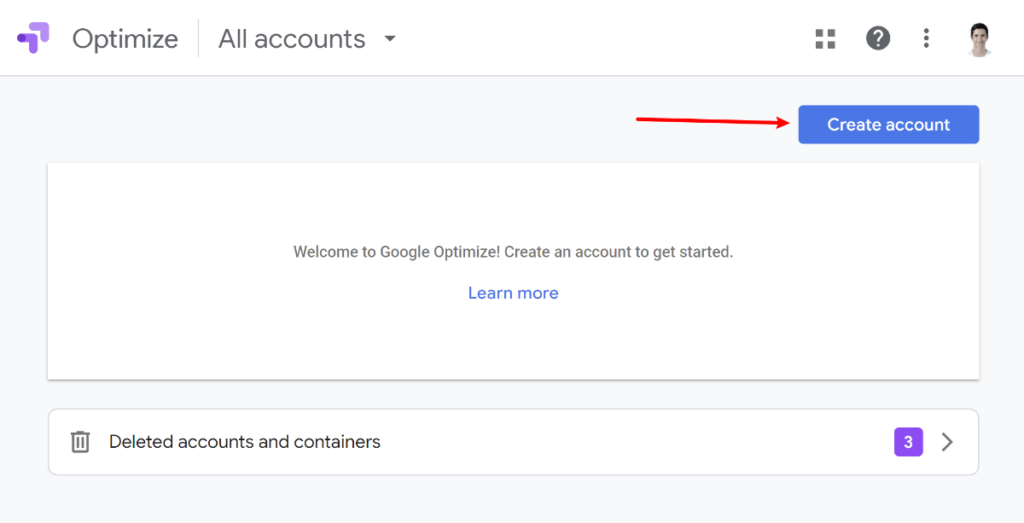
To do that, go to the Google Optimize website and sign in with your Google account.
Then, click Create account:
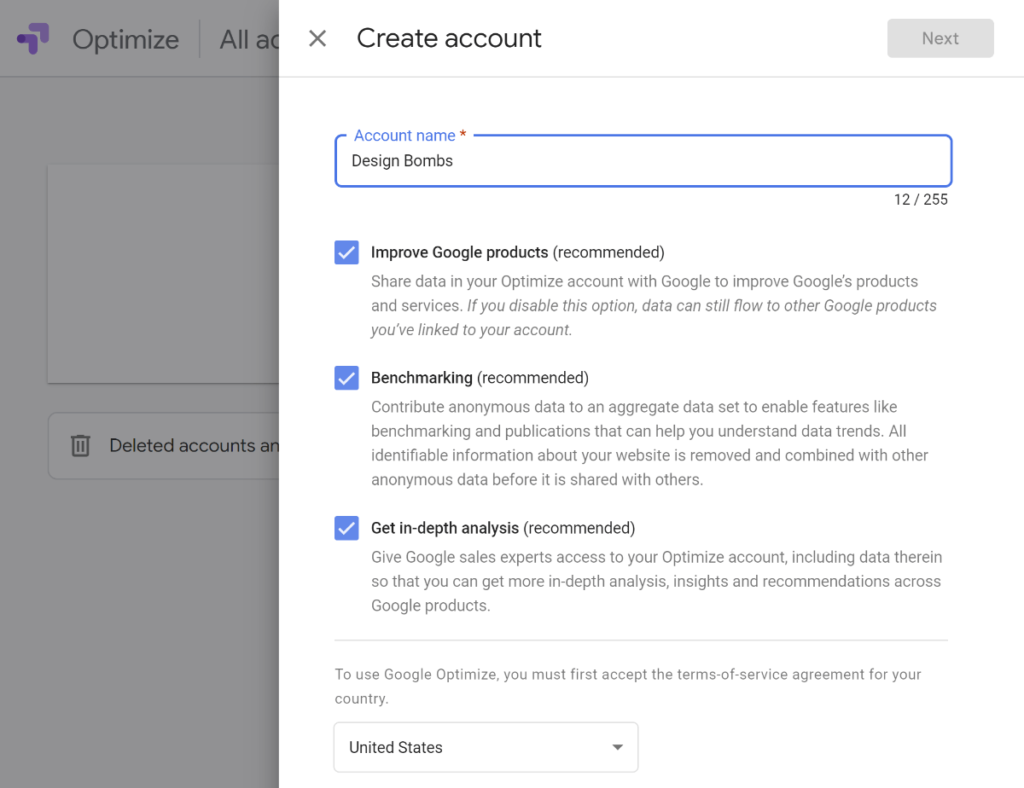
Fill out the details in the sidebar – just give it a name and check the required boxes:
Once you click Next, you can enter a container name – e.g. the URL of your website or something else easy to remember:
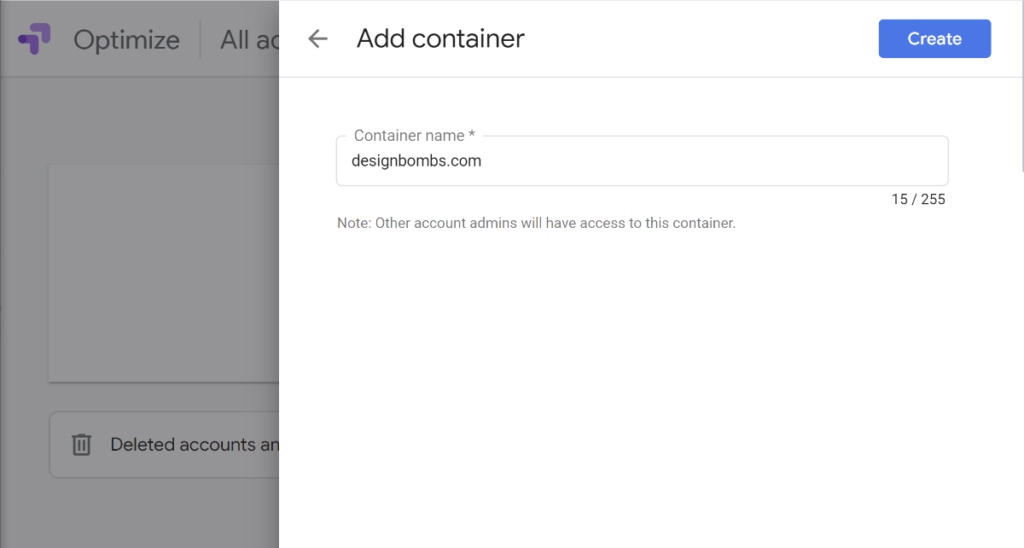
Then, click Create.
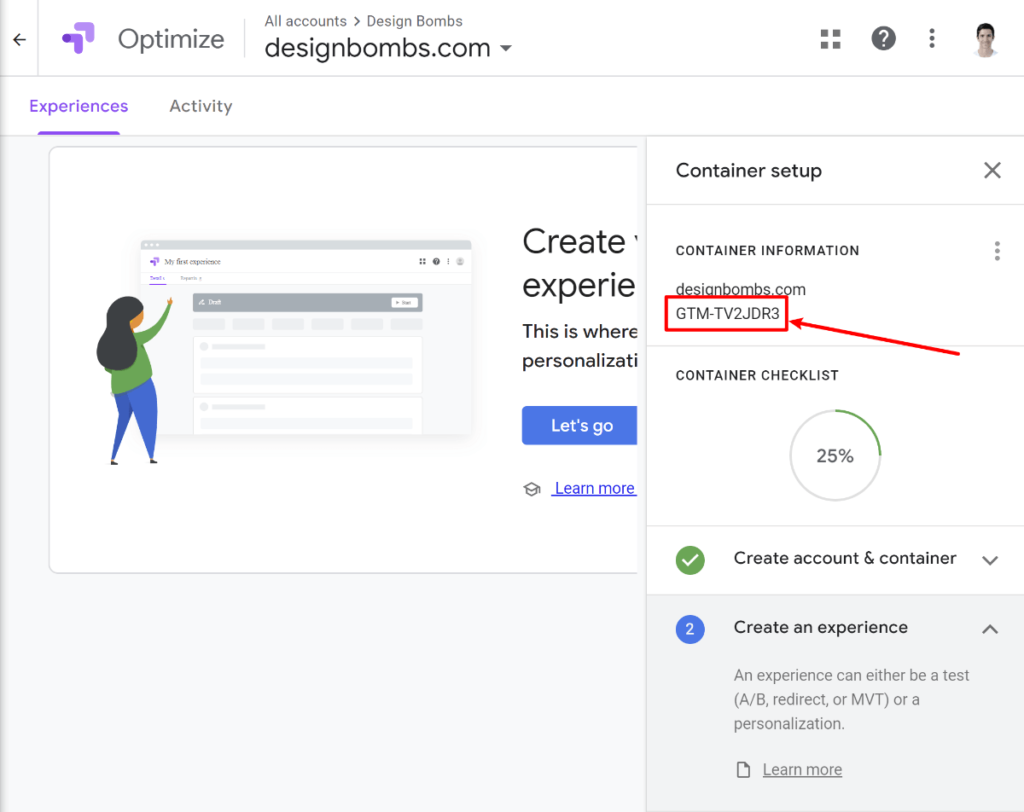
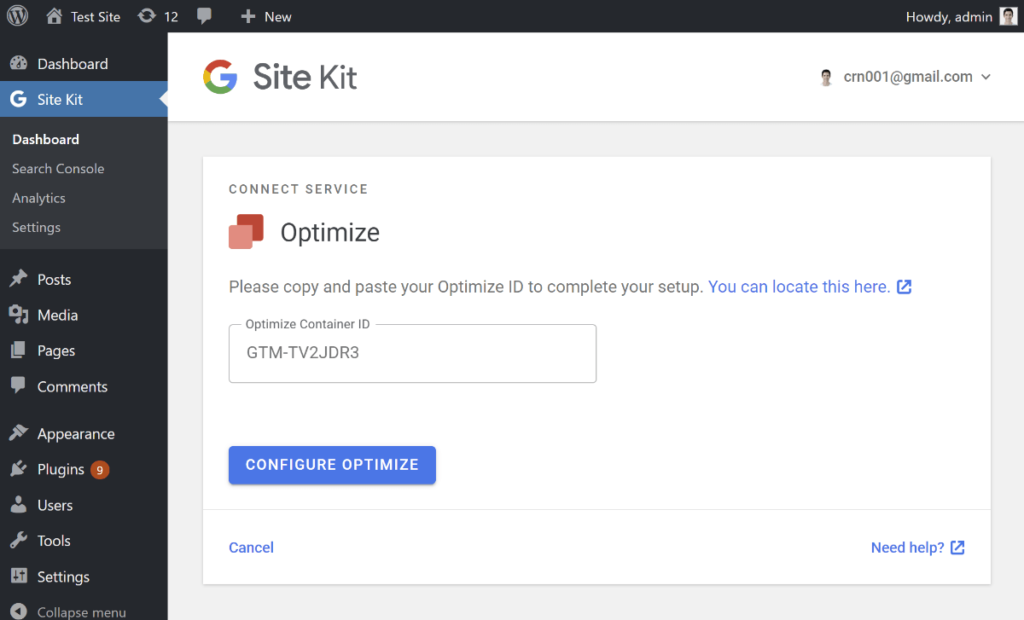
Once you do that, you should see information that contains your container ID – it looks like GTM-XXXXXXX.
Keep this handy because you’ll need it in the next step:
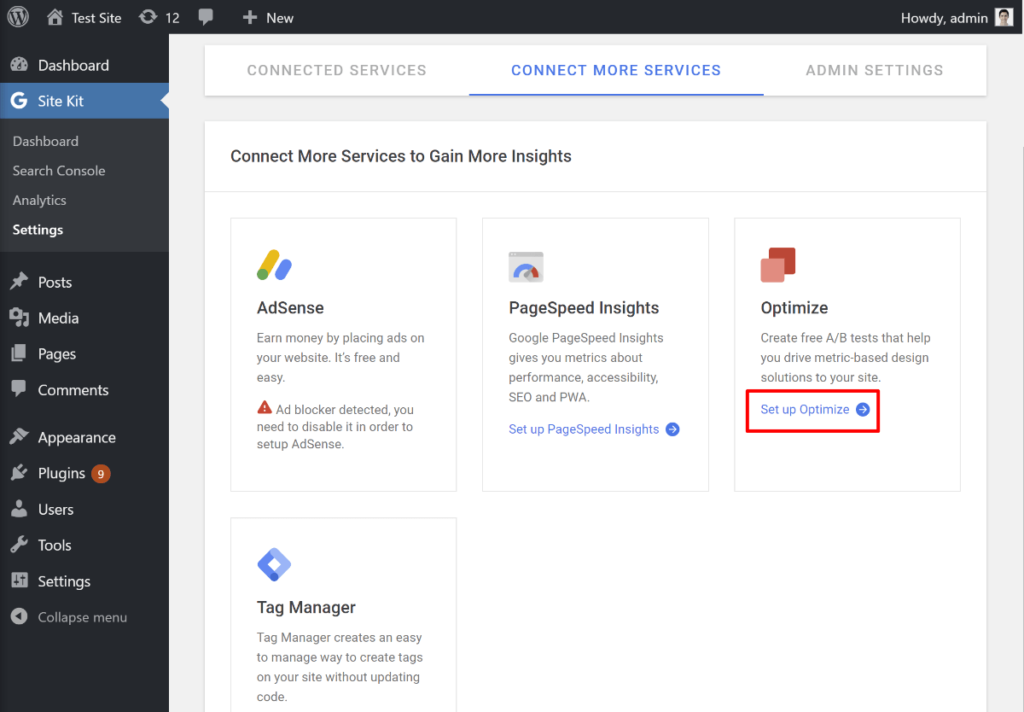
4. Connect to Google Optimize
To finish things out, go back to Site Kit → Settings → Connect More Services and click the option to Set up Optimize:
Then, paste your container ID from the previous step into the box and click Configure Optimize:
And that’s it! You’re all set up – no code required.
How to Run Google Optimize A/B Tests
Once you’ve connected your WordPress site to Google Optimize, you’re ready to start creating your actual A/B tests.
To set these up, you’ll exclusively use the Google Optimize website – not your WordPress dashboard.
Here’s how to create your first A/B test…
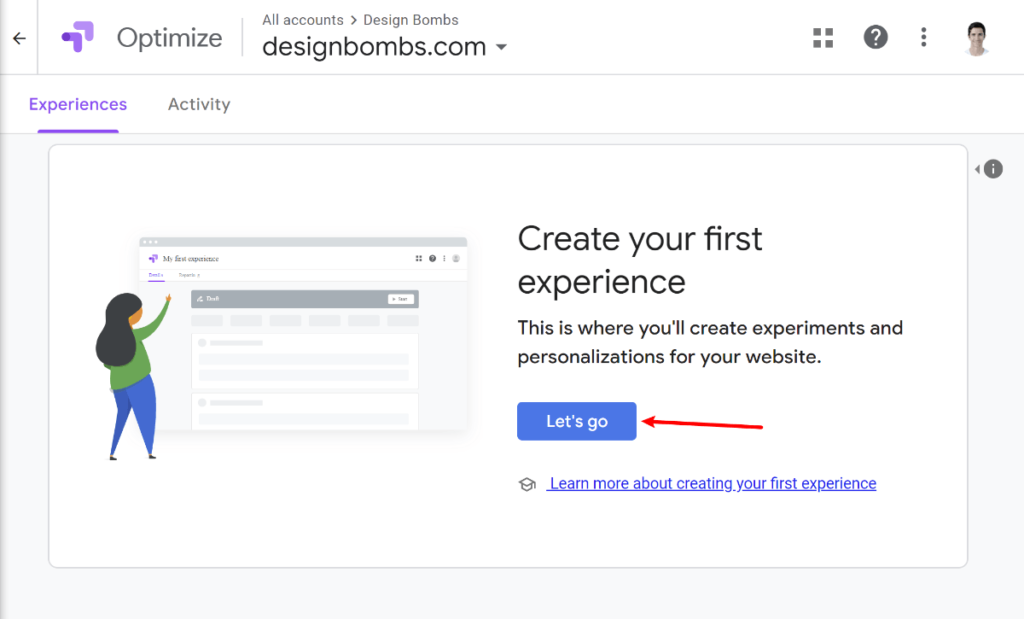
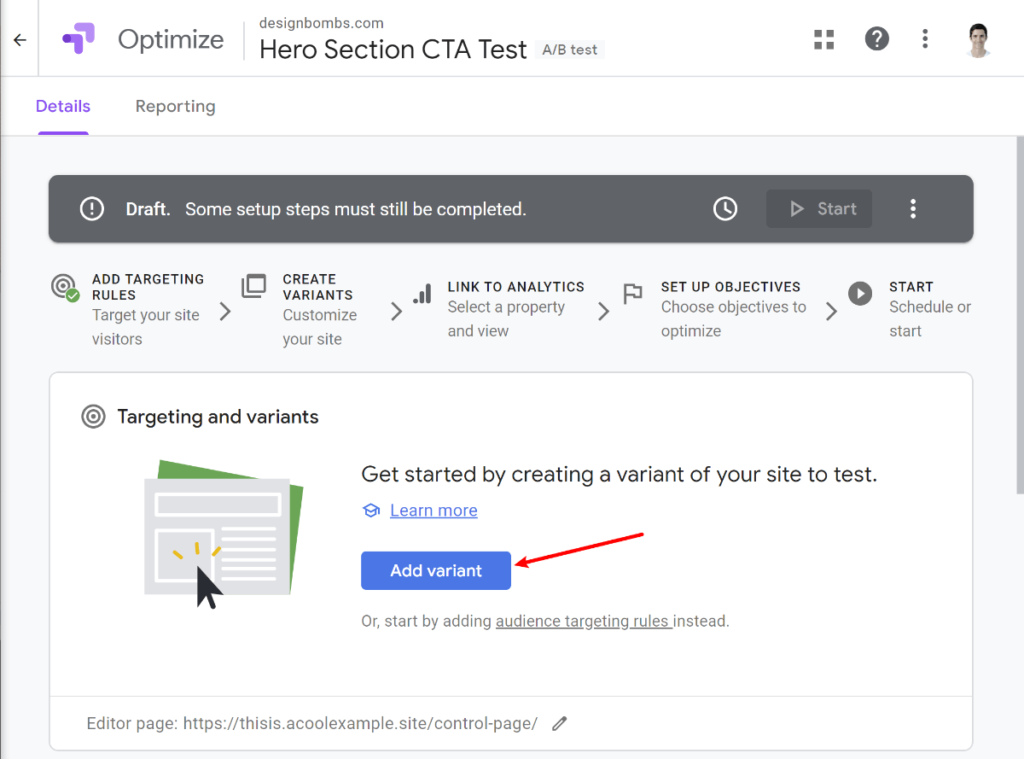
1. Create a New “Experience”
Google Optimize calls A/B tests “experiences”. To create your first experience, open your Google Optimize container and click Let’s go:
In the slide-out that appears, enter a name to help you remember it, as well as the URL to your original page (AKA your control page). If you haven’t already created the control page on your WordPress site, you’ll need to do that first.
For most types of tests, you’ll want to choose the A/B test option, but you can also run multivariate tests:
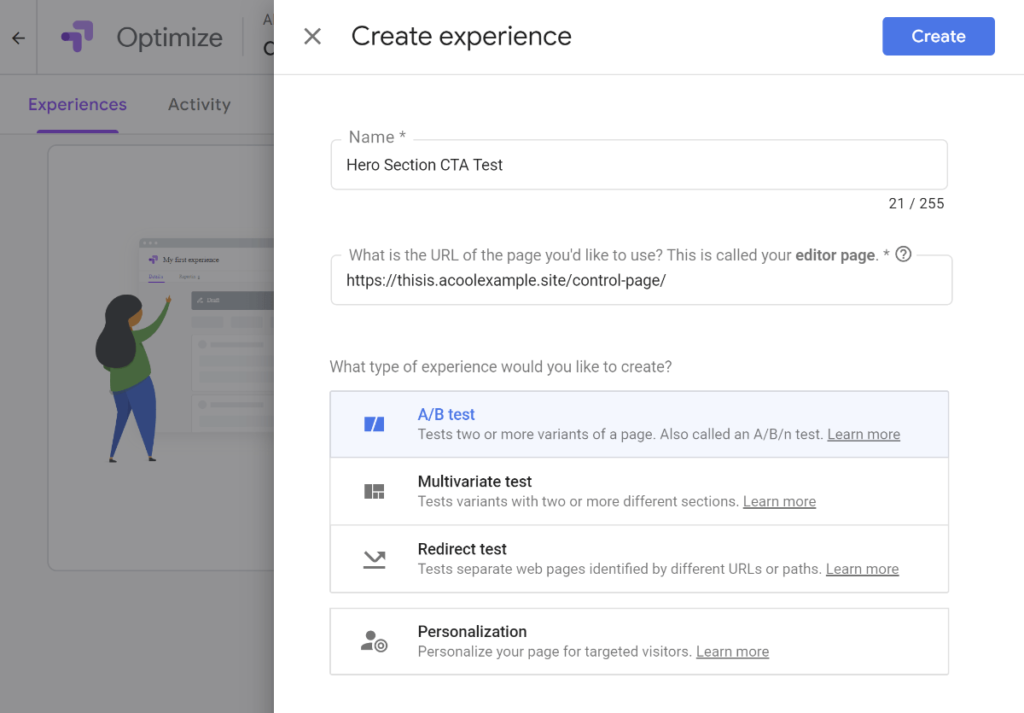
Then, click Create.
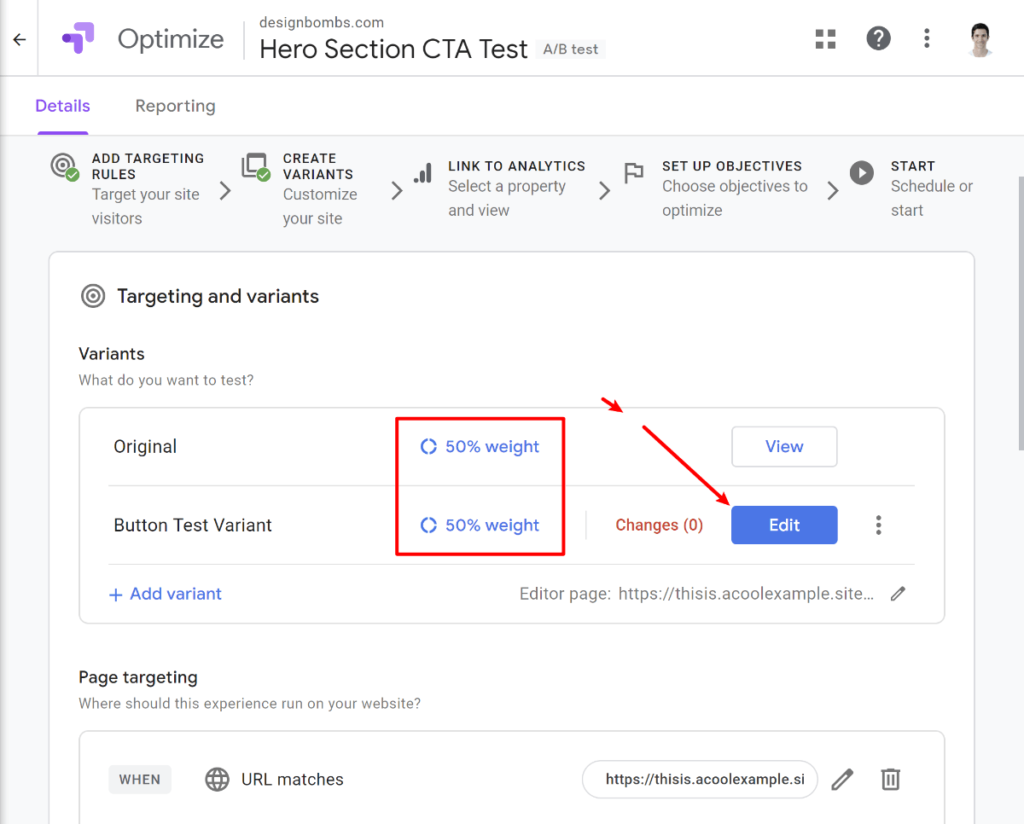
2. Create Your Test Variant(s)
Now, you’re ready to create the test variant(s) using the Google Optimize editor. To get started, click the Add variant button and give it a name to help you remember what you’re testing:
By default, Google Optimize will split traffic equally between all of your variants, but you can adjust the “Weight” if you want to change this.
Then, to edit the content/design of your variant, click the Edit button:
If you haven’t already, you’ll then be prompted to install the official Optimize extension for Chrome, which is the best way to use the editor. Once you install the extension, you can click the Edit button again to continue.
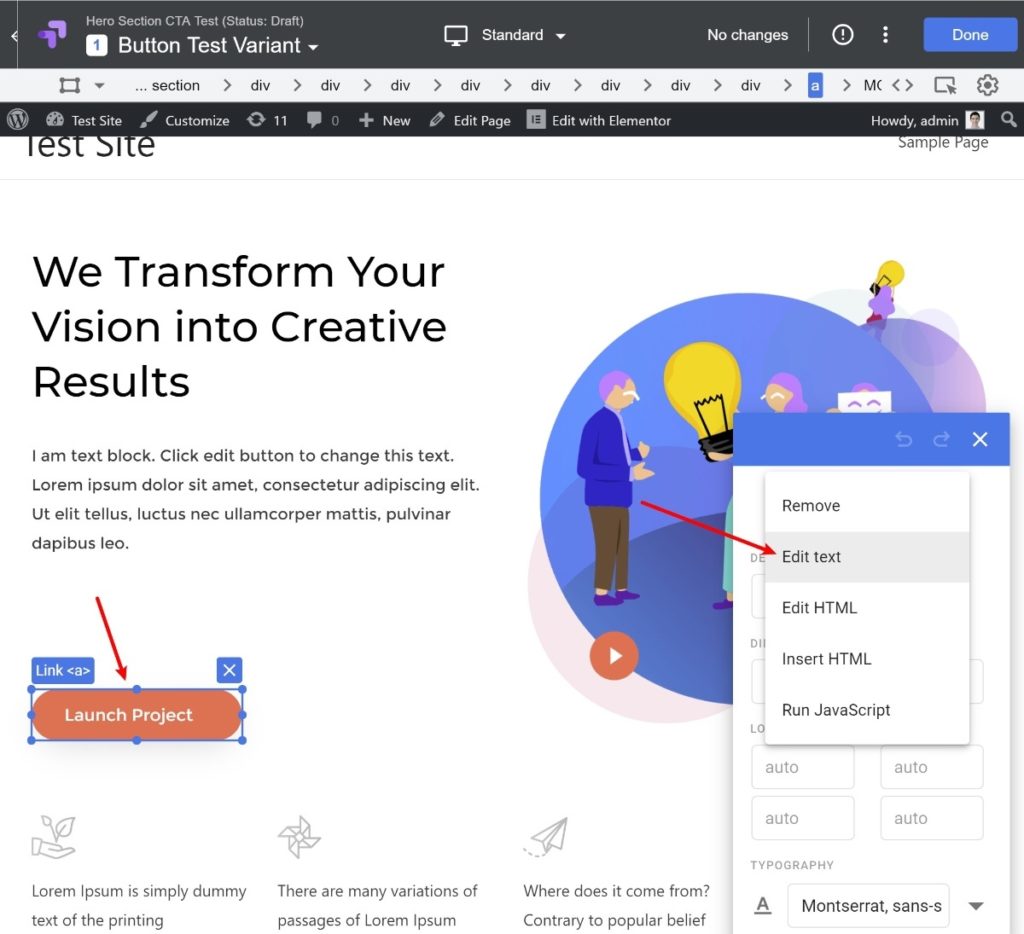
Now, you’ll see a live preview of your page along with some extra options from Google Optimize.
To edit part of your page, click on the element to select it. For example, to edit the button, you’d click on the button. Then, you can use the popup panel to change its styling and location.
If you want to edit the text of an element, click the Edit element button in the panel and select Edit Text:
Then, you can just click and type to edit the text:
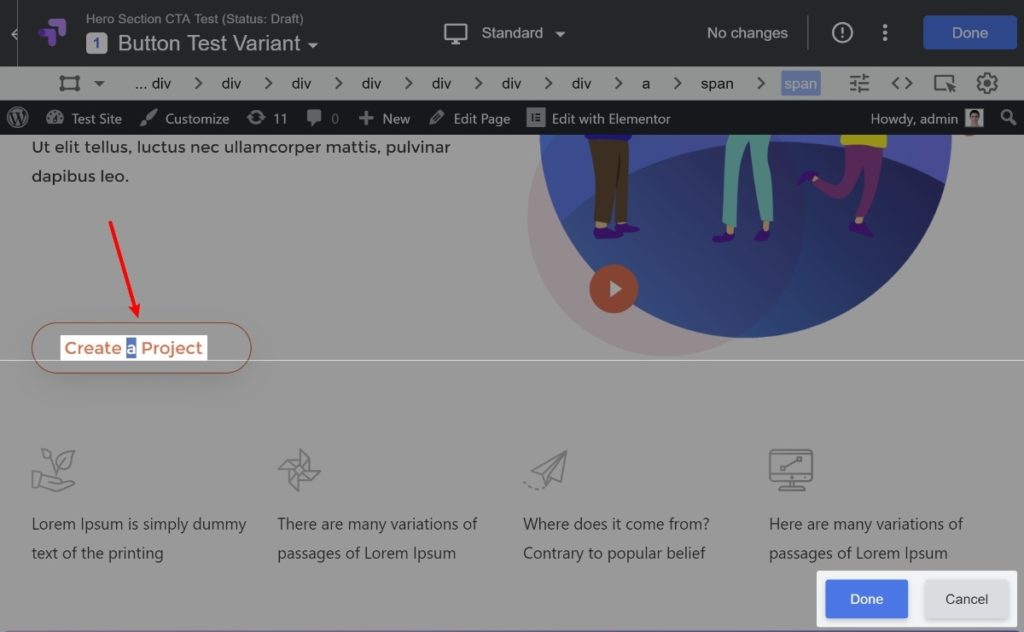
If needed, you can repeat the process to make additional changes to your test variant.
Once you’ve made all of the changes that you want to test, click on the Save button in the top-right corner. Then, click Done to return to the Google Optimize interface.
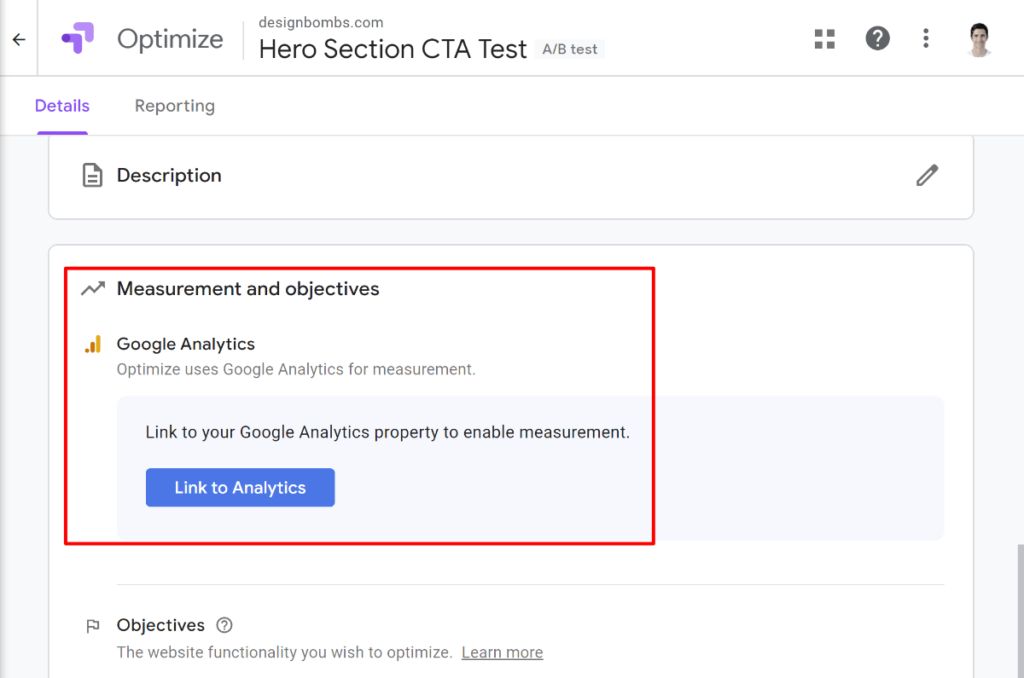
3. Link to Google Analytics
Once you’ve set up your test variants, scroll down to the Measurement and objectives section and click the Link to Analytics button to connect your experience to data from Google Analytics:
Then, select the Google Analytics property associated with your website. You can also choose a specific view. Then, click Link:
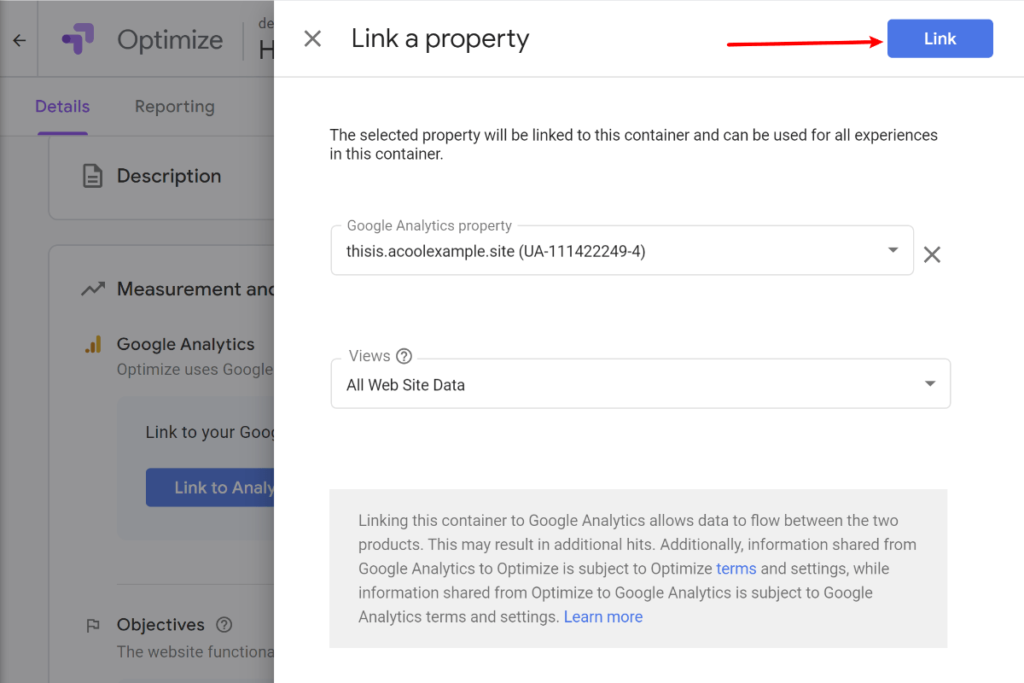
Optimize will then show you a code snippet – don’t worry about this because you already set this up with the Site Kit plugin in the previous steps – you can just click Done to continue.
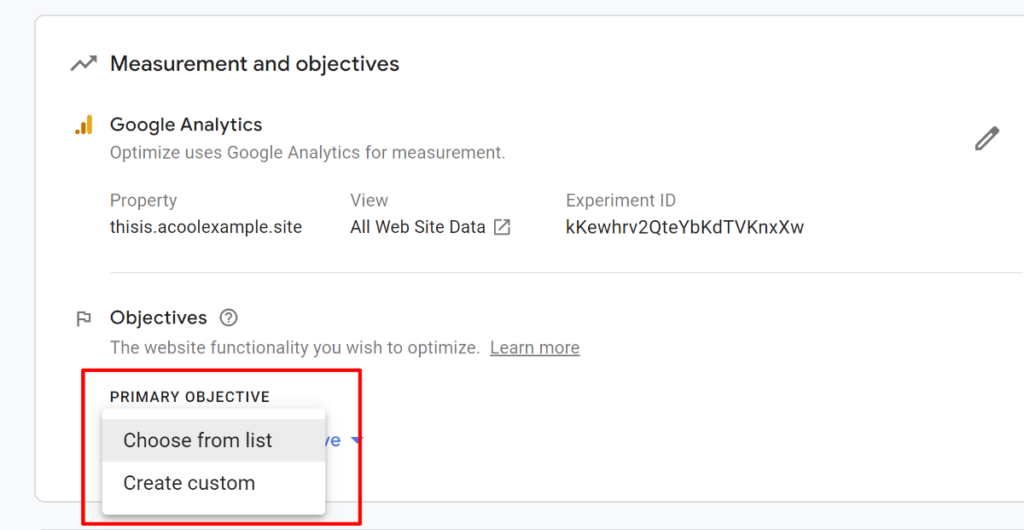
4. Set Up Objectives
Below the Google Analytics settings, you can set up the objective for your test. For example, does the test decrease your bounce rate? Get you more conversions? More button clicks? Etc.
If you’re not sure, I’d recommend selecting the Choose from list option:
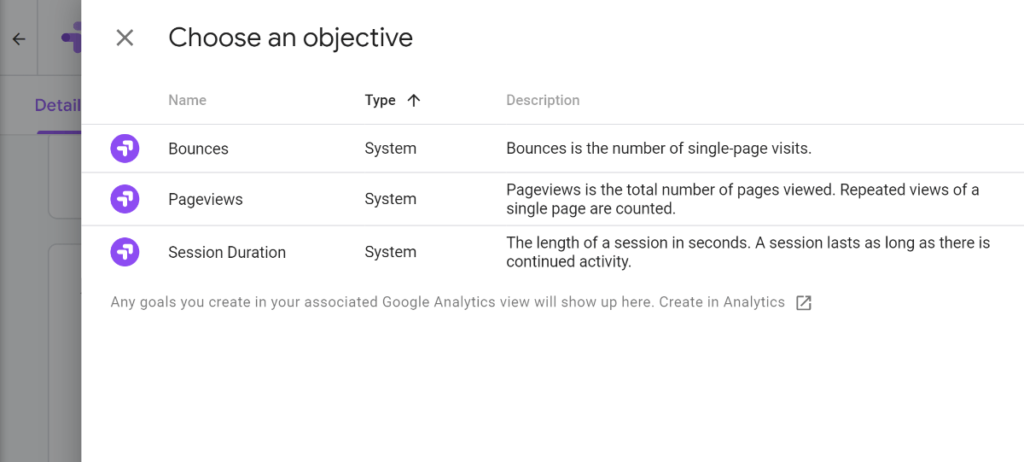
You’ll then see a list of preset options, as well as any goals from Google Analytics (if you’ve set them up).
Select the objective that you want to measure from the list:
5. Run Diagnostics
Now, you’re almost set to start your test! To make sure that everything is working properly, click the Run Diagnostics link below the objectives:
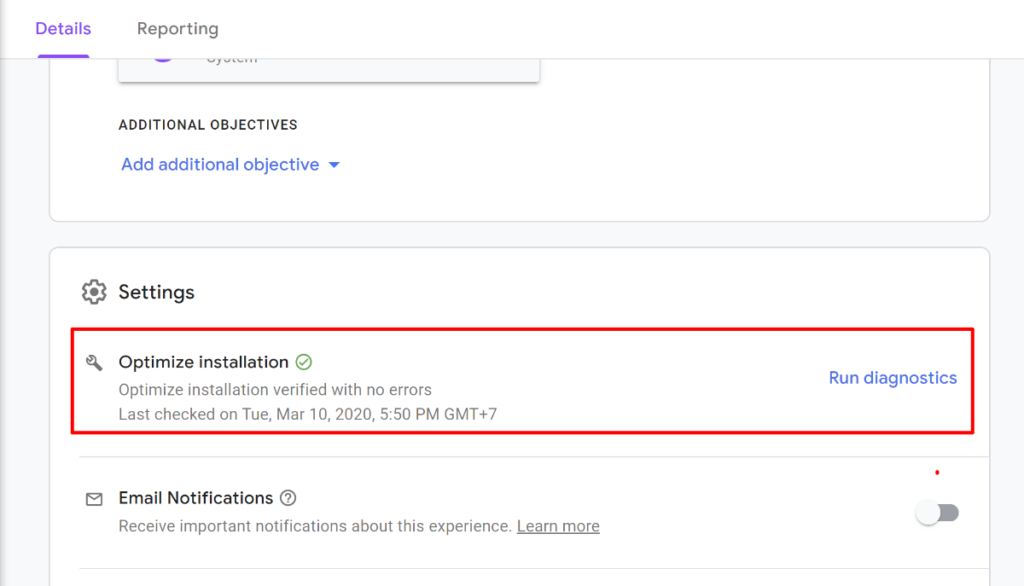
If Google finds any problems with the tracking script, it will let you know.
Note, if you’re using the Site Kit plugin, there’s a weird quirk here. By default, Site Kit (and a lot of other Google Analytics plugins) excludes your WordPress admin account from being tracked. So if you try to run the Google Optimize diagnostics while still logged in to your WordPress admin account, the diagnostics will fail.
If you log out at your WordPress site and re-run the diagnostics, things should work fine. So if the diagnostics fail – try logging out of WordPress before you start pulling your hair out.
6. Start Your Test
If all went well with the diagnostics, you’re ready to start your test.
To do that, scroll back to the top of the Google Optimize interface and click Start:
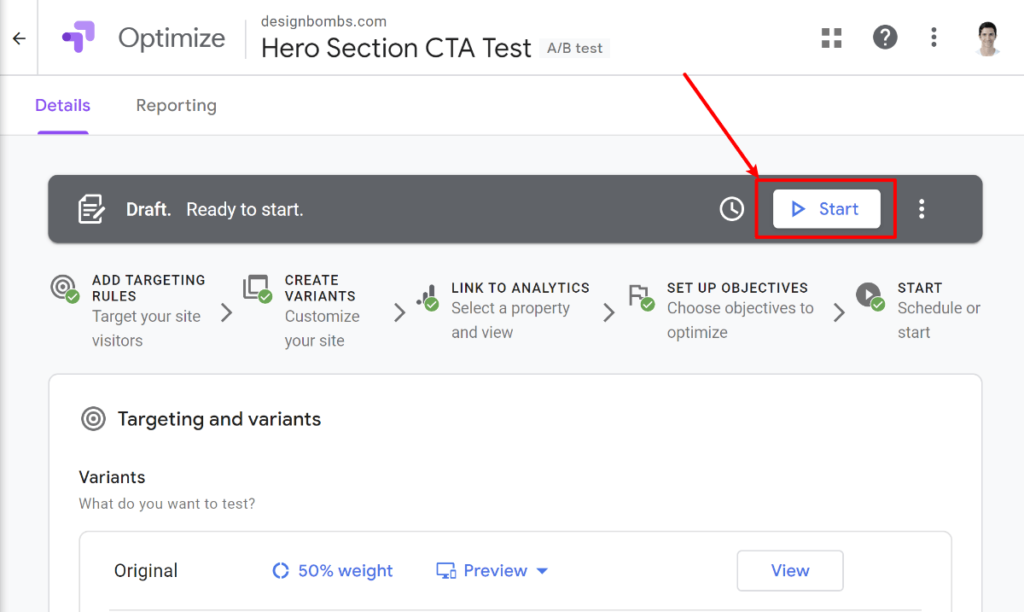
You can also use the clock icon to the left of the Start button to schedule your test to run during specific times.
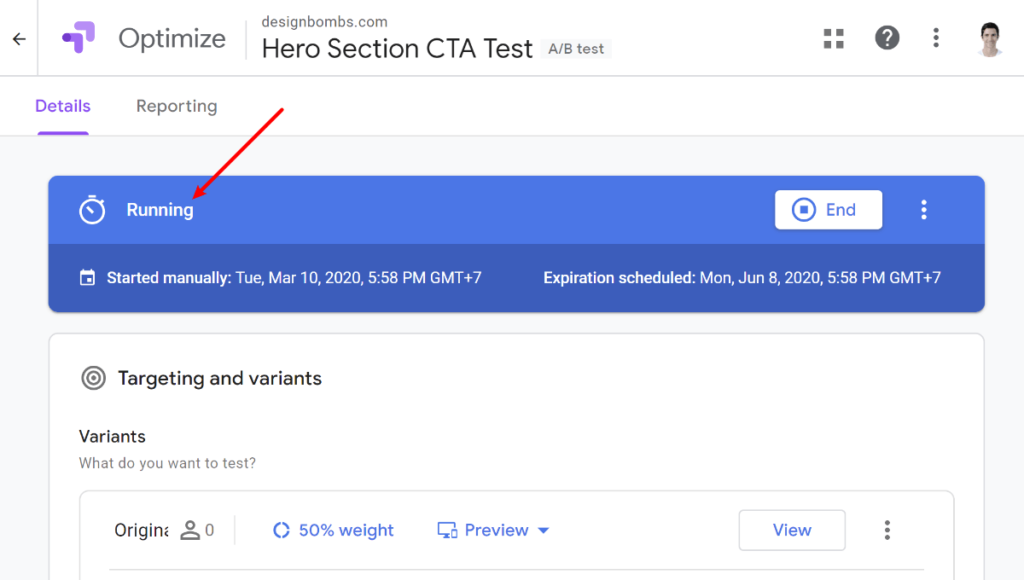
You’ll see a popup prompt asking you whether you’re really ready to start – just click Start again.
And that’s it! Your A/B test is live:
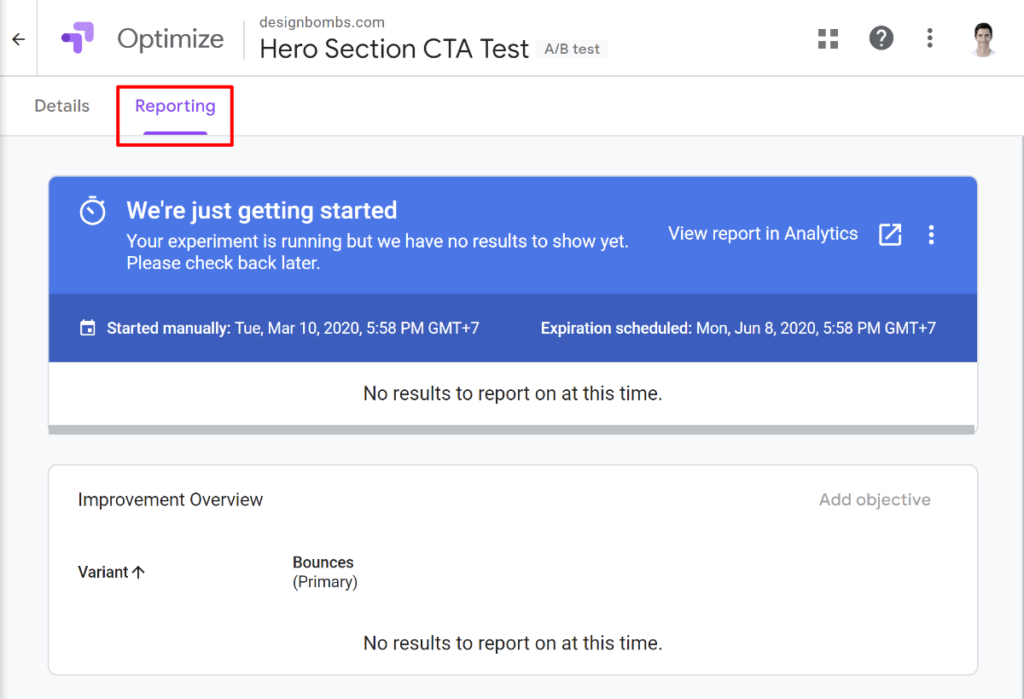
Once Google Optimize has collected some data, you can view how the different variants affect your objective by going to the Reporting tab:
Final Thoughts
Google Optimize provides a (fairly) non-technical, flexible, and free way to run A/B tests on your WordPress website.
Even better, because it works independently of WordPress, you can use it with literally any WordPress plugin or theme.
While the process to set up your first A/B test does take some time, I tried to make it as non-technical as possible by using a 100% code-free implementation for this Google Optimize WordPress tutorial.
Additionally, future tests will go more quickly because you won’t need to repeat the basic setup process.
Finally, if you’re looking for a tool to help you build landing pages that you can A/B test with Google Optimize, check out our collection of the best WordPress landing page plugins.
Have you used Google Optimize to run A/B tests on WordPress yet? Do you have any questions about the setup process? Ask away in the comments section!
Leave a Reply